Happy Monday friends! I’m back with another Home Renovation Series post! I’m FINALLY sharing baby girls nursery! It’s been pretty much done since before she was born, but just had some final decor touches that I wanted to add before sharing. Our last renovation post was the Beauty Room, which we finished earlier this year. After that was done, we turned our guest room into an office so that the beauty room could solely be my closet/makeup area, as well as video shooting set up. I loved having the guest room be a dedicated office, but once we got pregnant, we knew the office was only temporary and that third bedroom would eventually need to become the nursery.
{Each episode in this series has a corresponding YouTube video – see the SERIES PLAYLIST HERE!}
BEFORE Photos
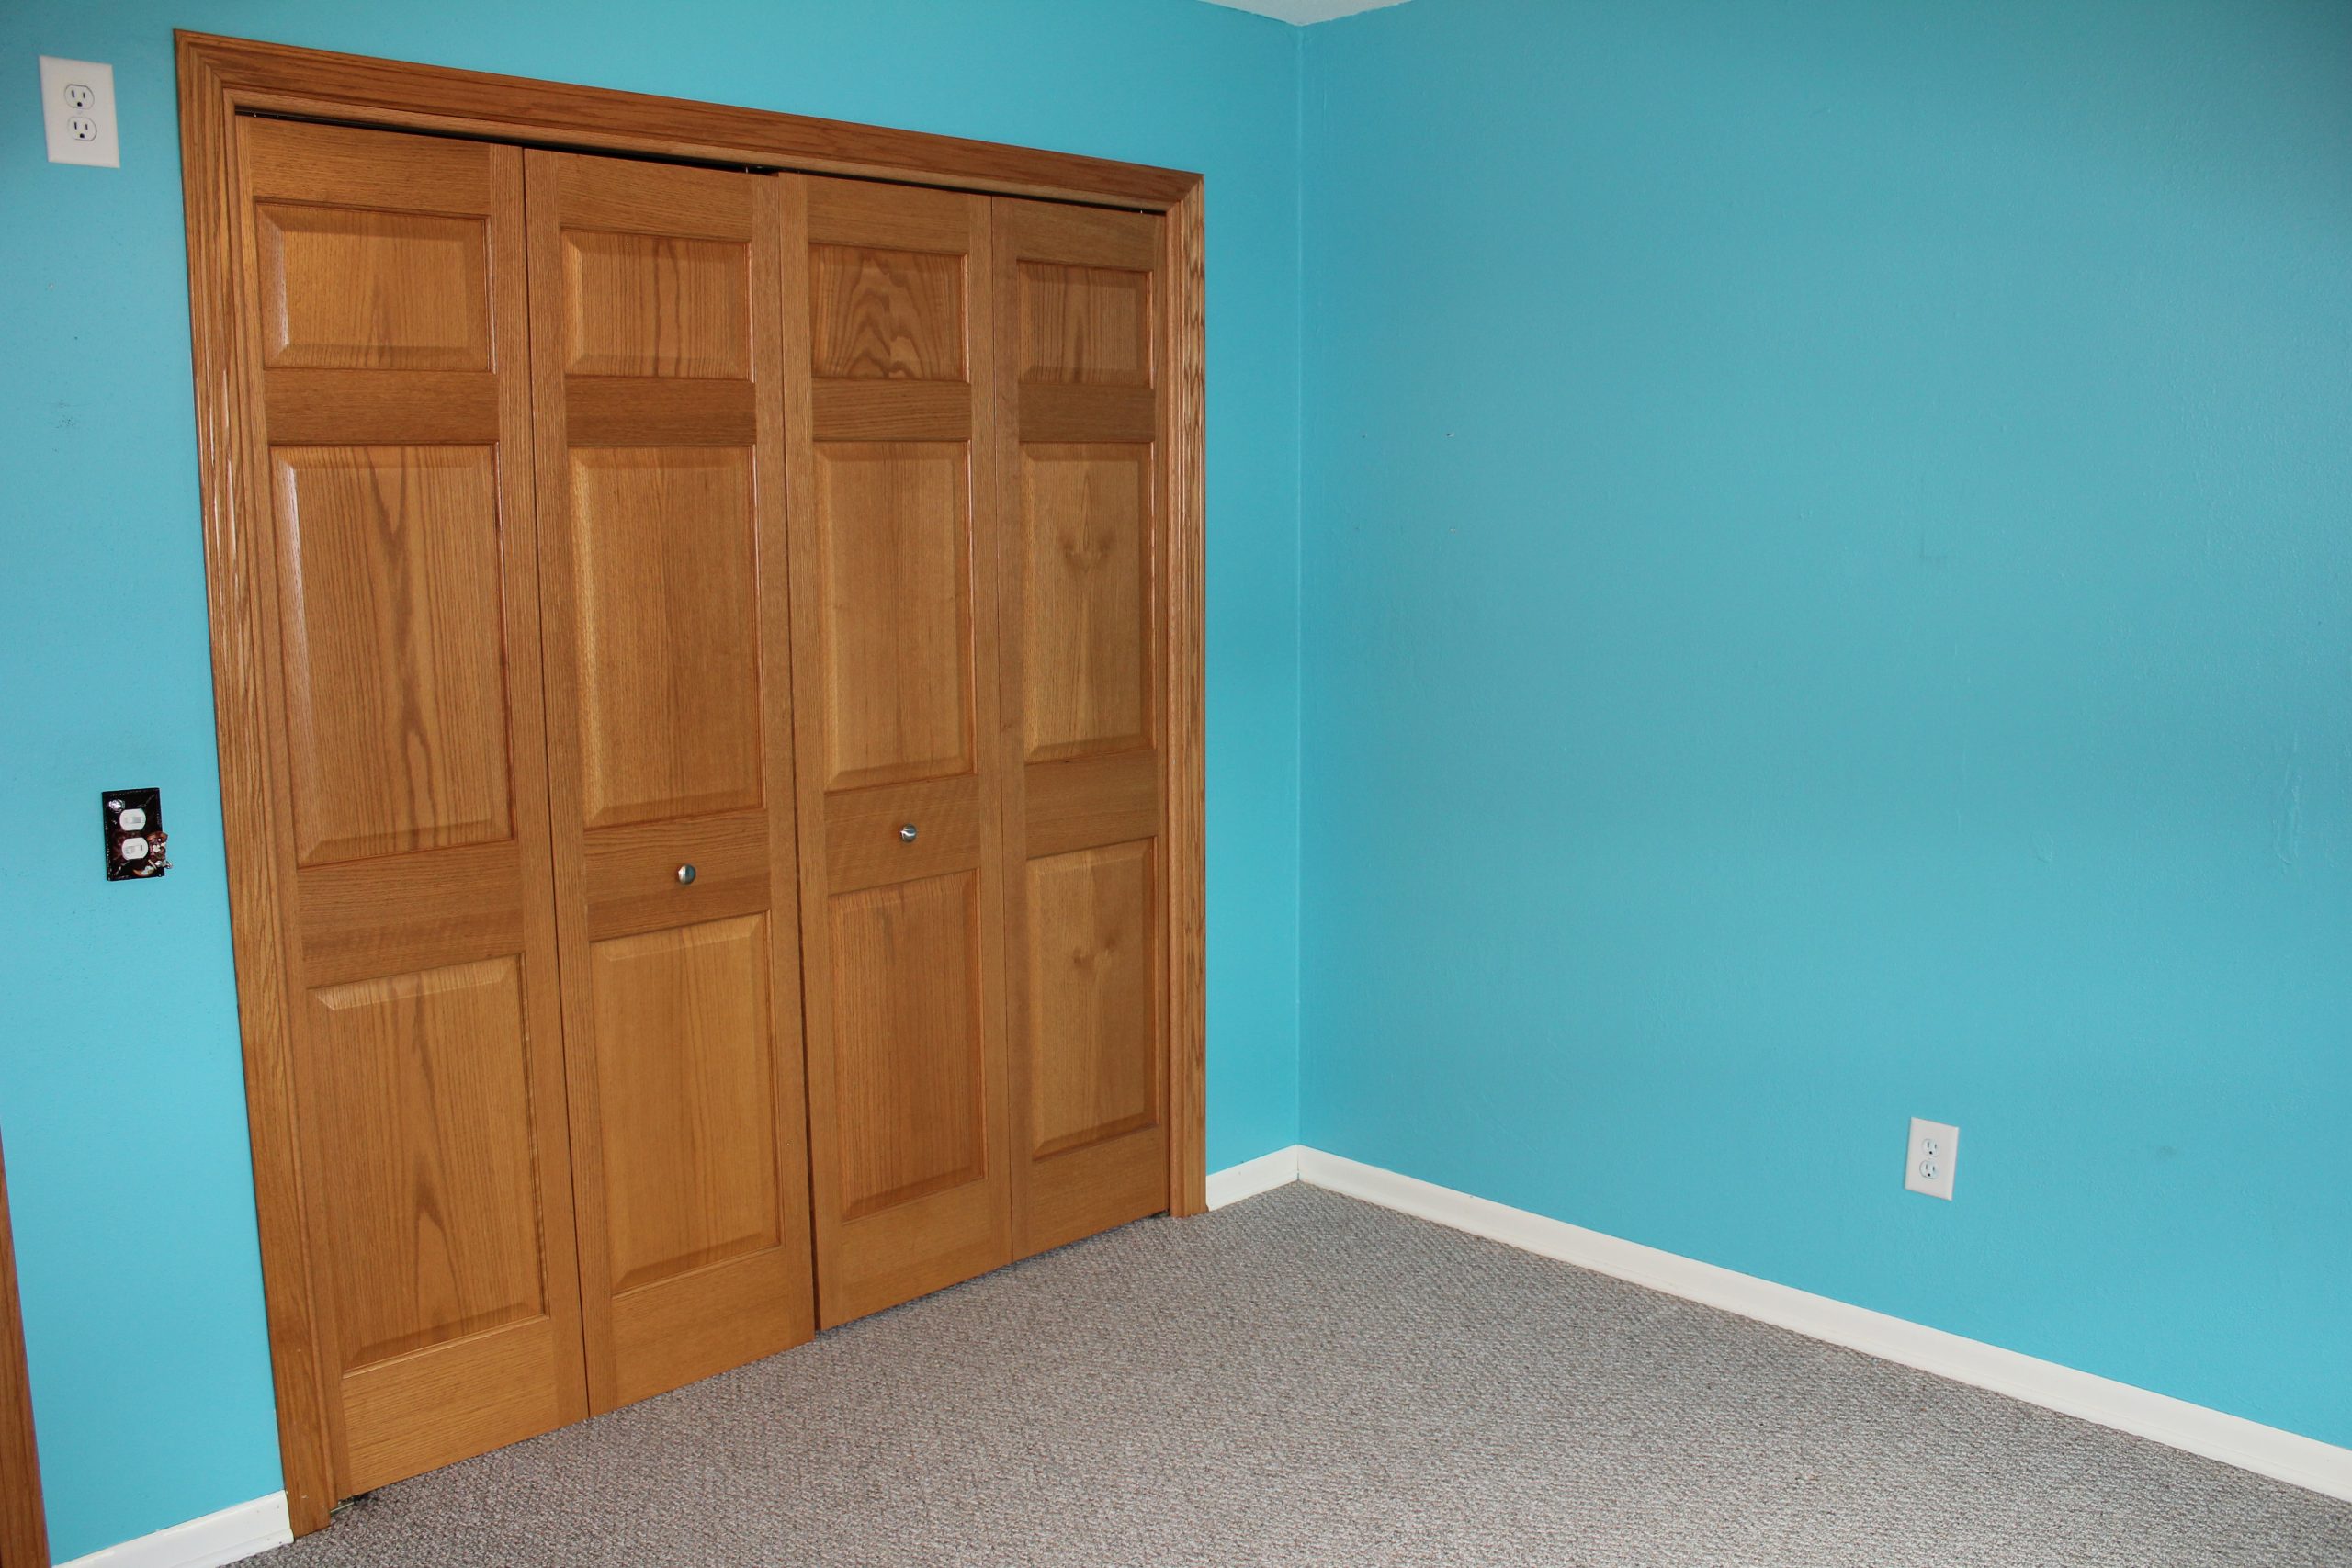
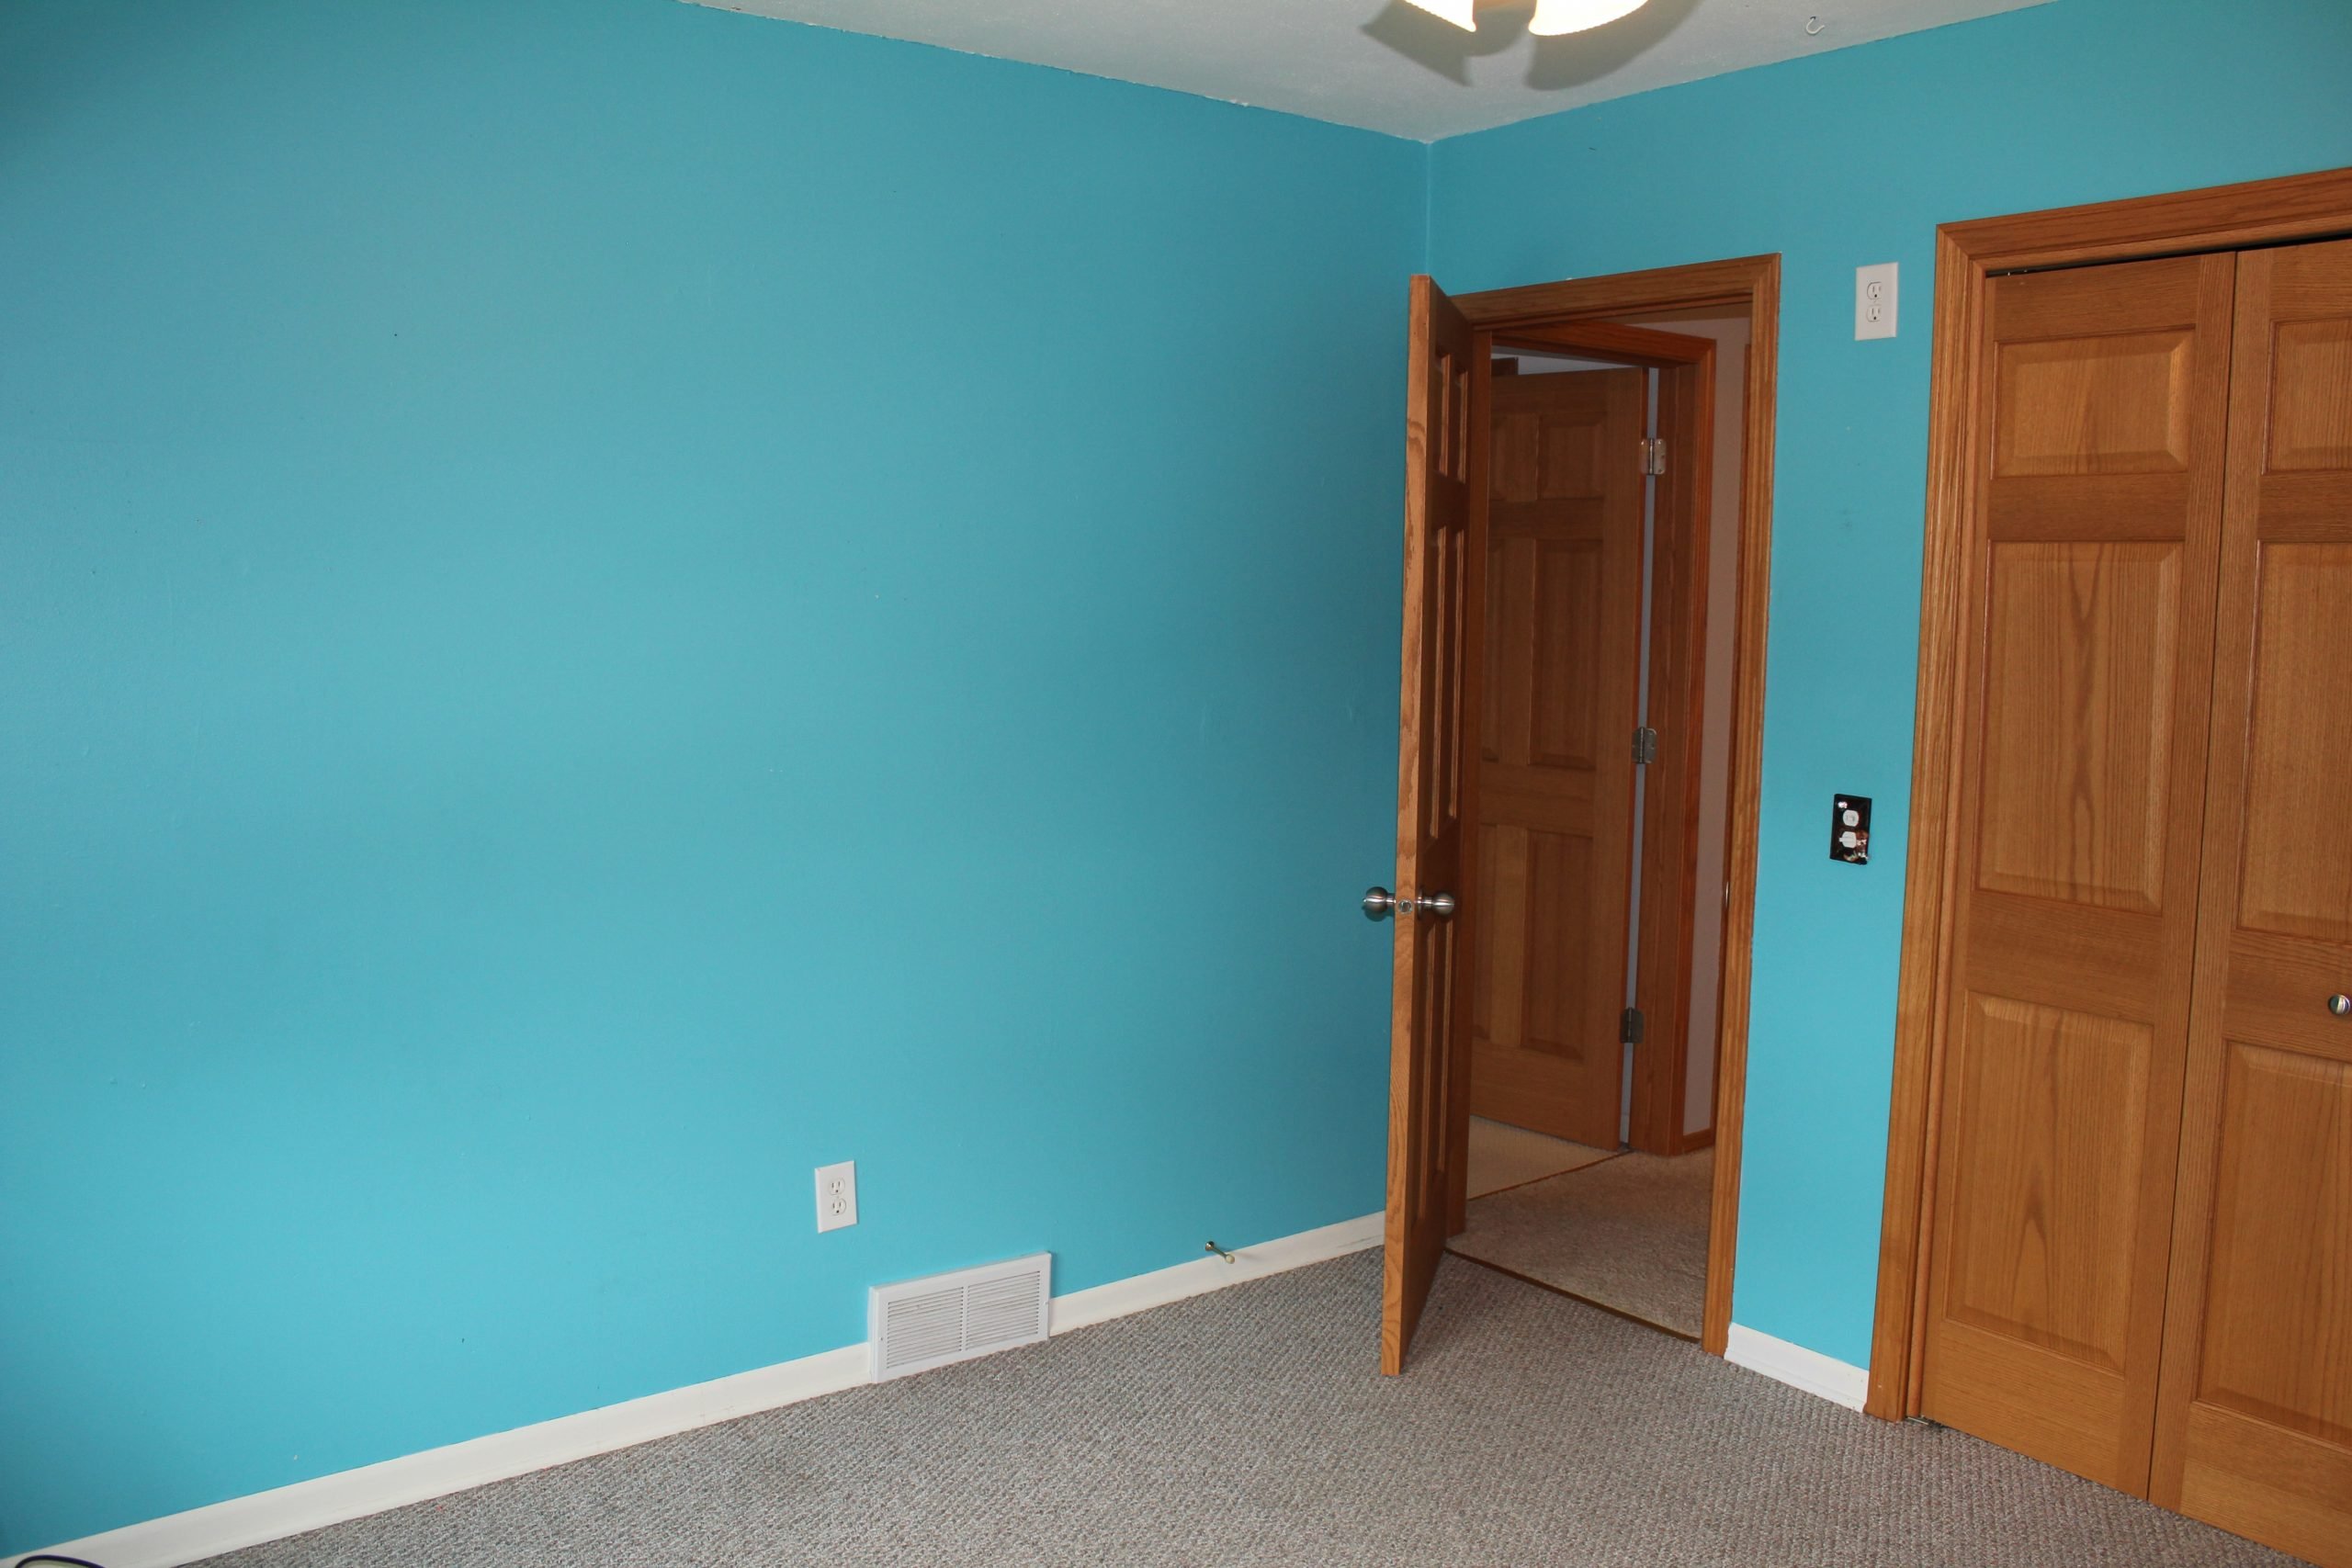
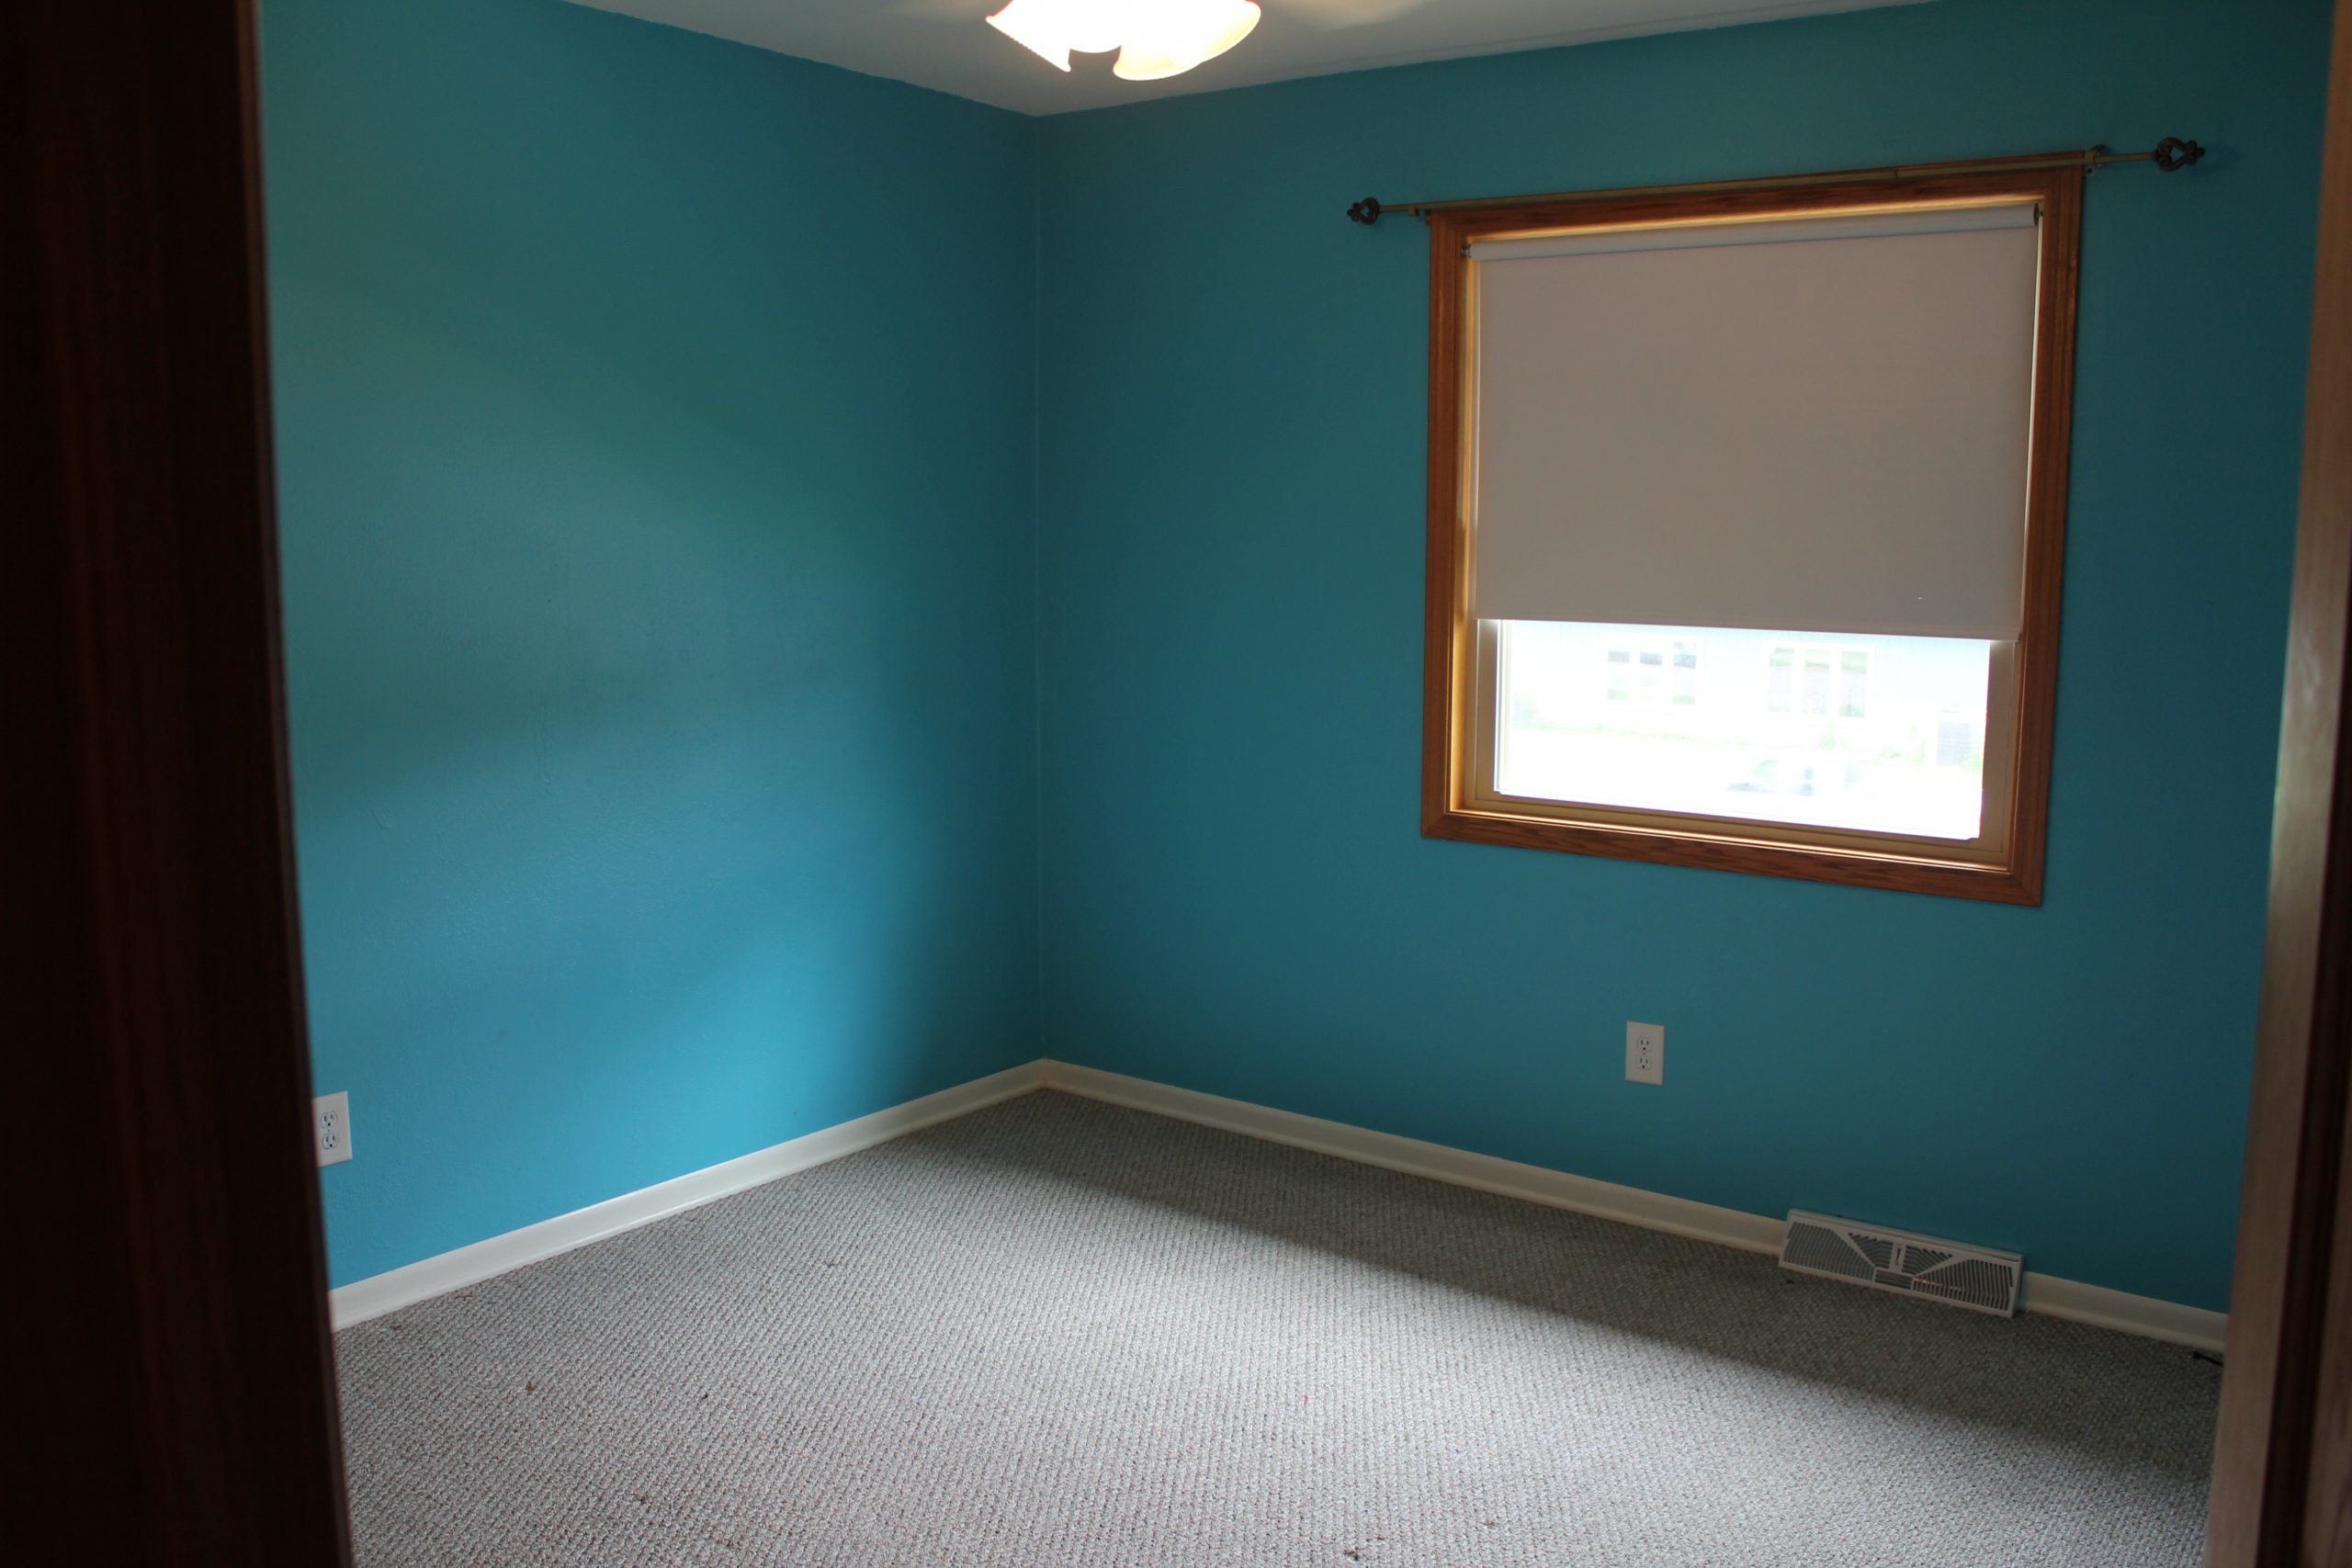
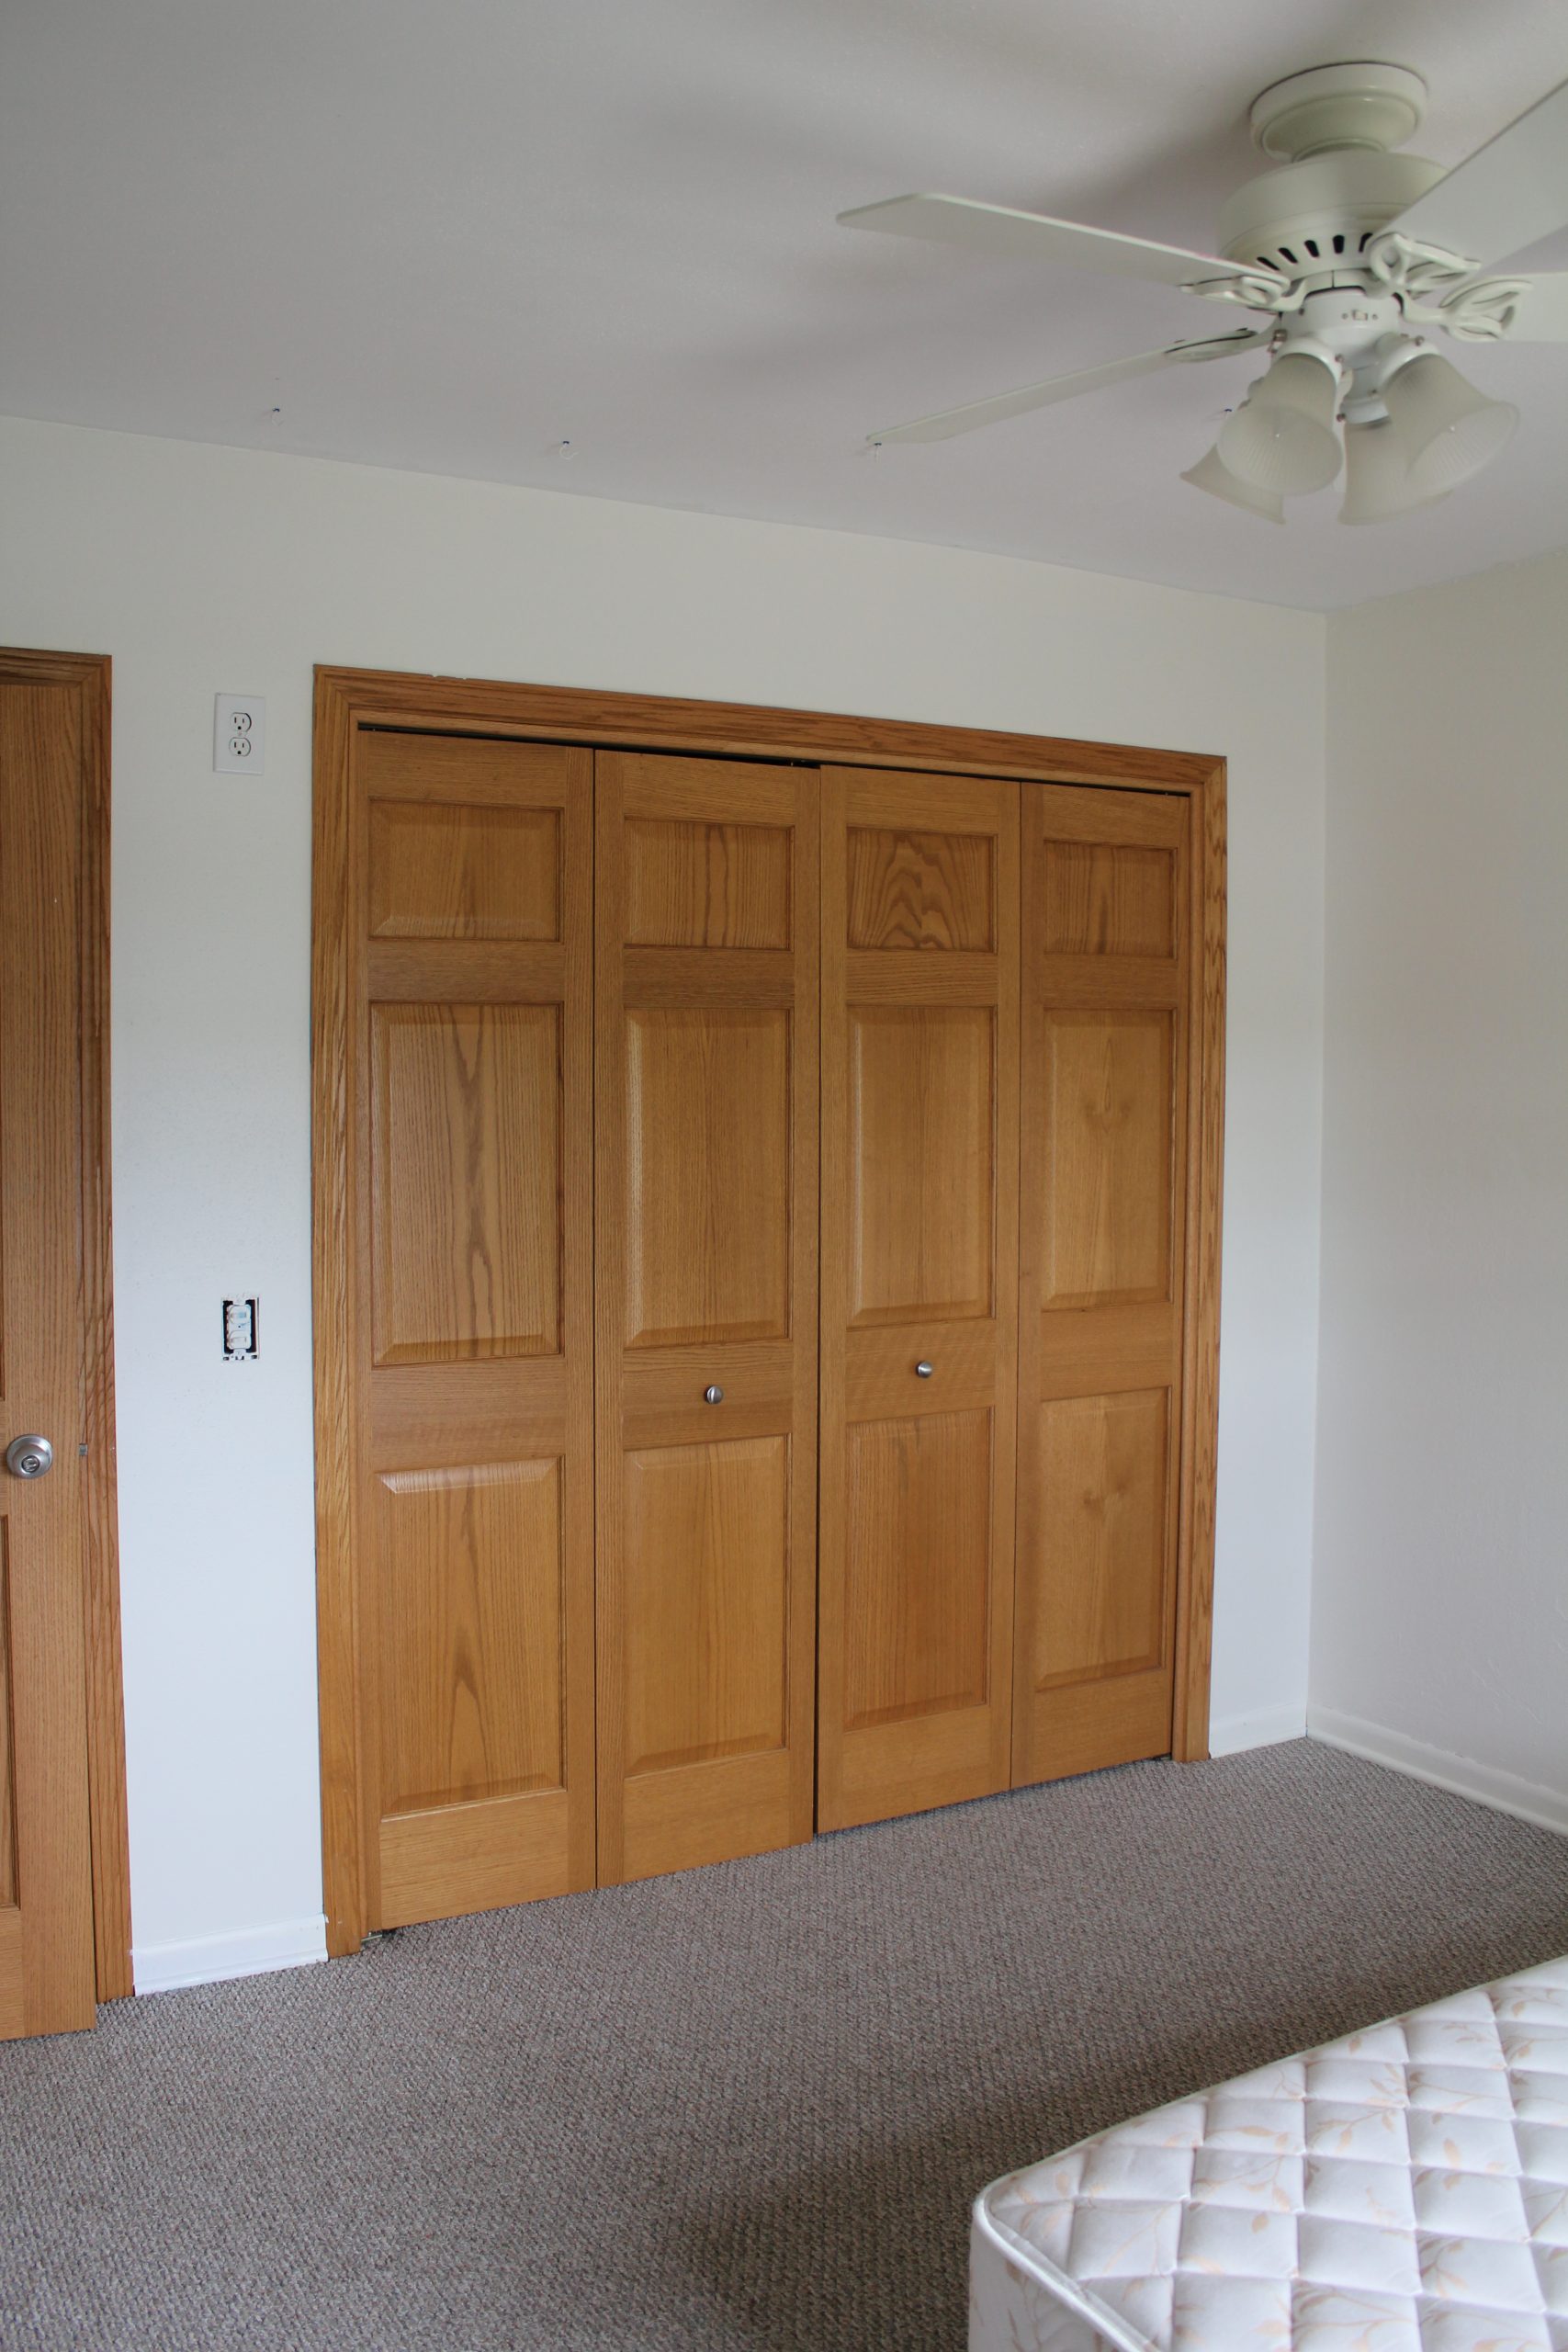
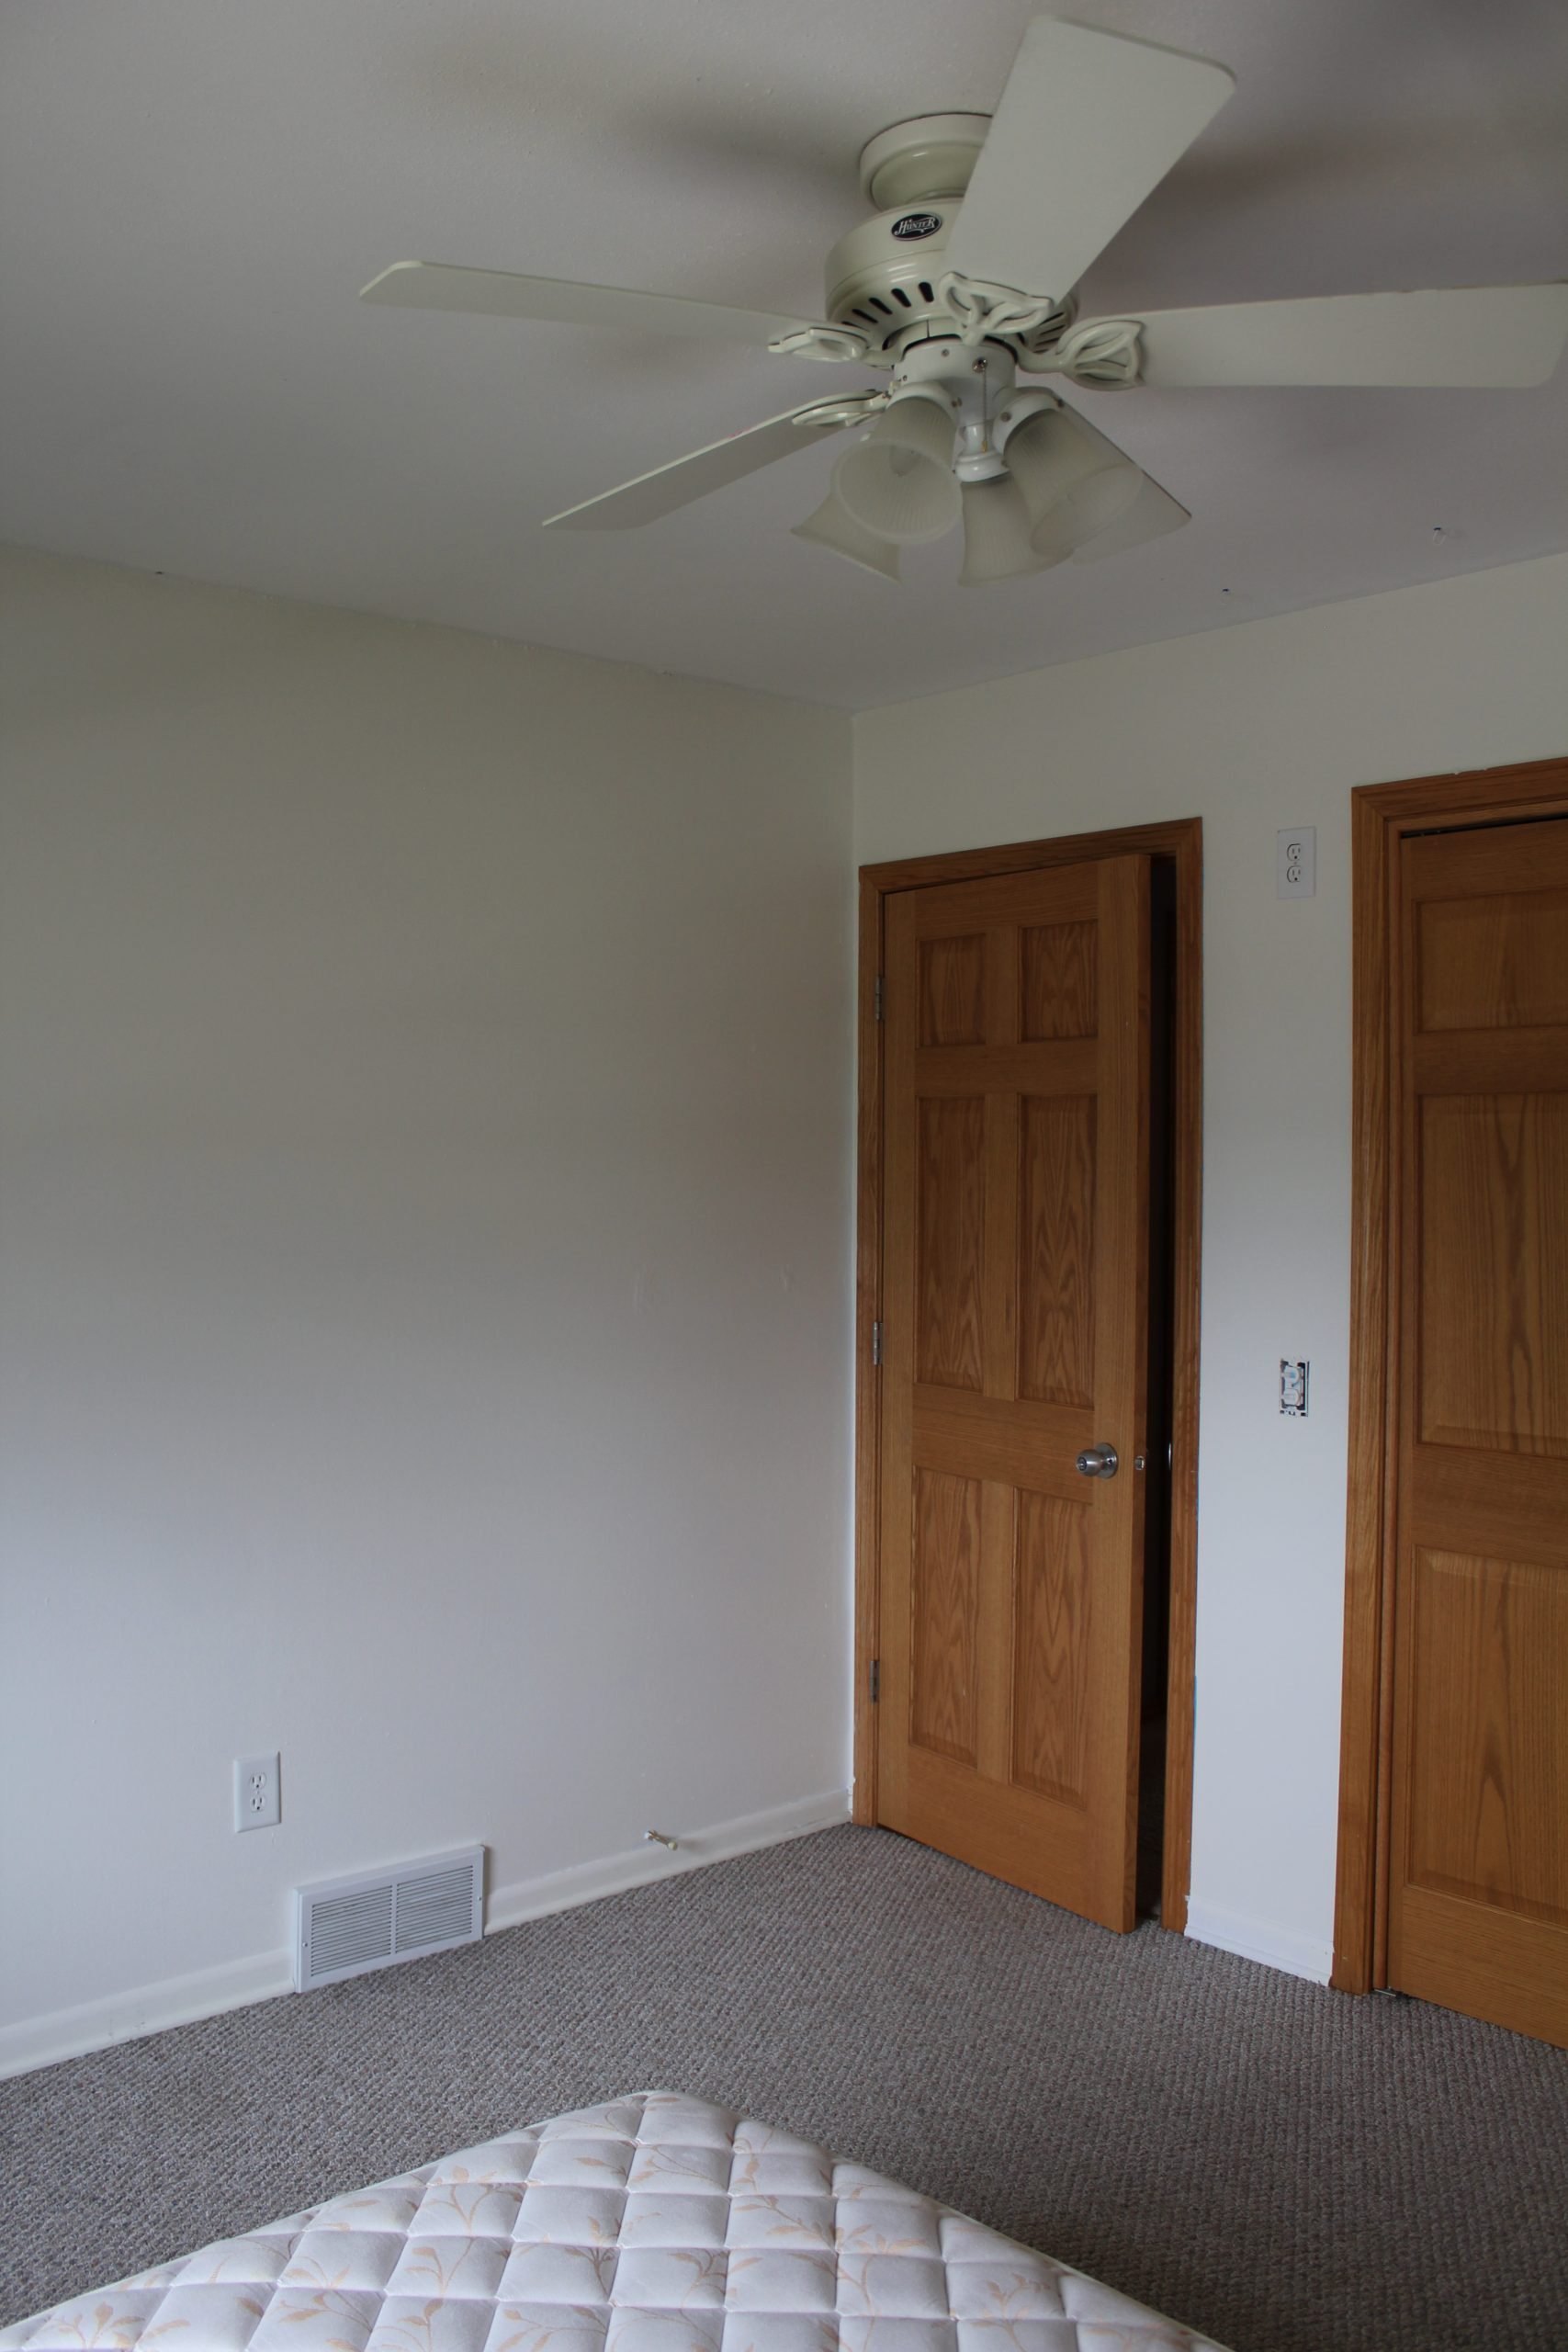
When we moved in, the bedroom was a BRIGHT turquoise color. It was all over the ceiling, the outlets, the trim, etc. and was tough to cover, but we ended up just painting it a white (Swiss Coffee from Behr).
- 2015 when we moved in
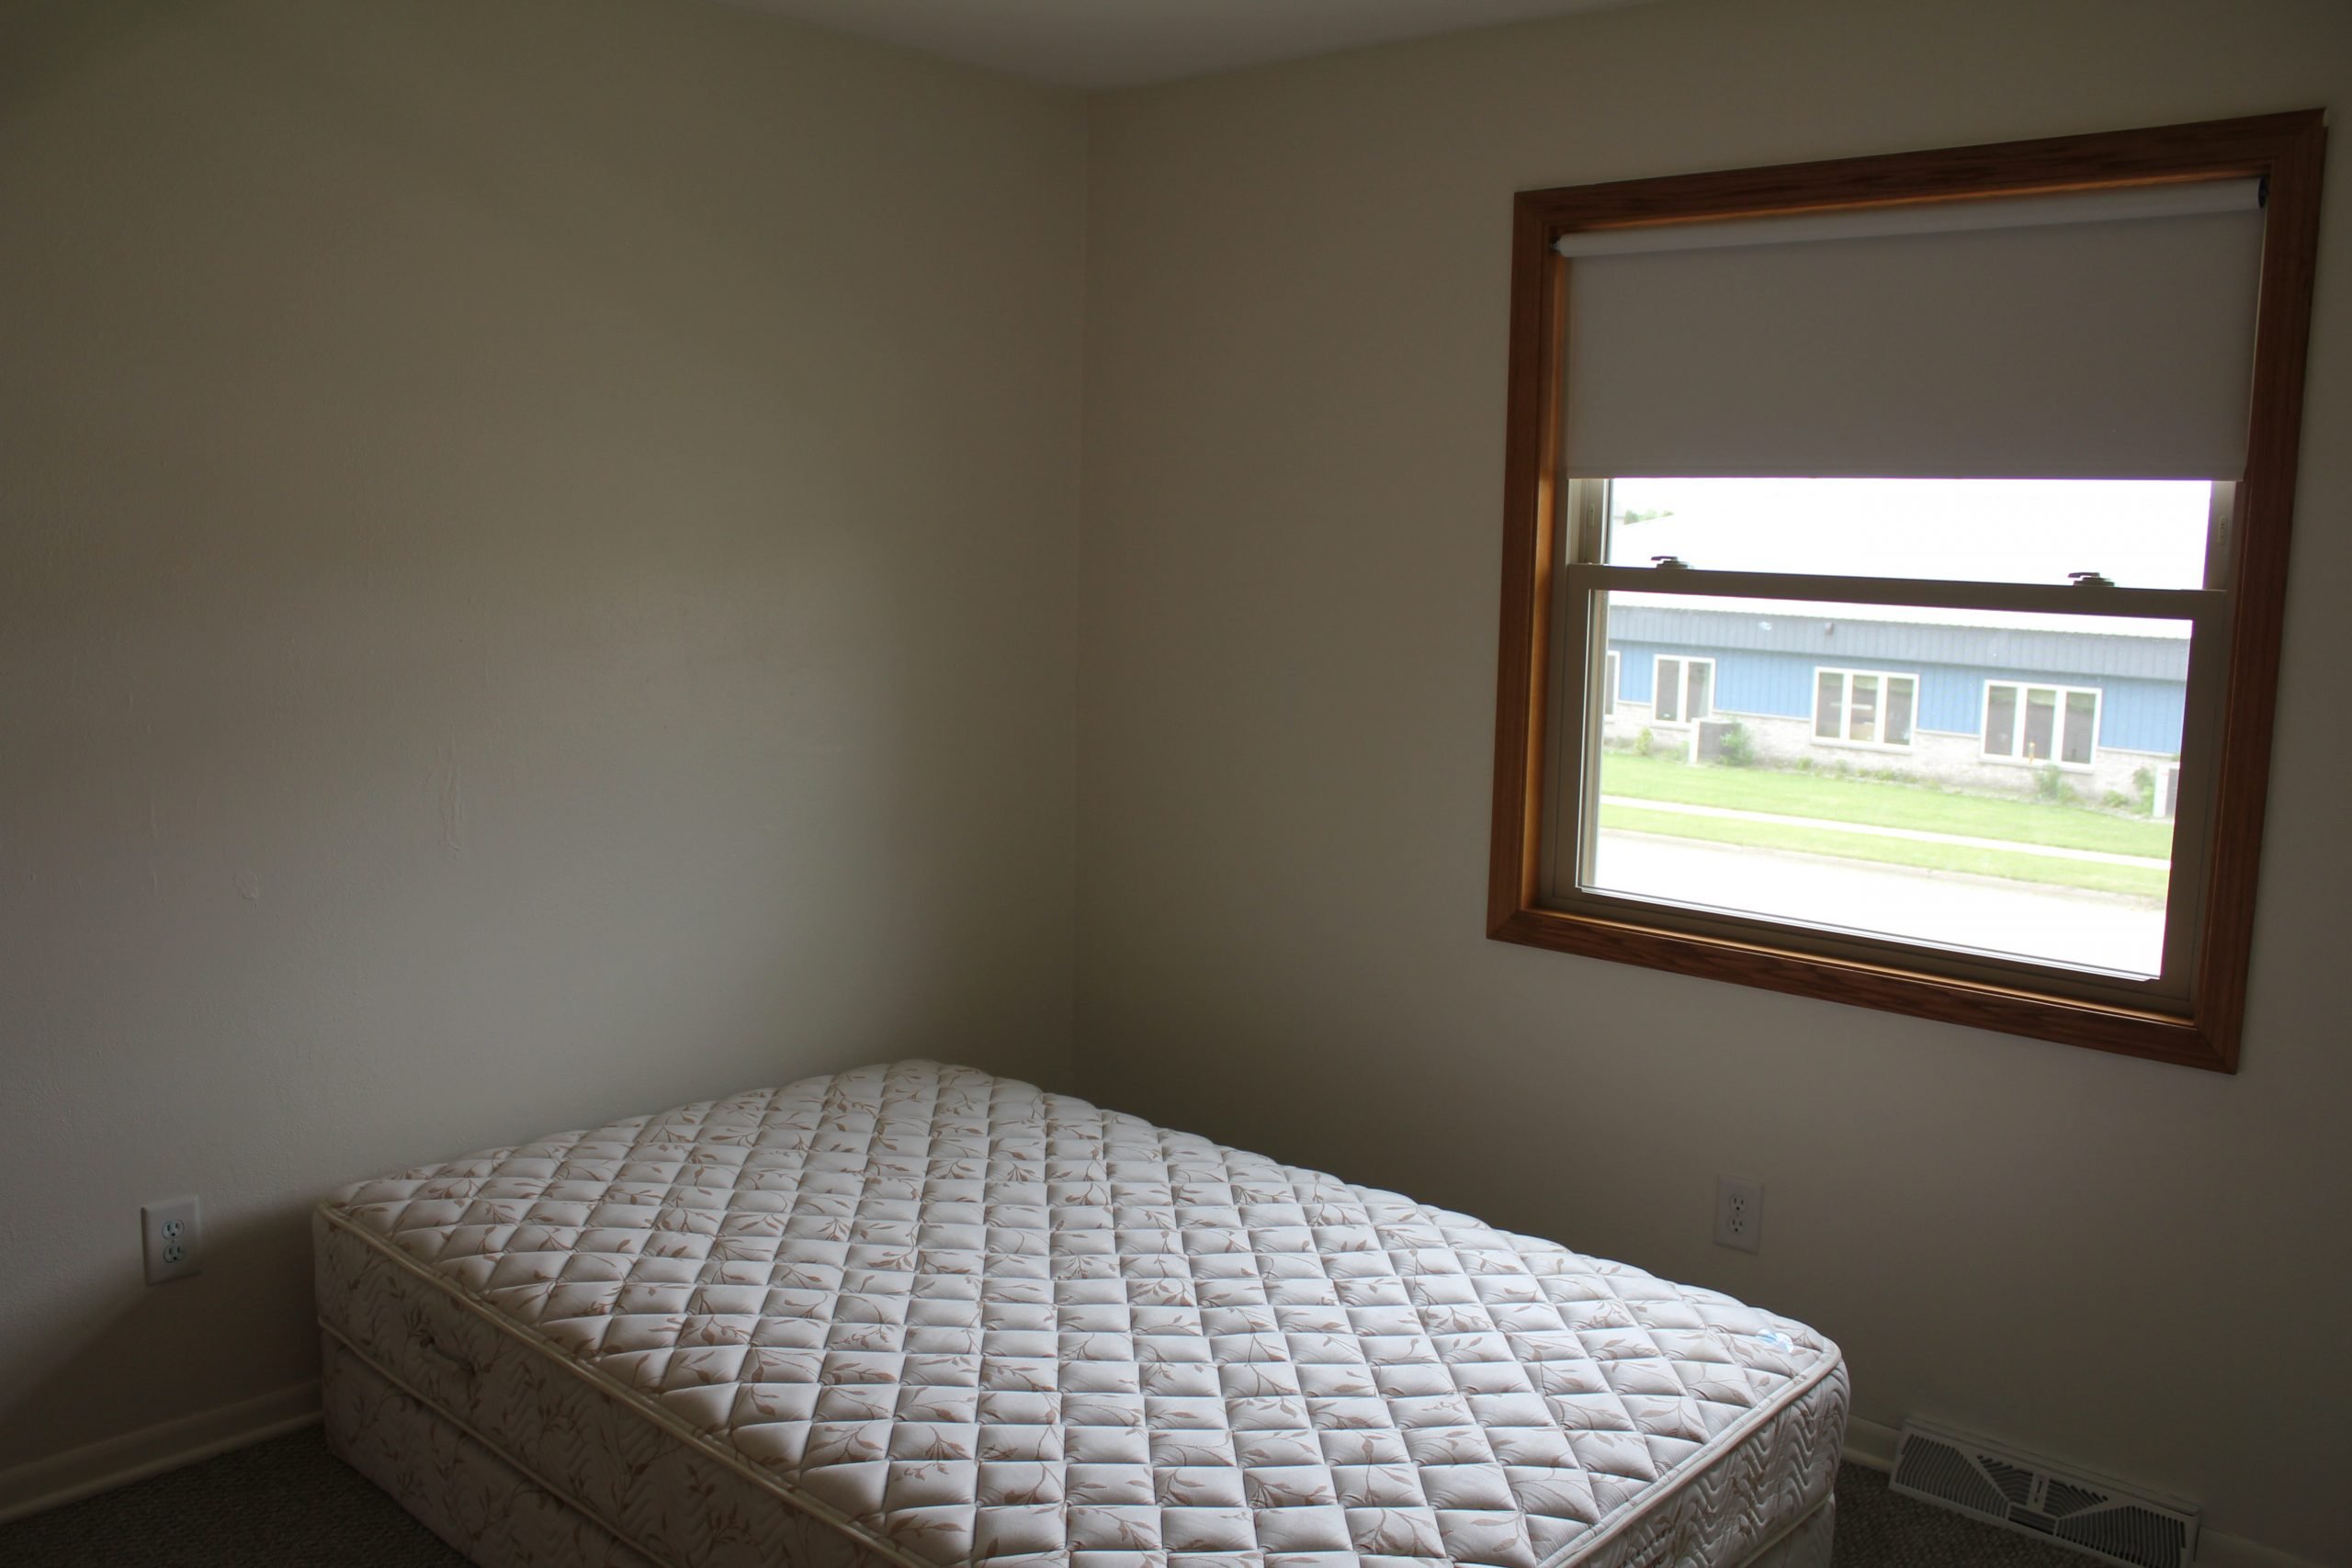
2015 after paint
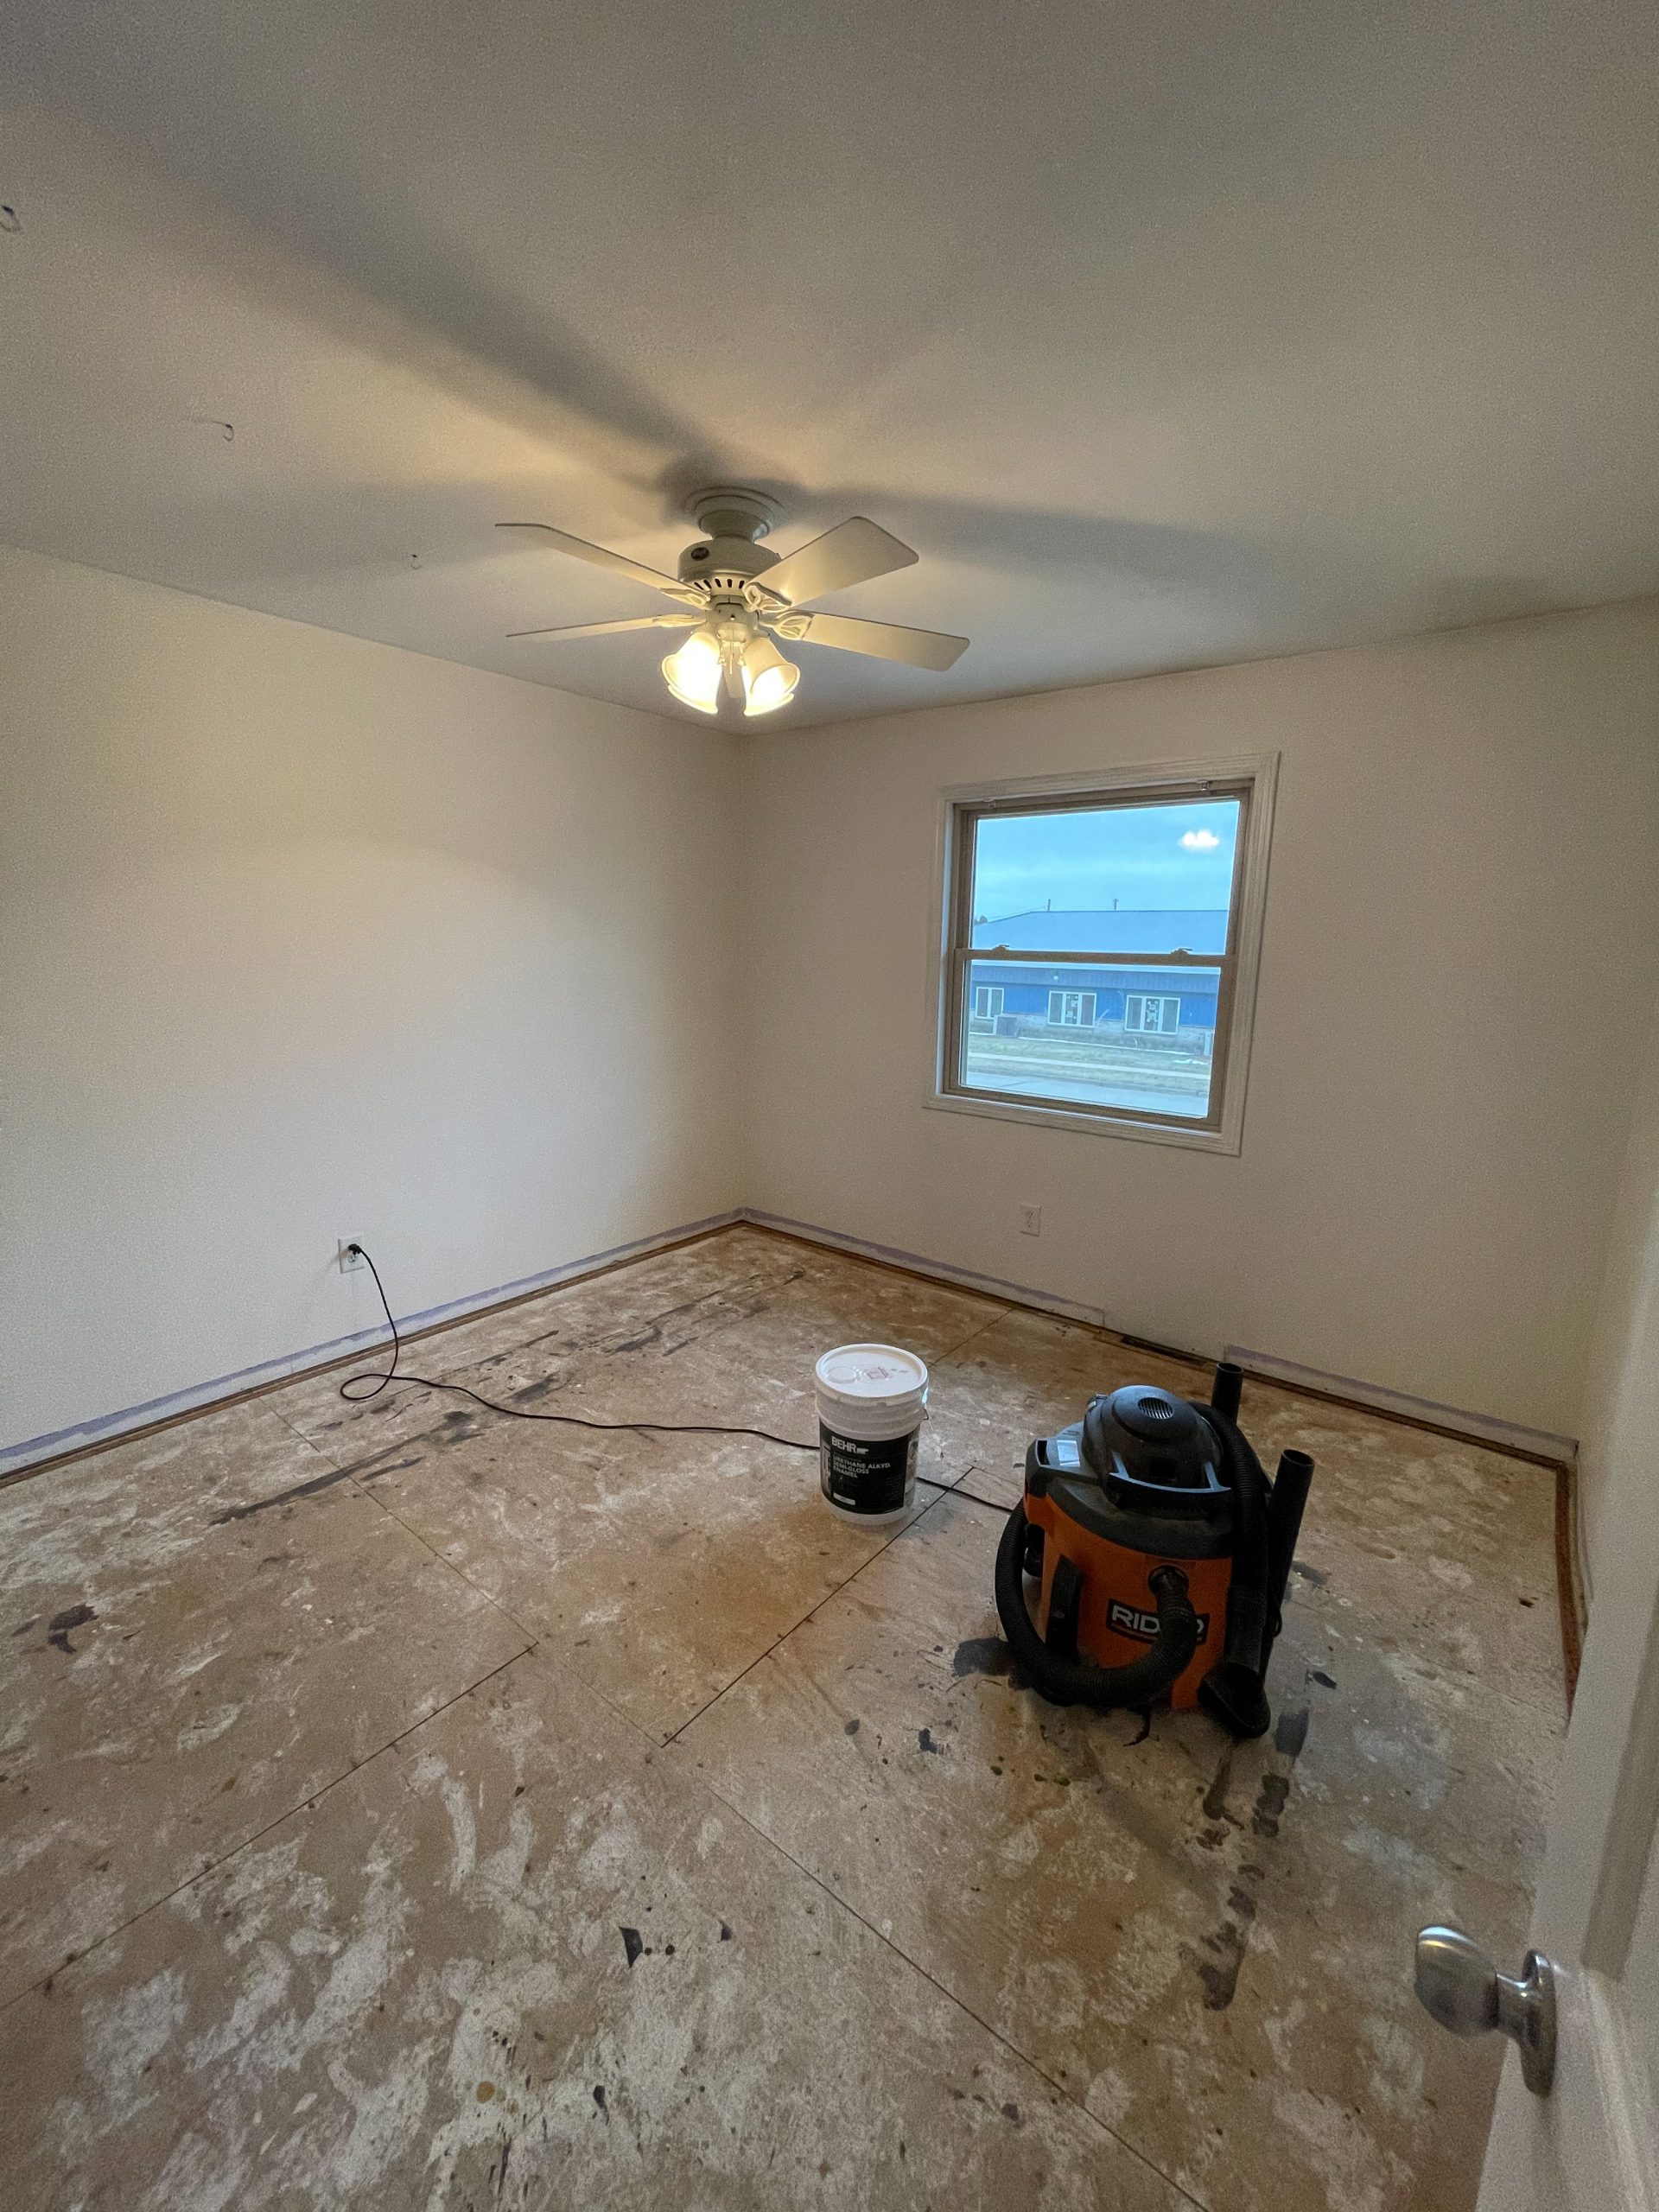
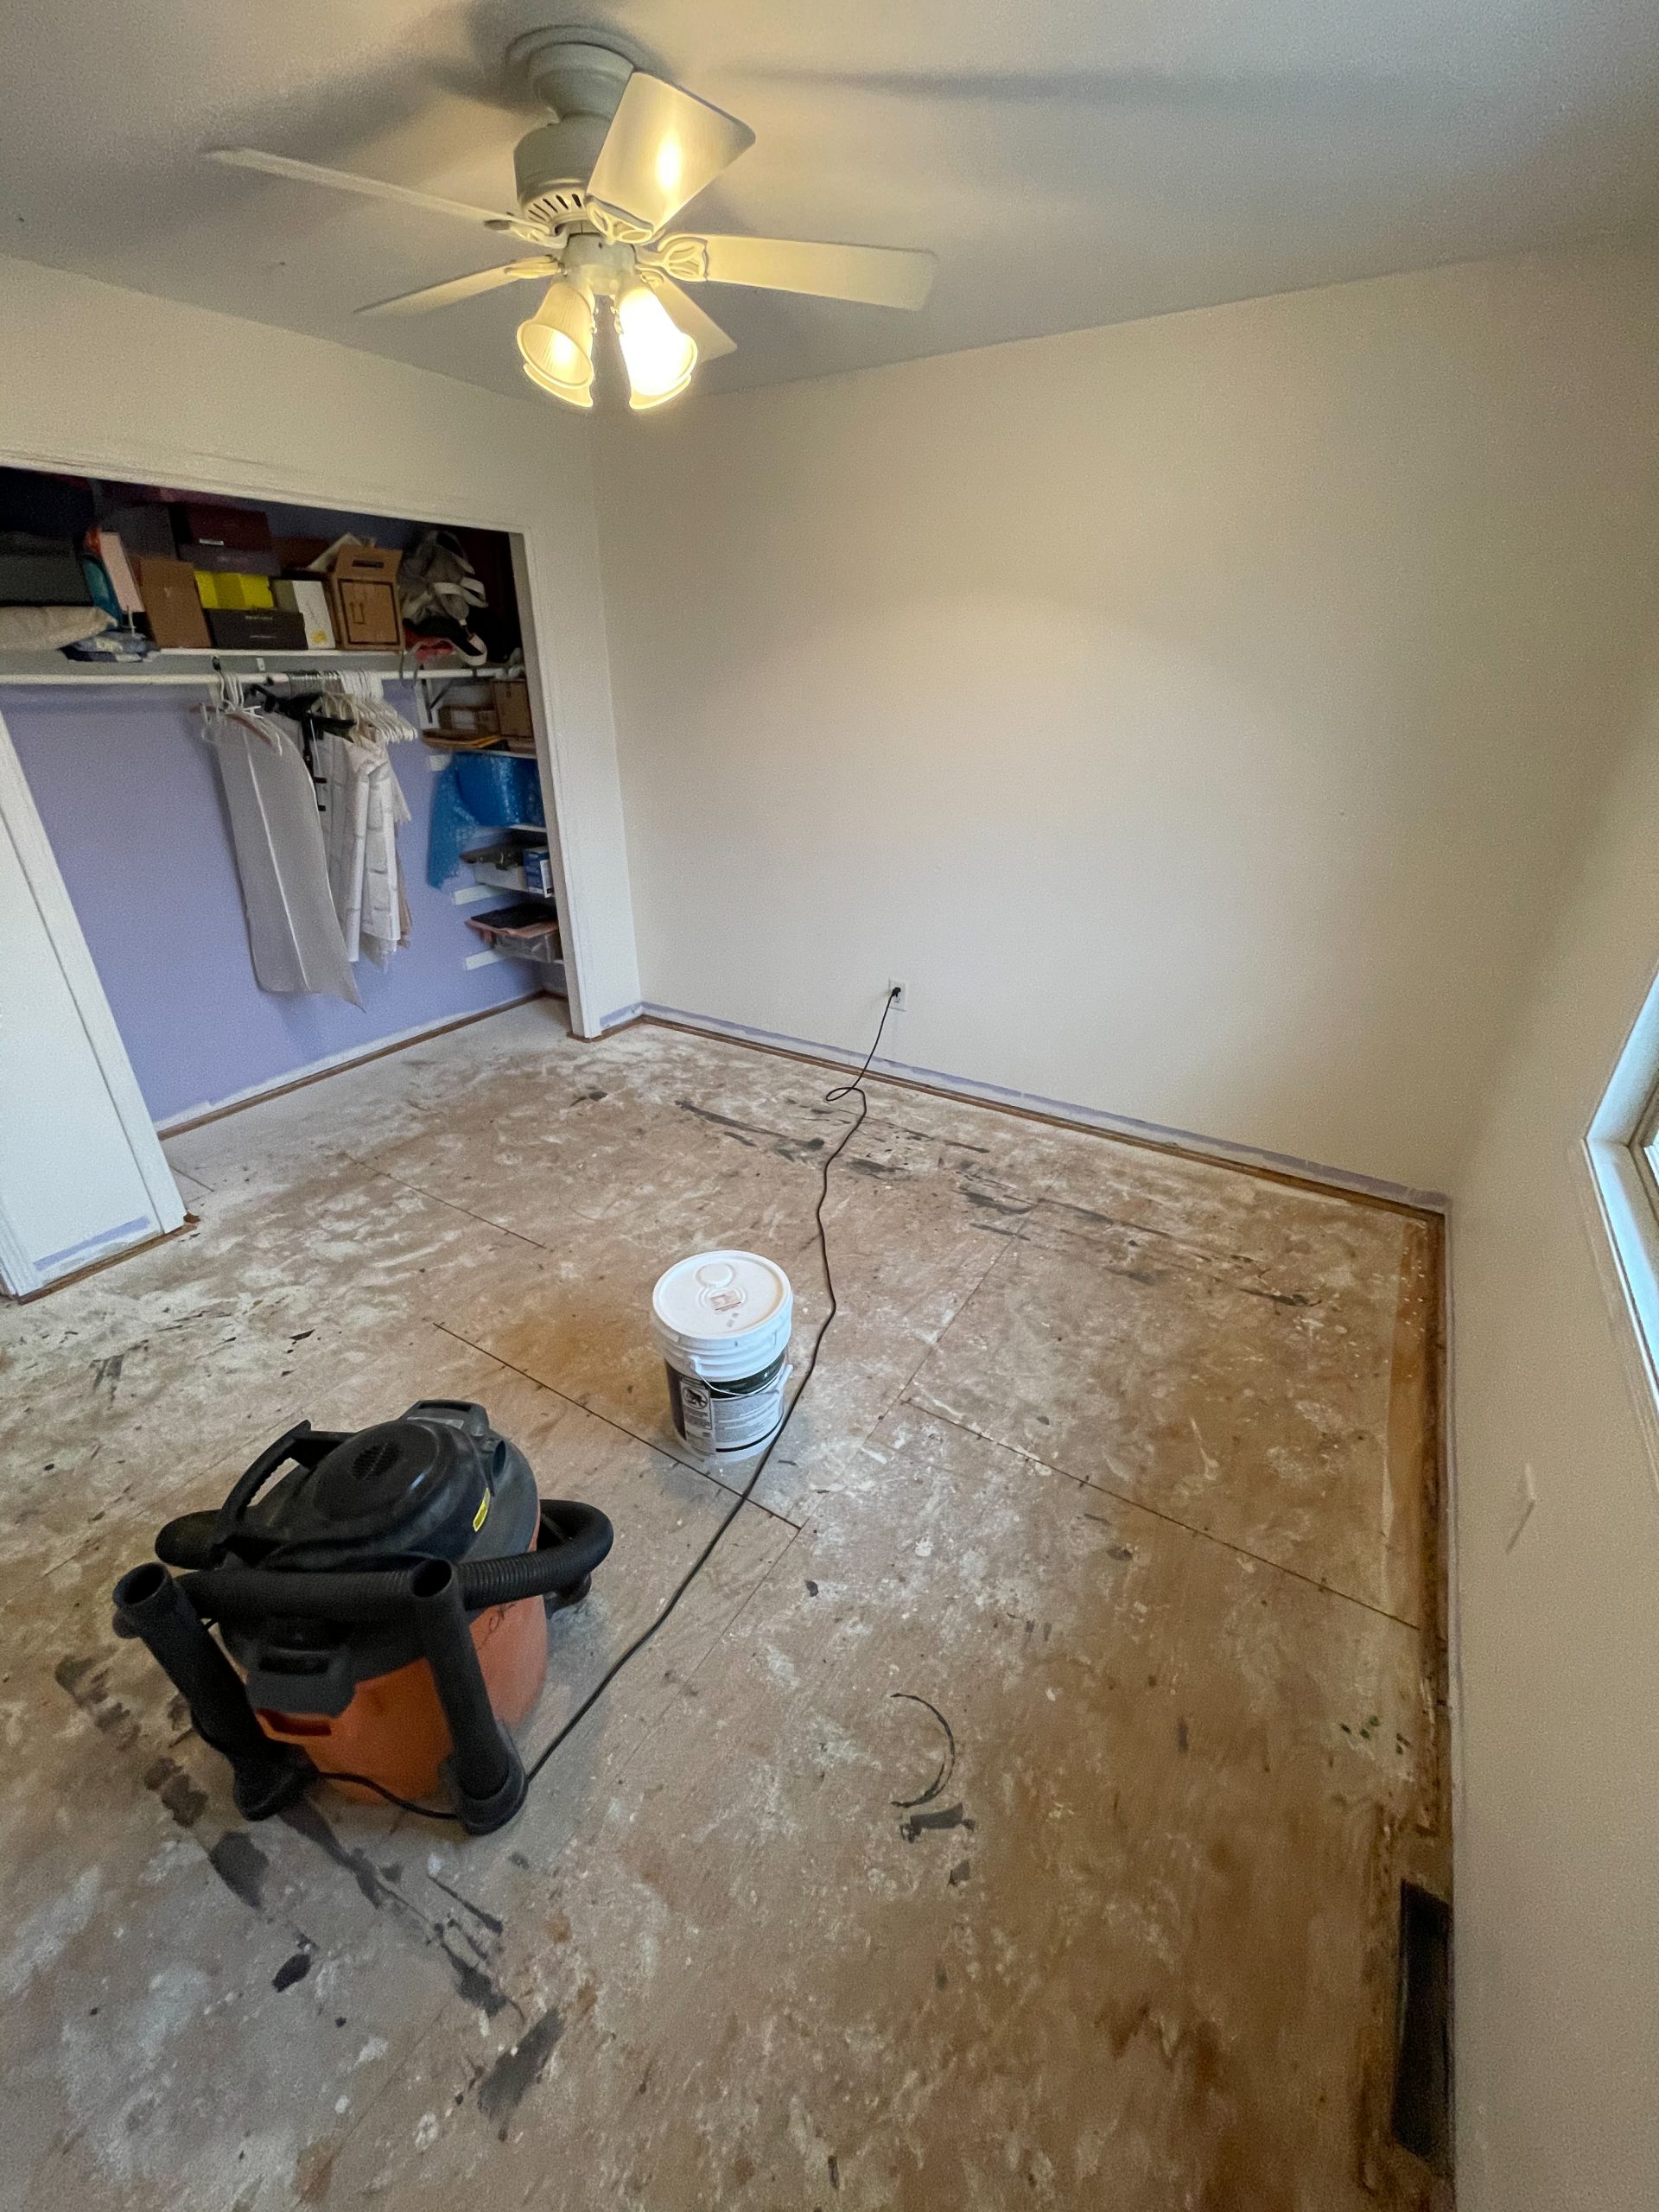
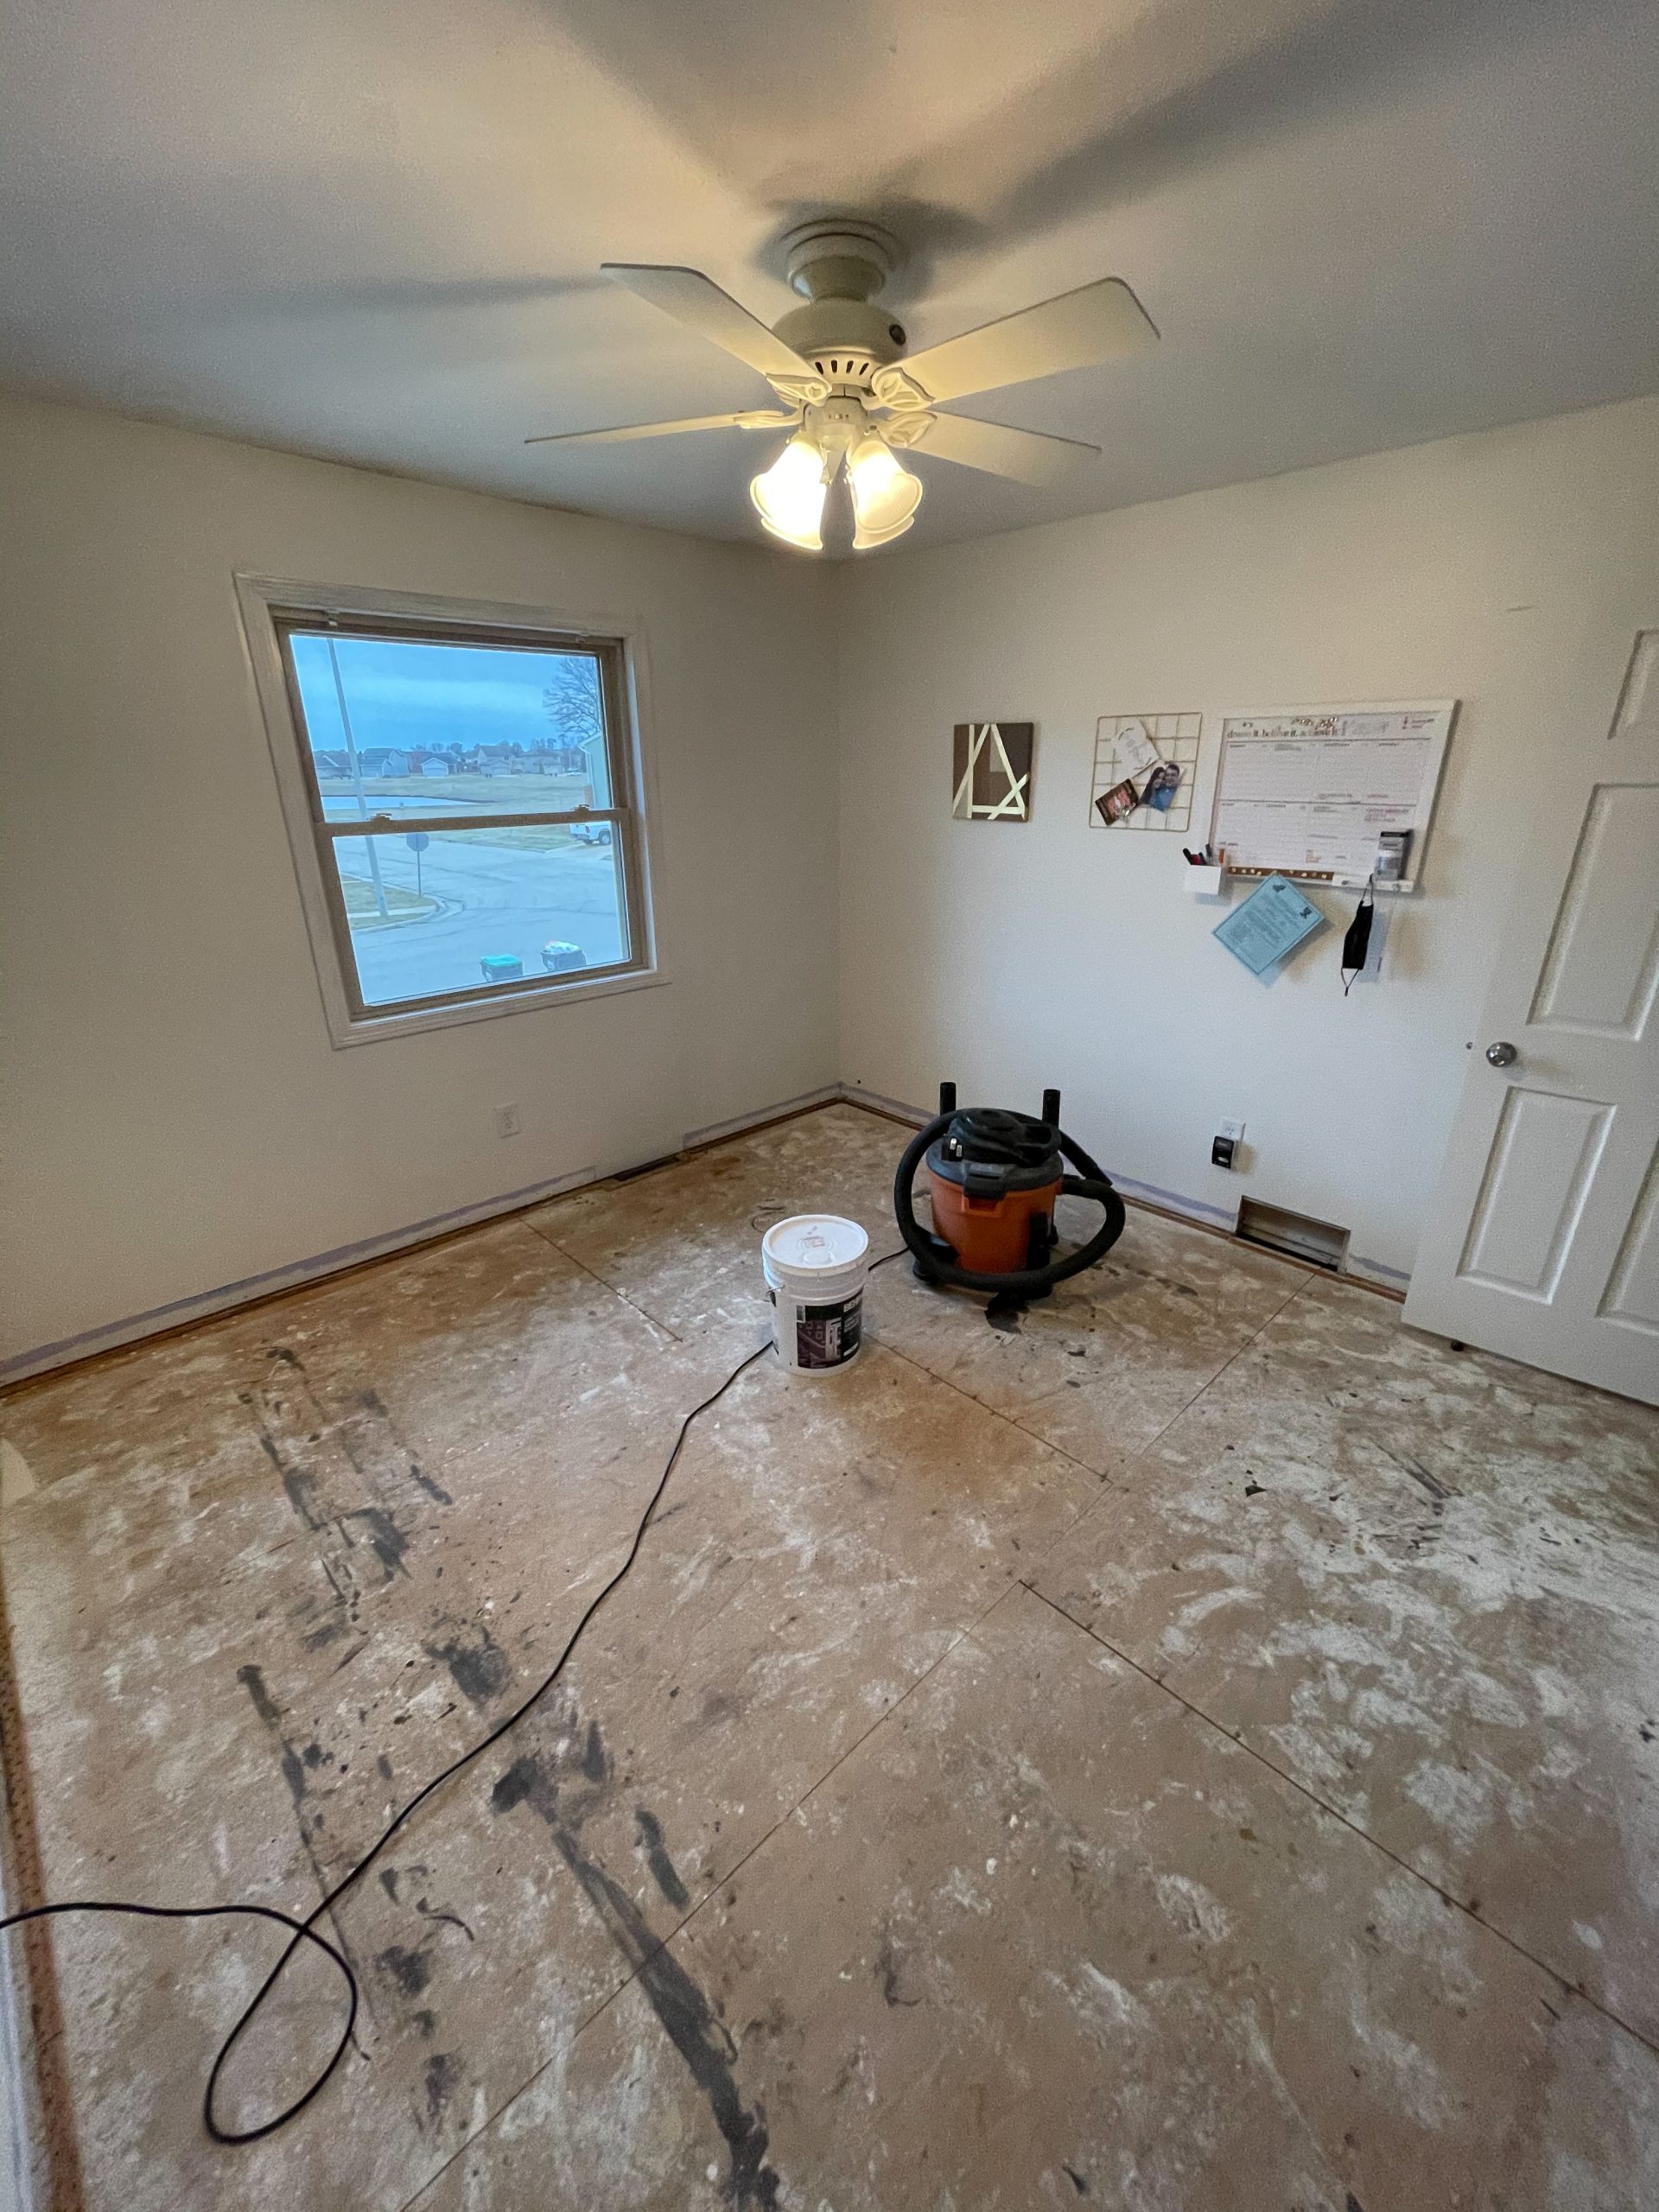
As I said above, this room was a guest room, but eventually transitioned to a makeshift office for a bit. Once we got pregnant, we knew it needed to be the nursery. We had already planned to get new carpet, so we did that just before transitioning it to a nursery.
- 2021 carpet demo
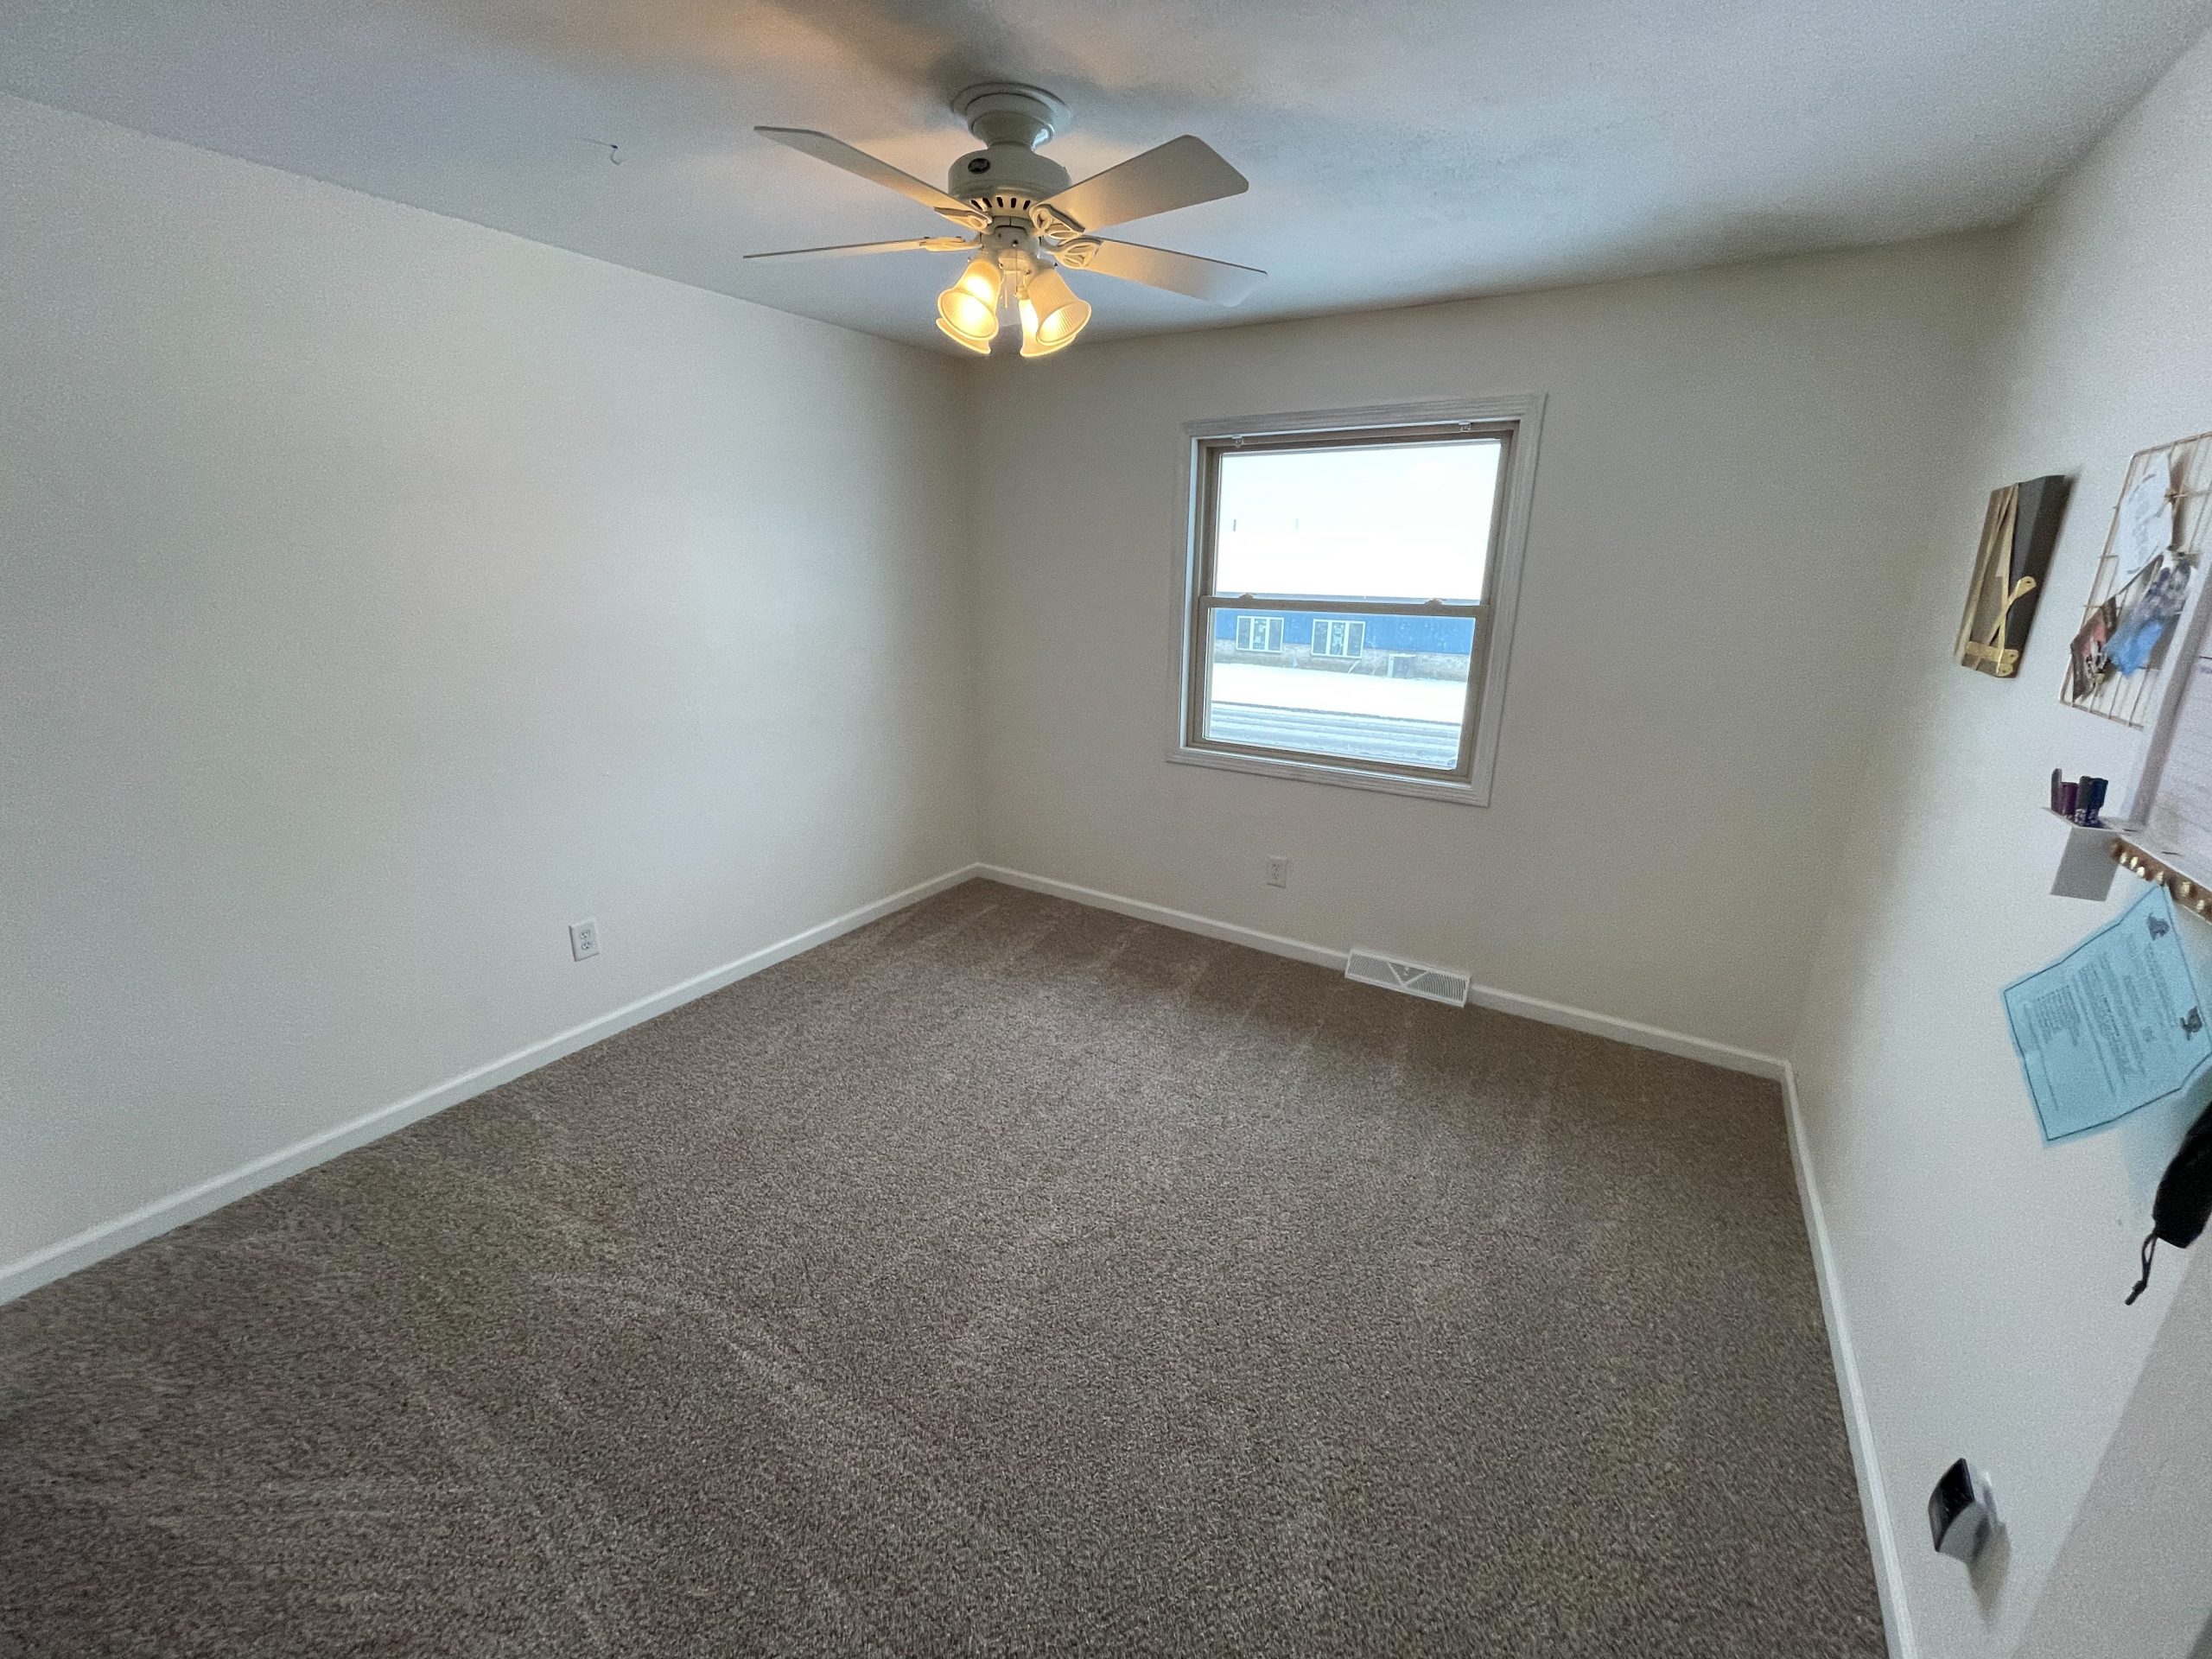
2021 after carpet, new baseboard trim and painted window trim

WALLPAPER ACCENT WALL
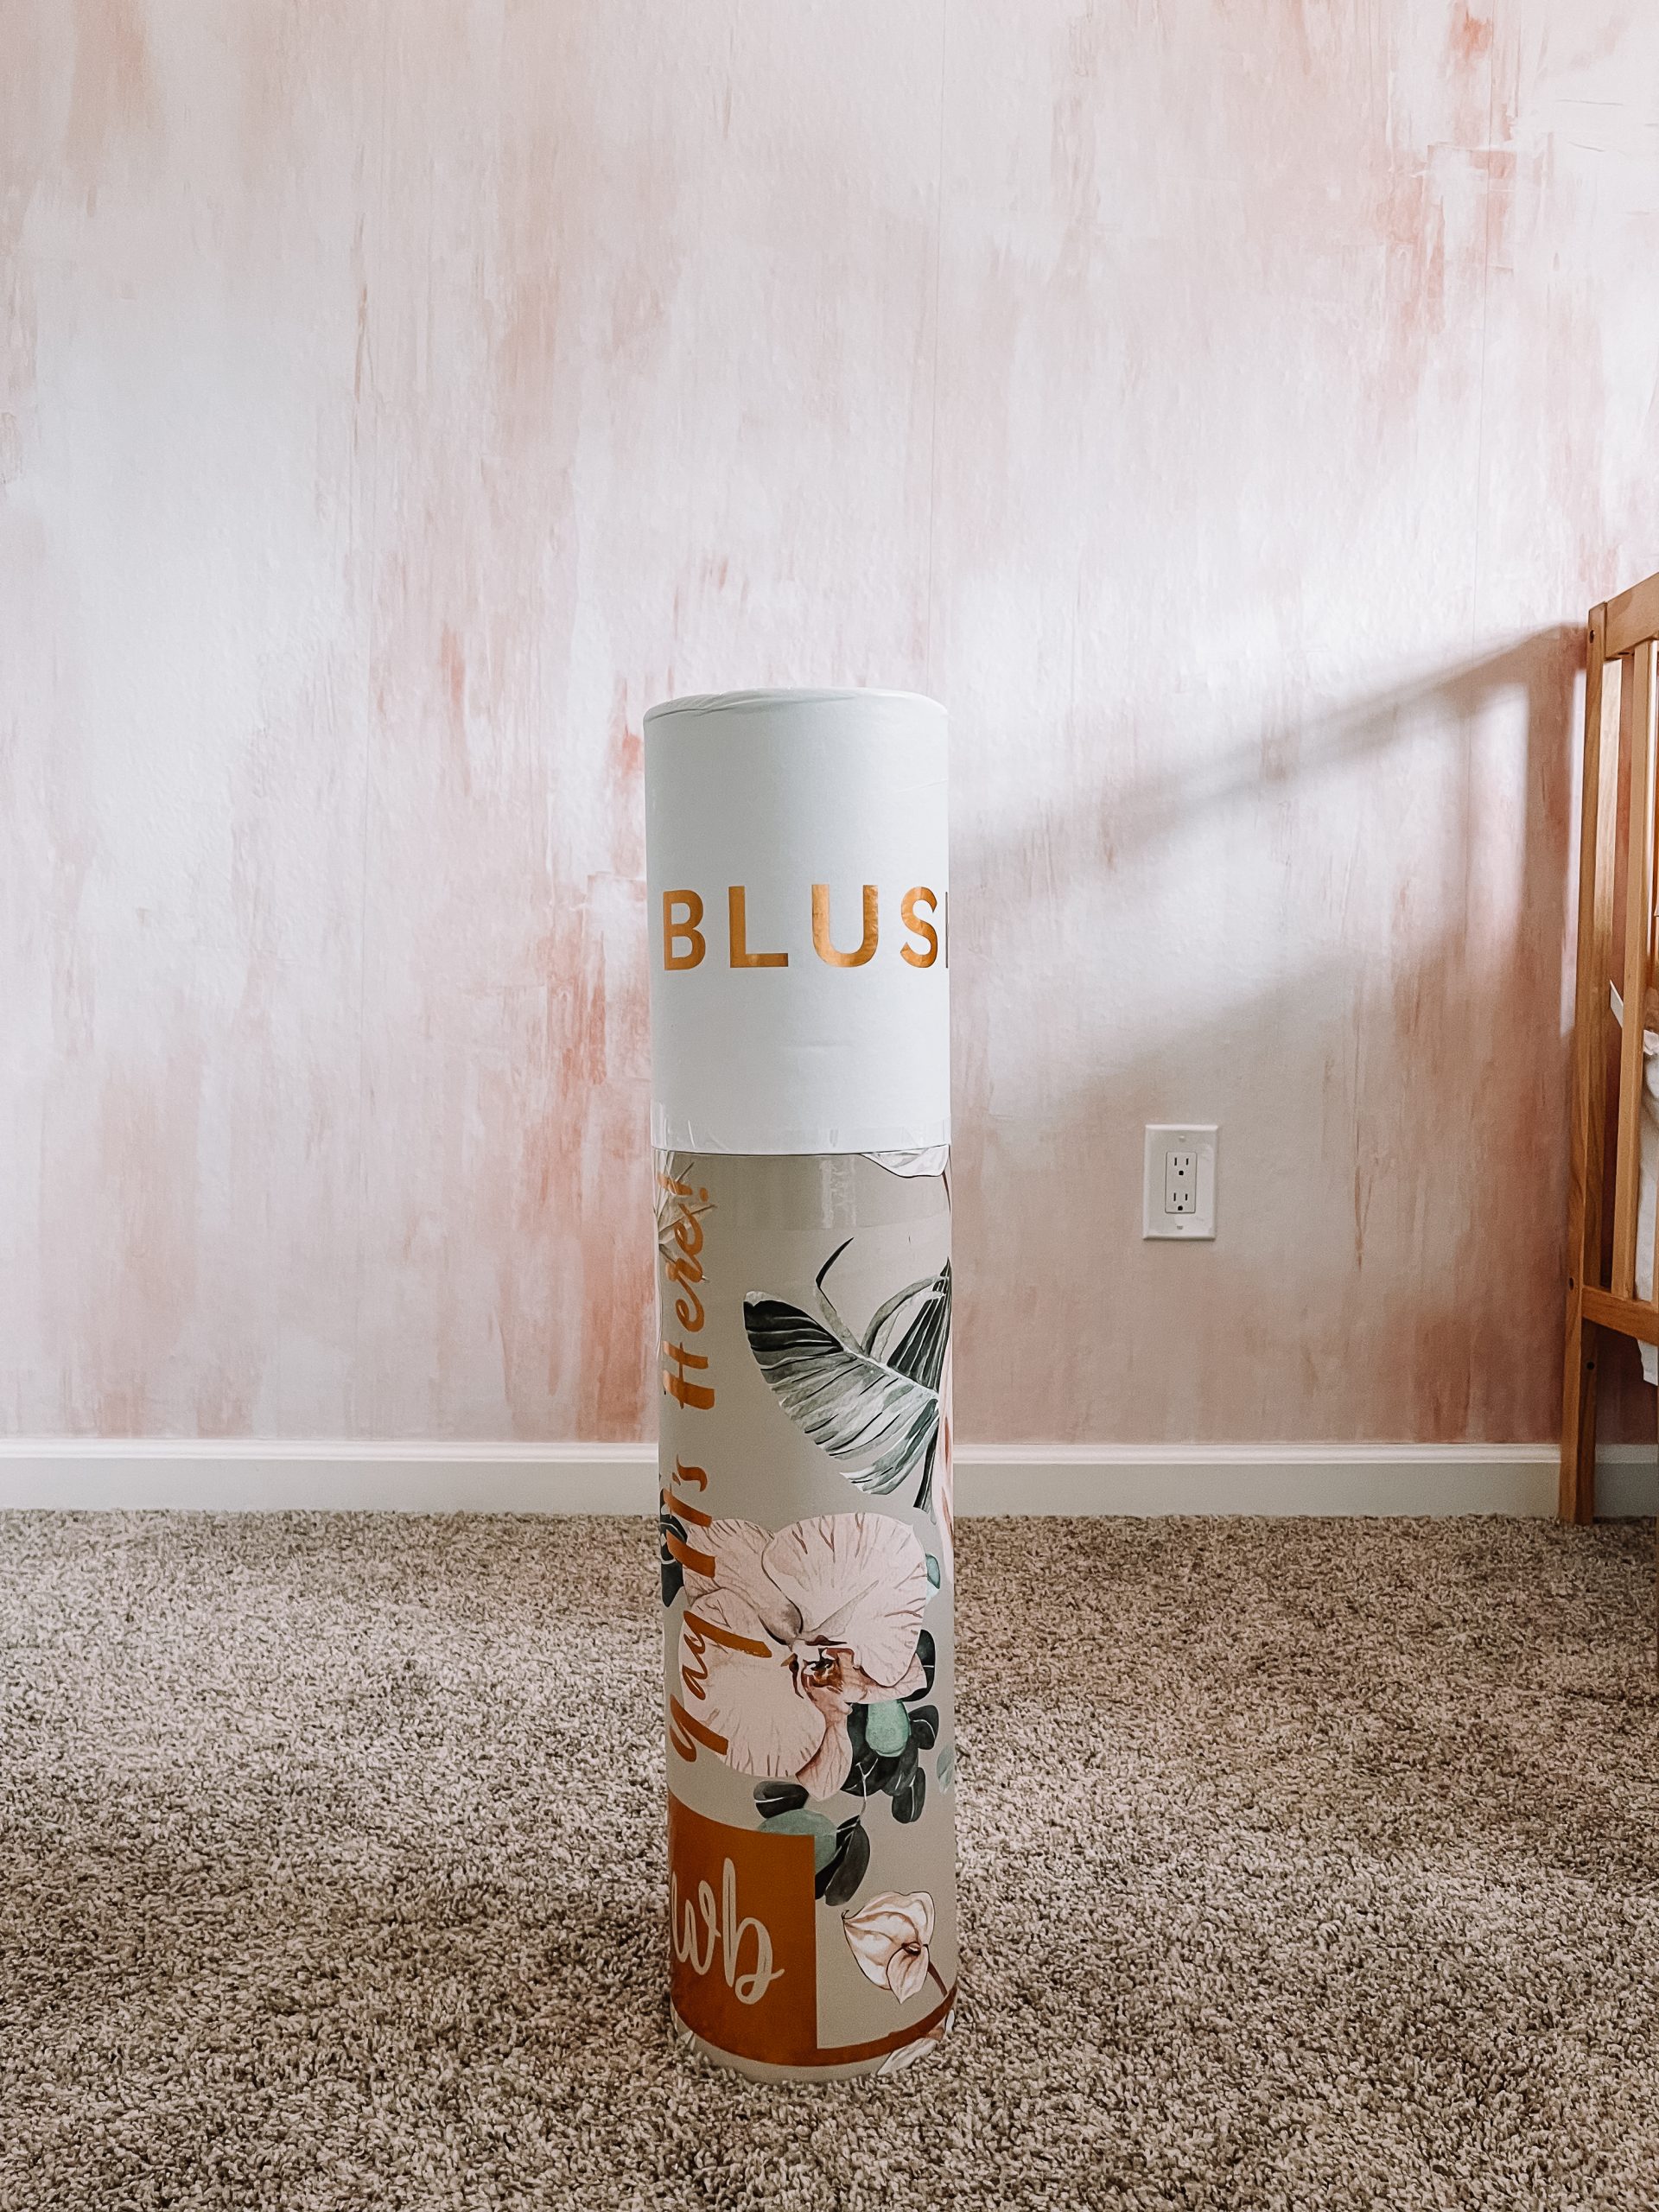
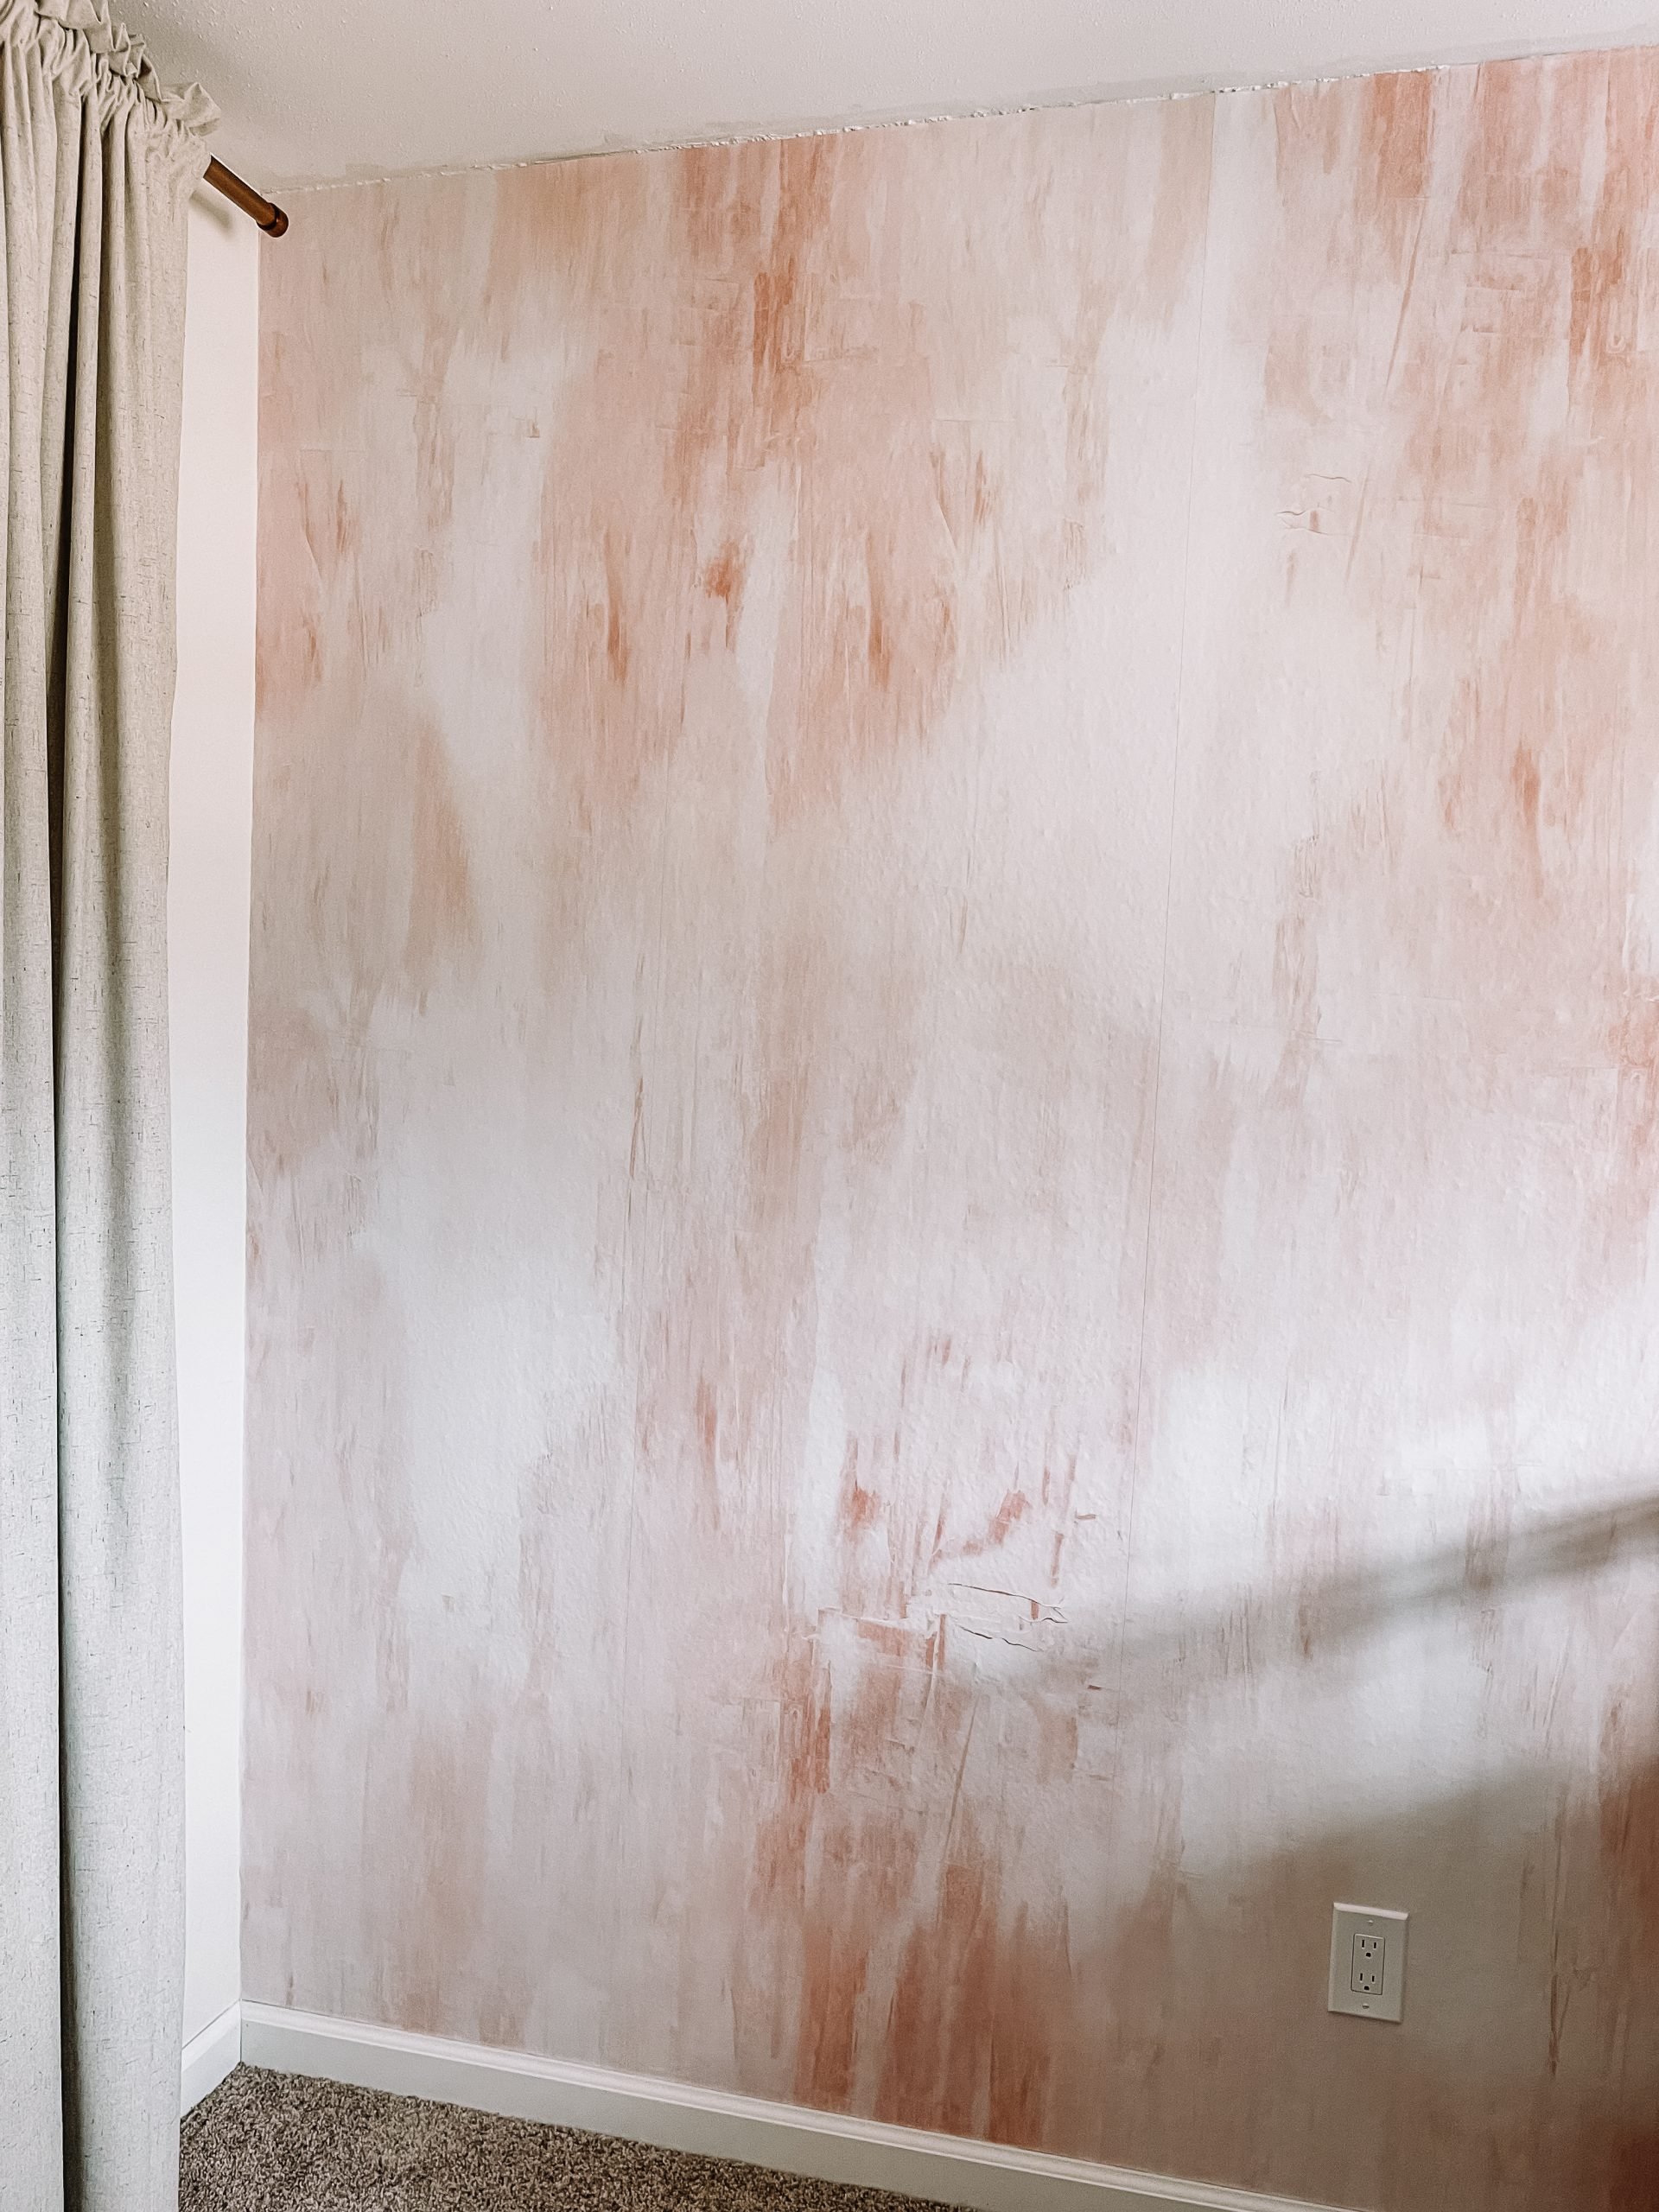
Our first project in this room after the carpet was the accent wall. I knew I wanted a fun wallpaper and found a few that I liked from Wall Blush. Ultimately, I chose this coral one called “Coral Cascades”. It was fairly easy to install and took just an afternoon.
Use code KelsieKristine15 for 15% off at Wallblush.com (not an affiliate link)
As you can see in the photo below, the top of the wall is not quite straight from the multiple coats of paint that were on the wall and ceiling prior to us living here. Conor wanted to use quarter round to trim out the wall, but when he went to install it, it was more of a hassle than anything because the ceiling isn’t level or a true 45 degree angle. I told him to skip it and it honestly isn’t that noticeable in person.
The video shows a quick time lapse installing the wallpaper panels.
DRESSER REFURBISH | Bleached Wood Look
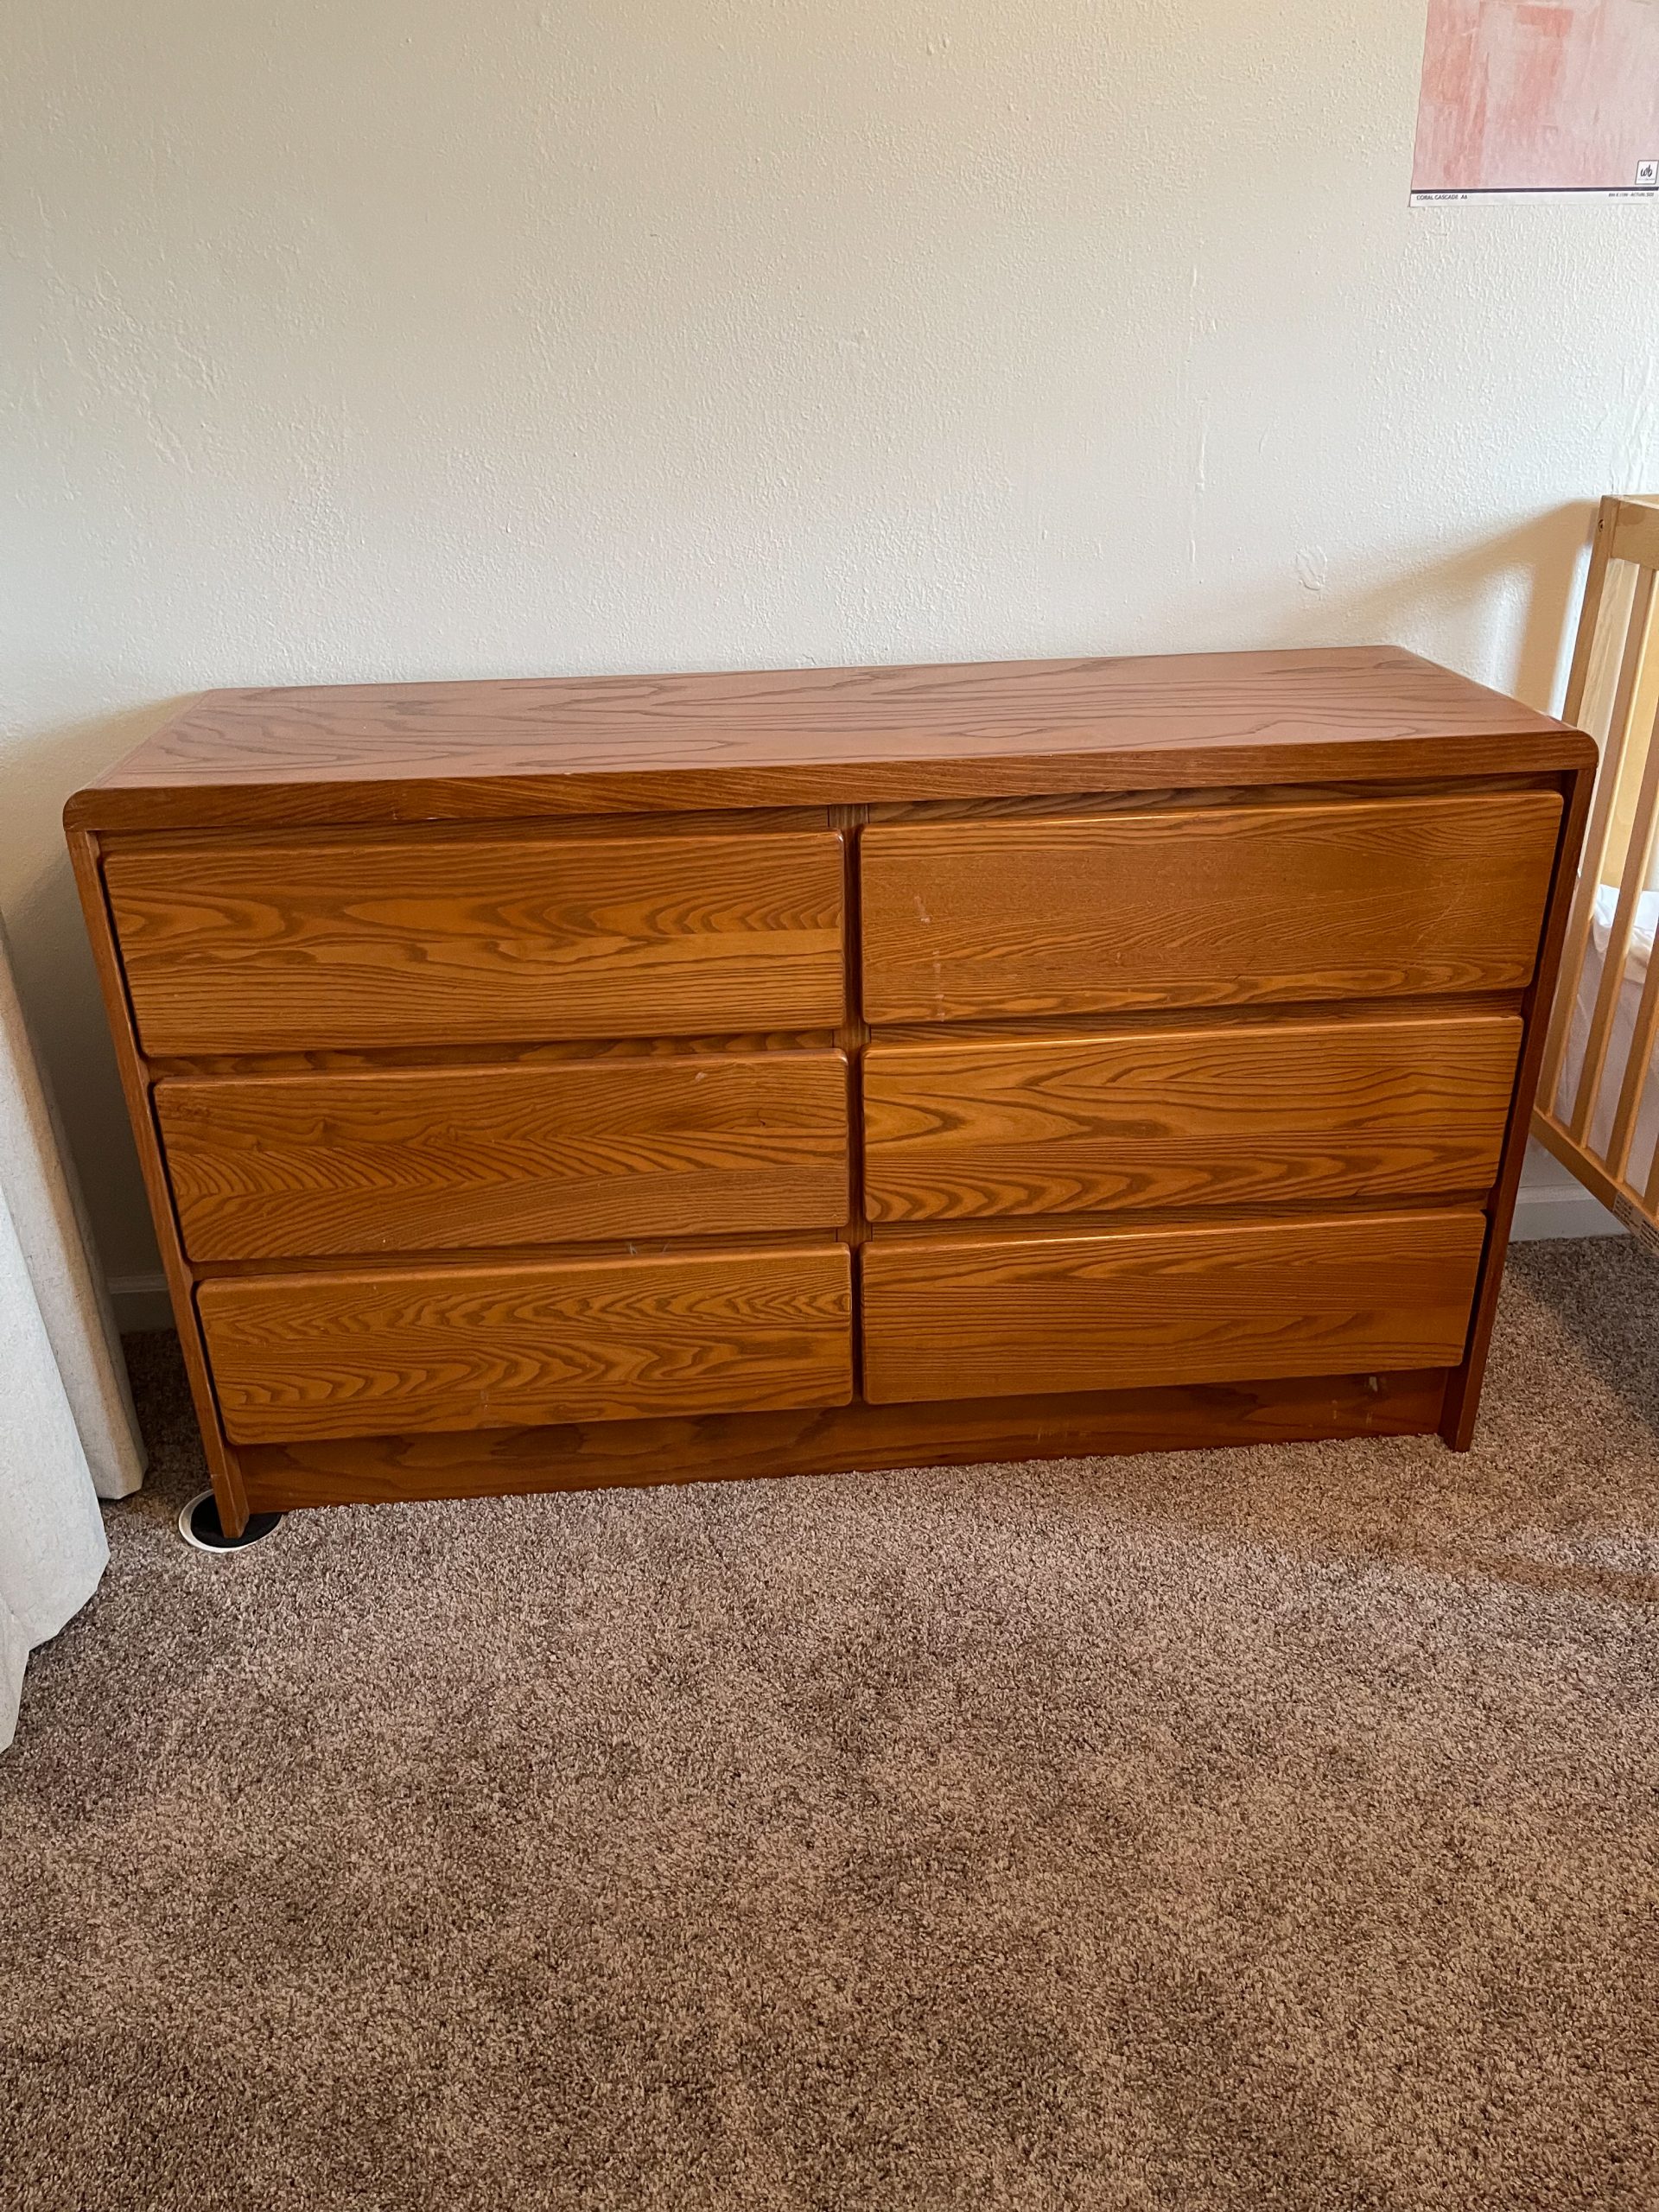
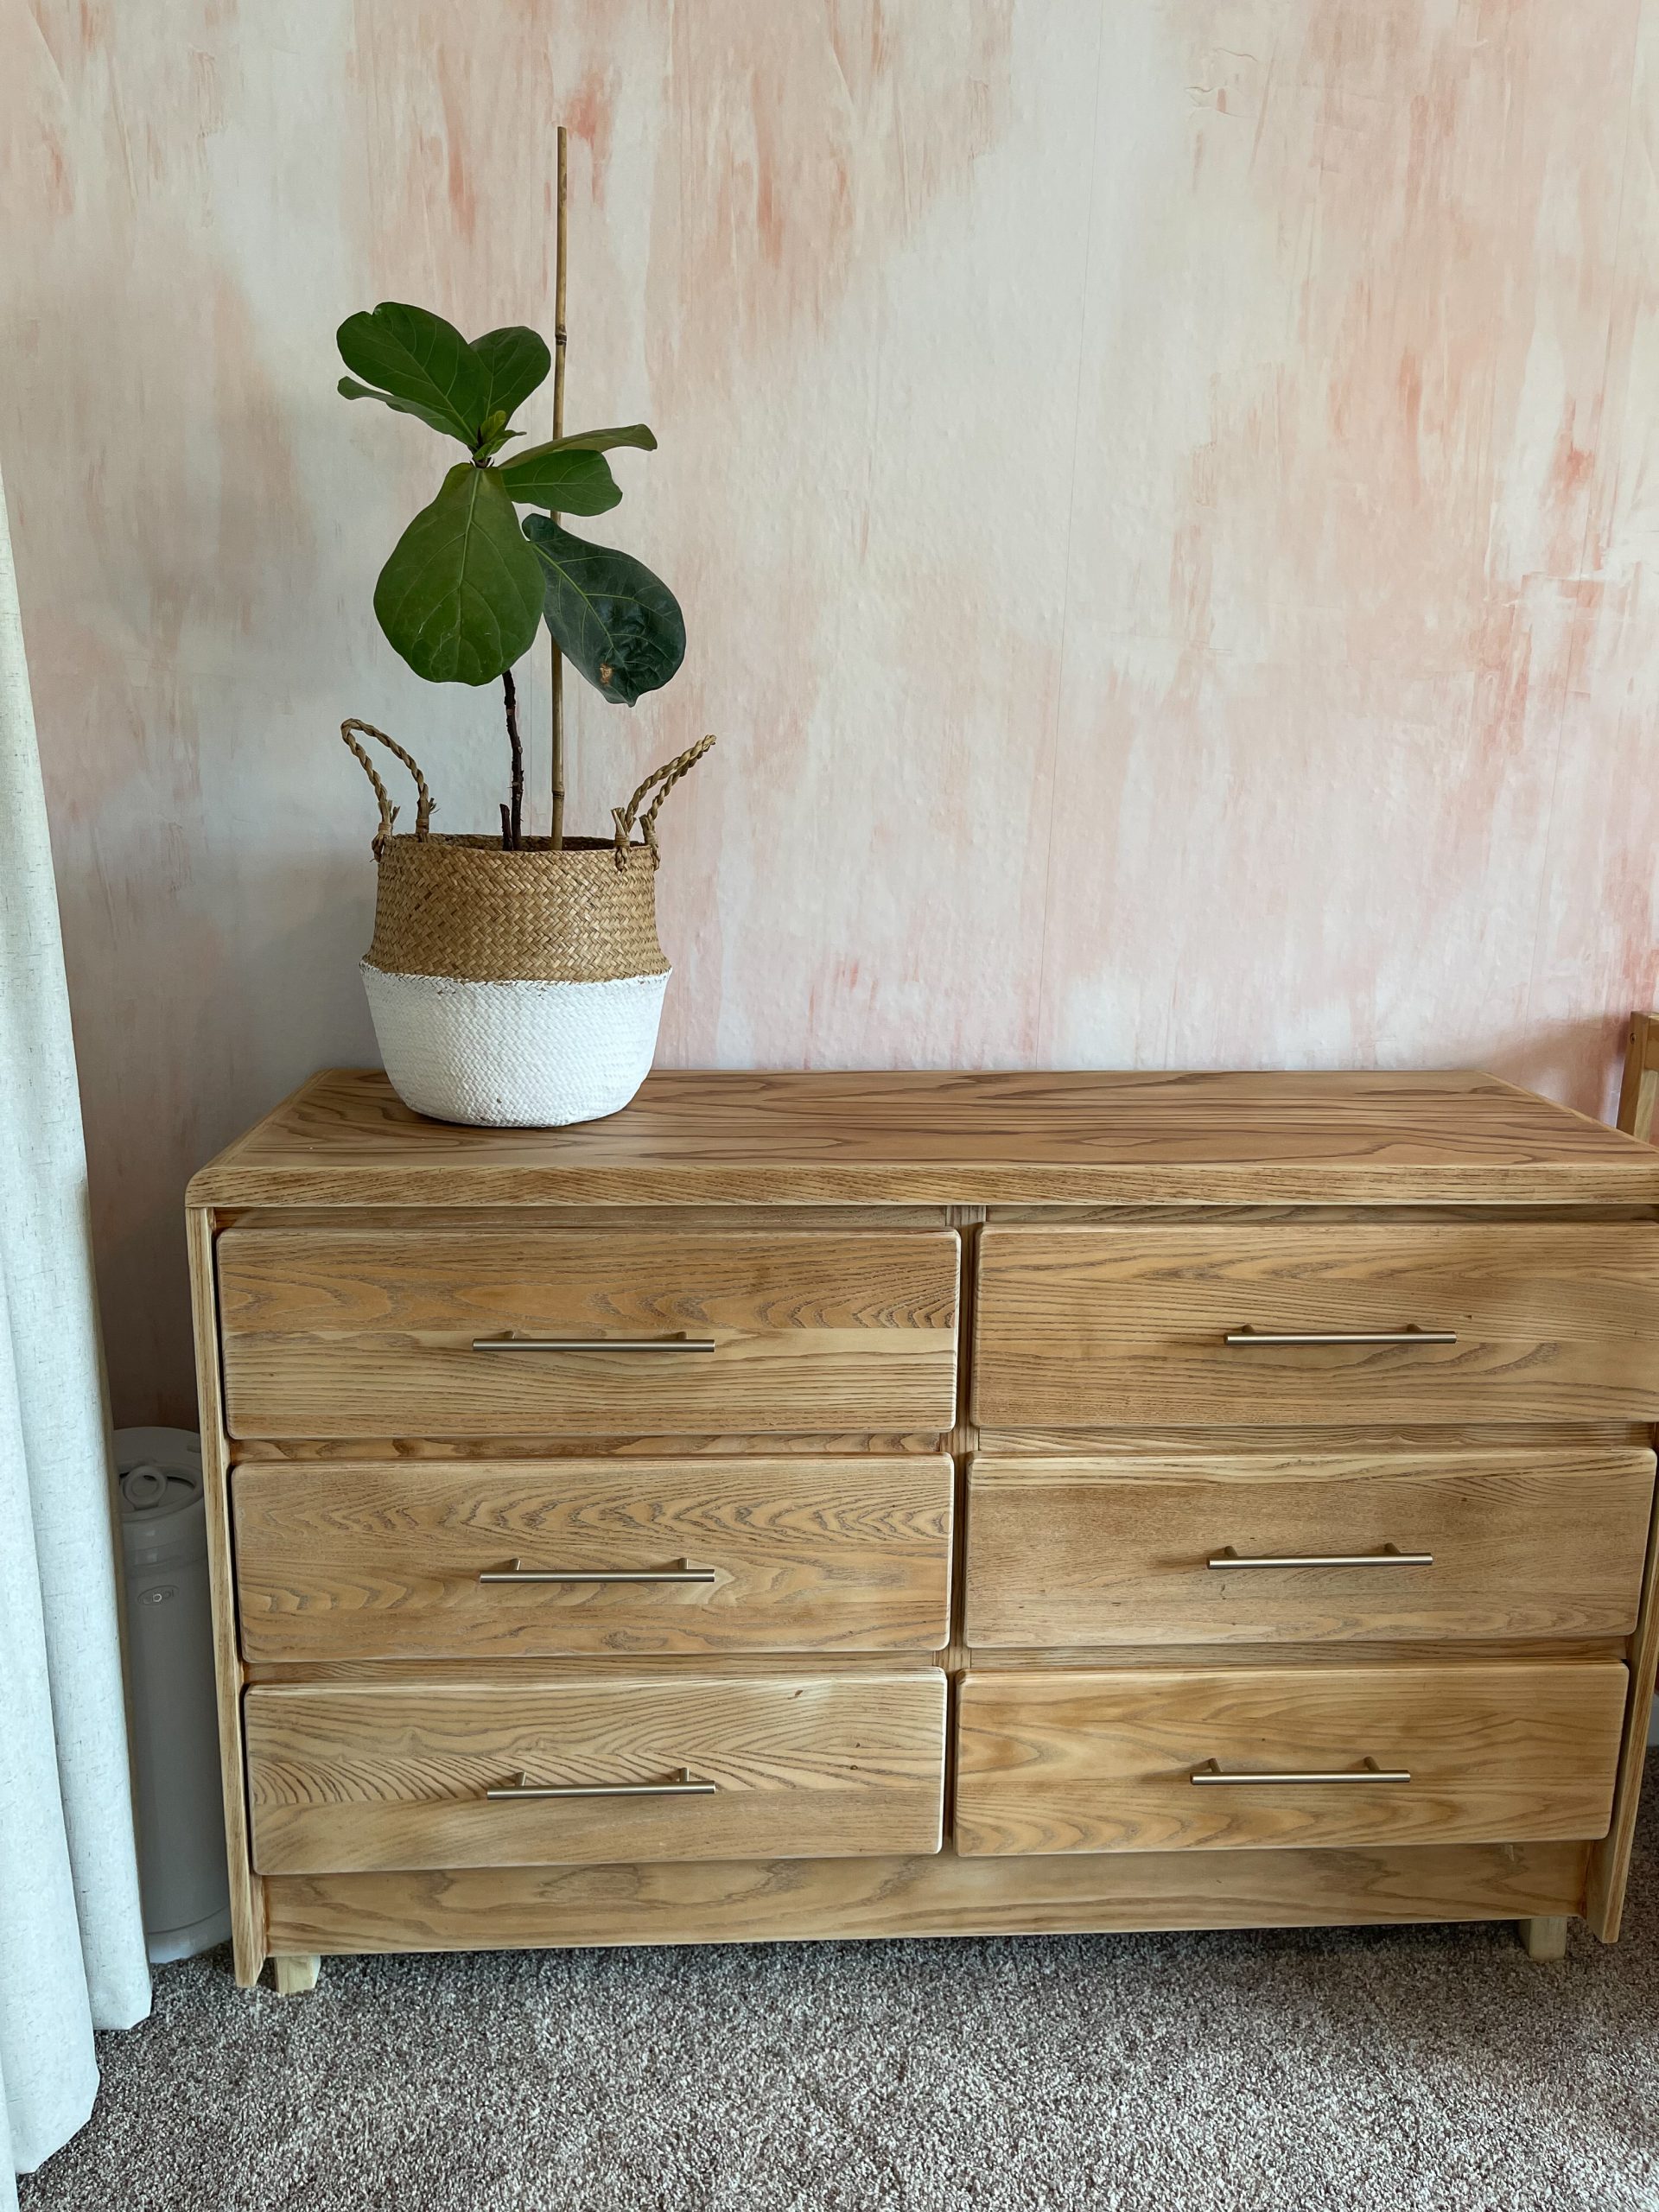
Our second project in here was the dresser. I had always wanted to redo it so this was the perfect time to do so. This was actually part of Conor’s childhood furniture set. It was a very yellow-orange finish. We wanted a bleached wood look since that’s very popular right now. It was our first time trying this, but we think it turned out pretty well!
- BEFORE
- AFTER
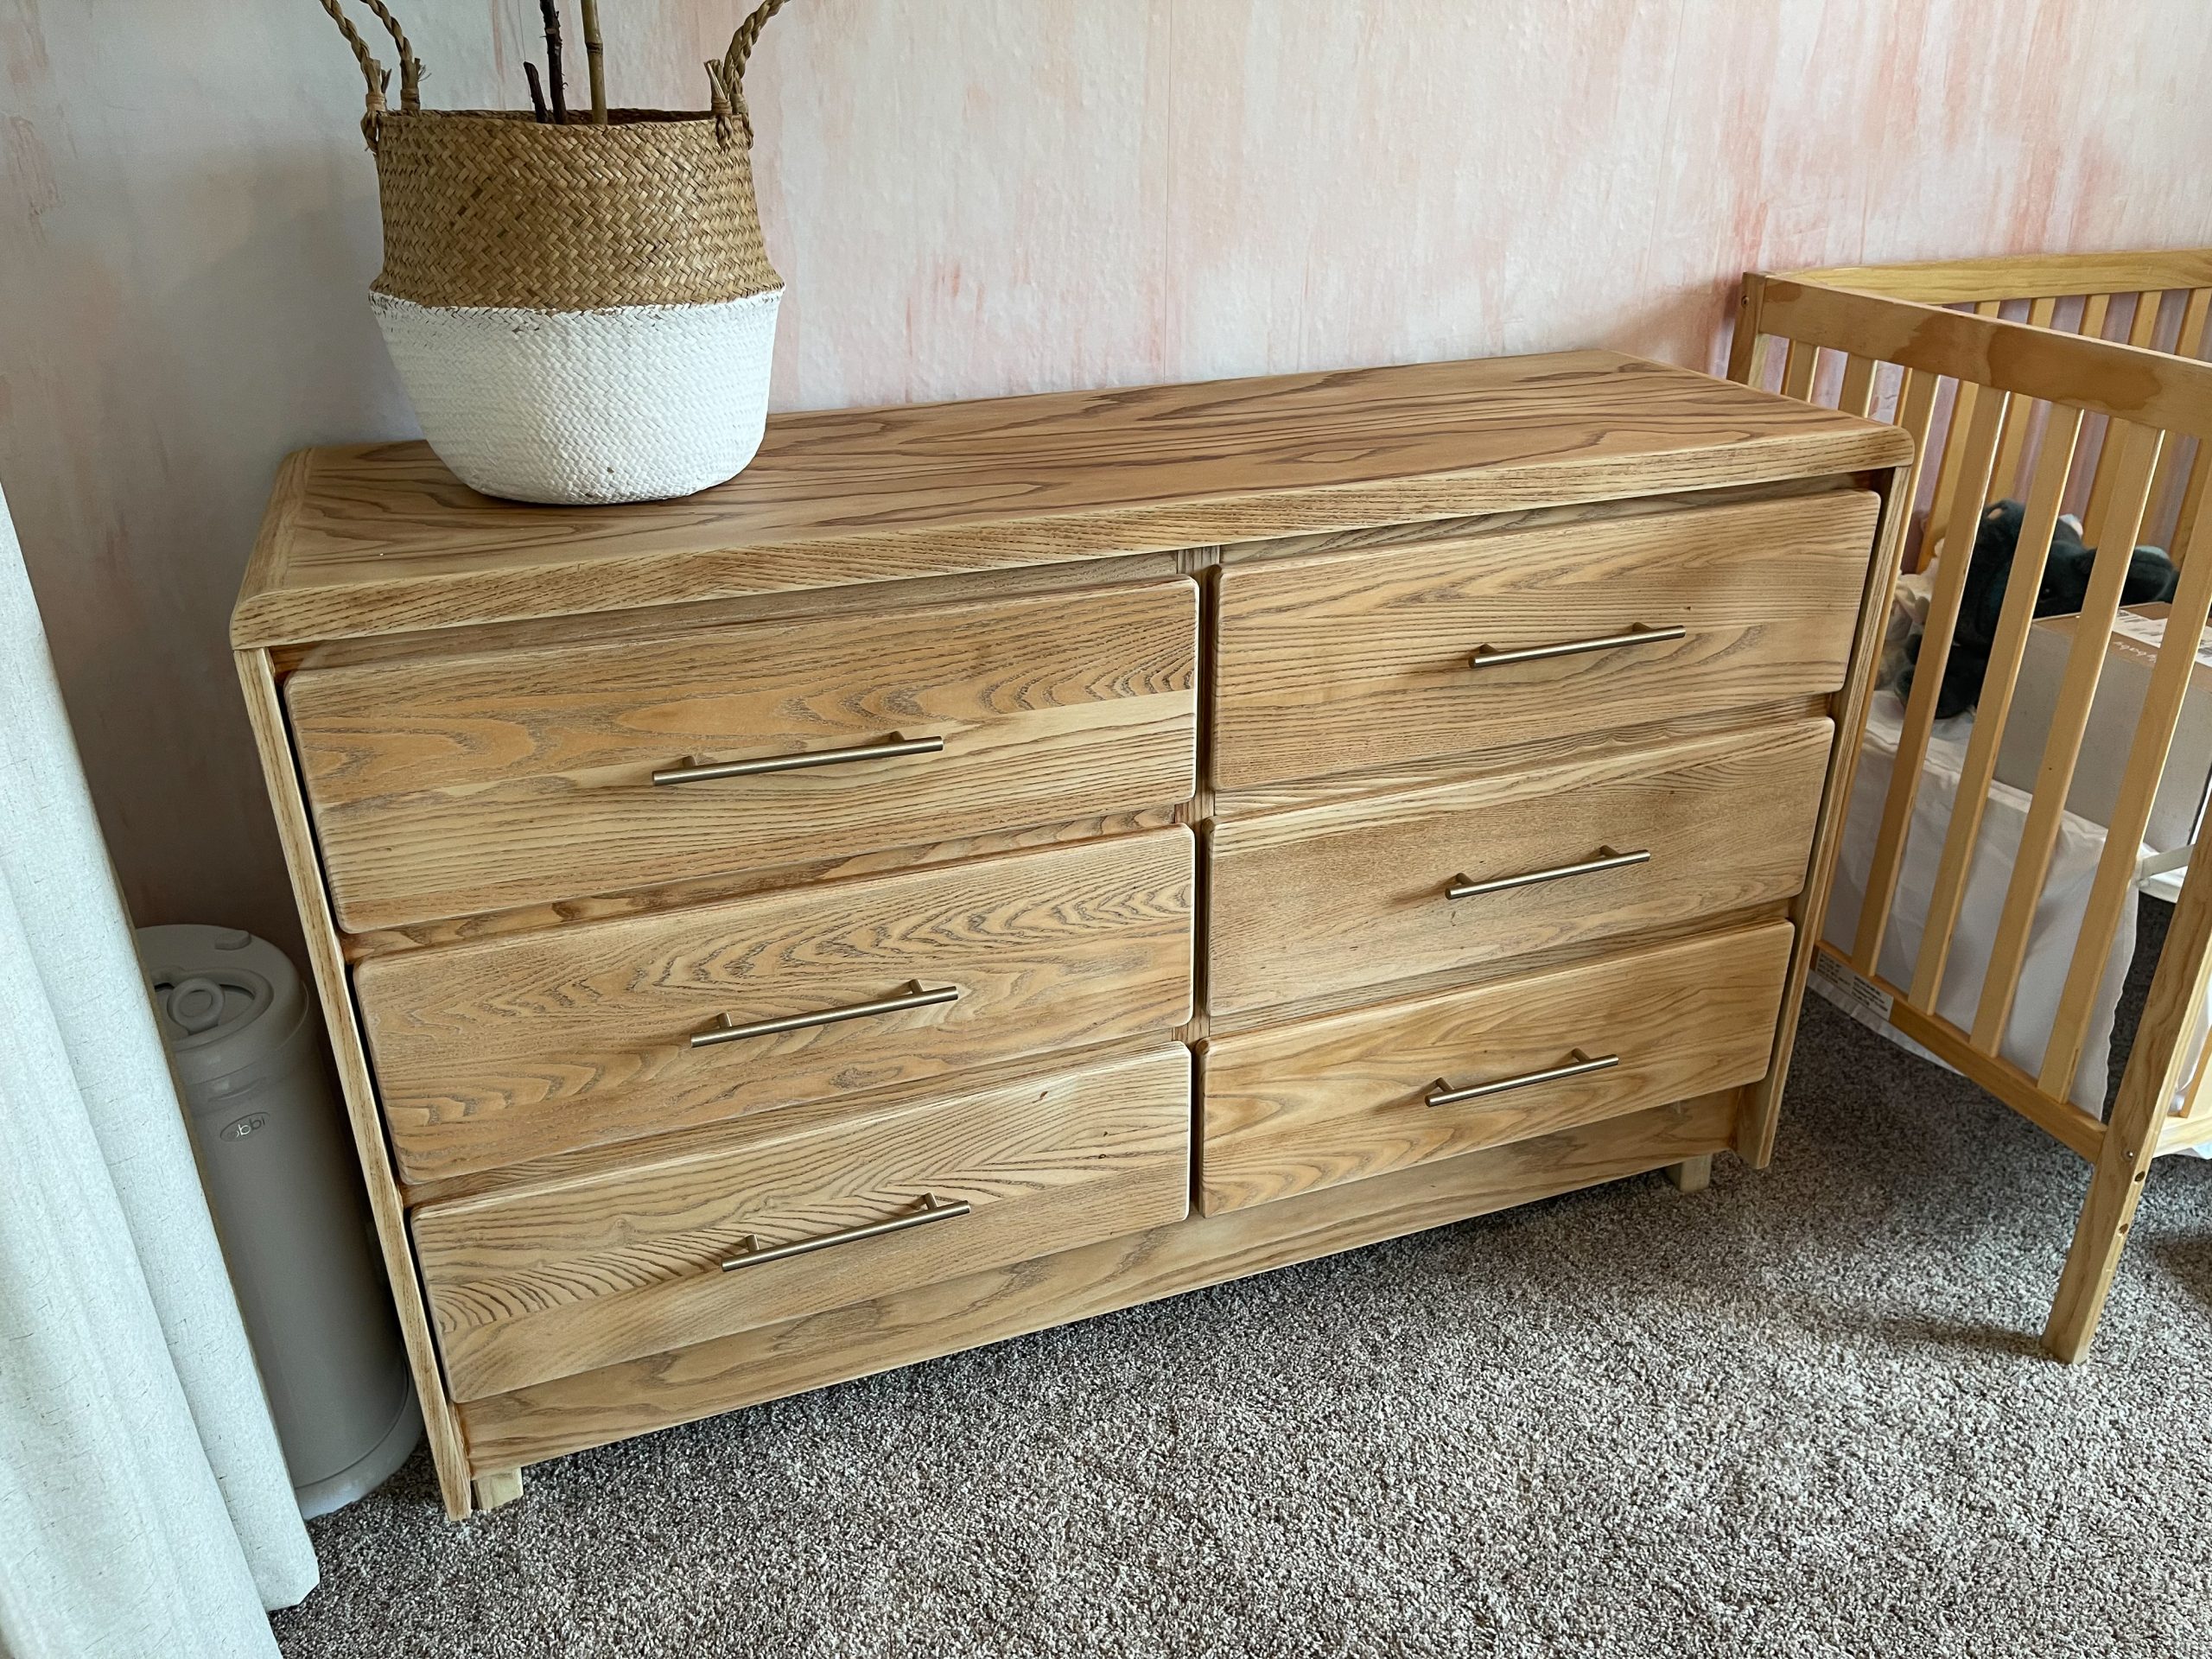
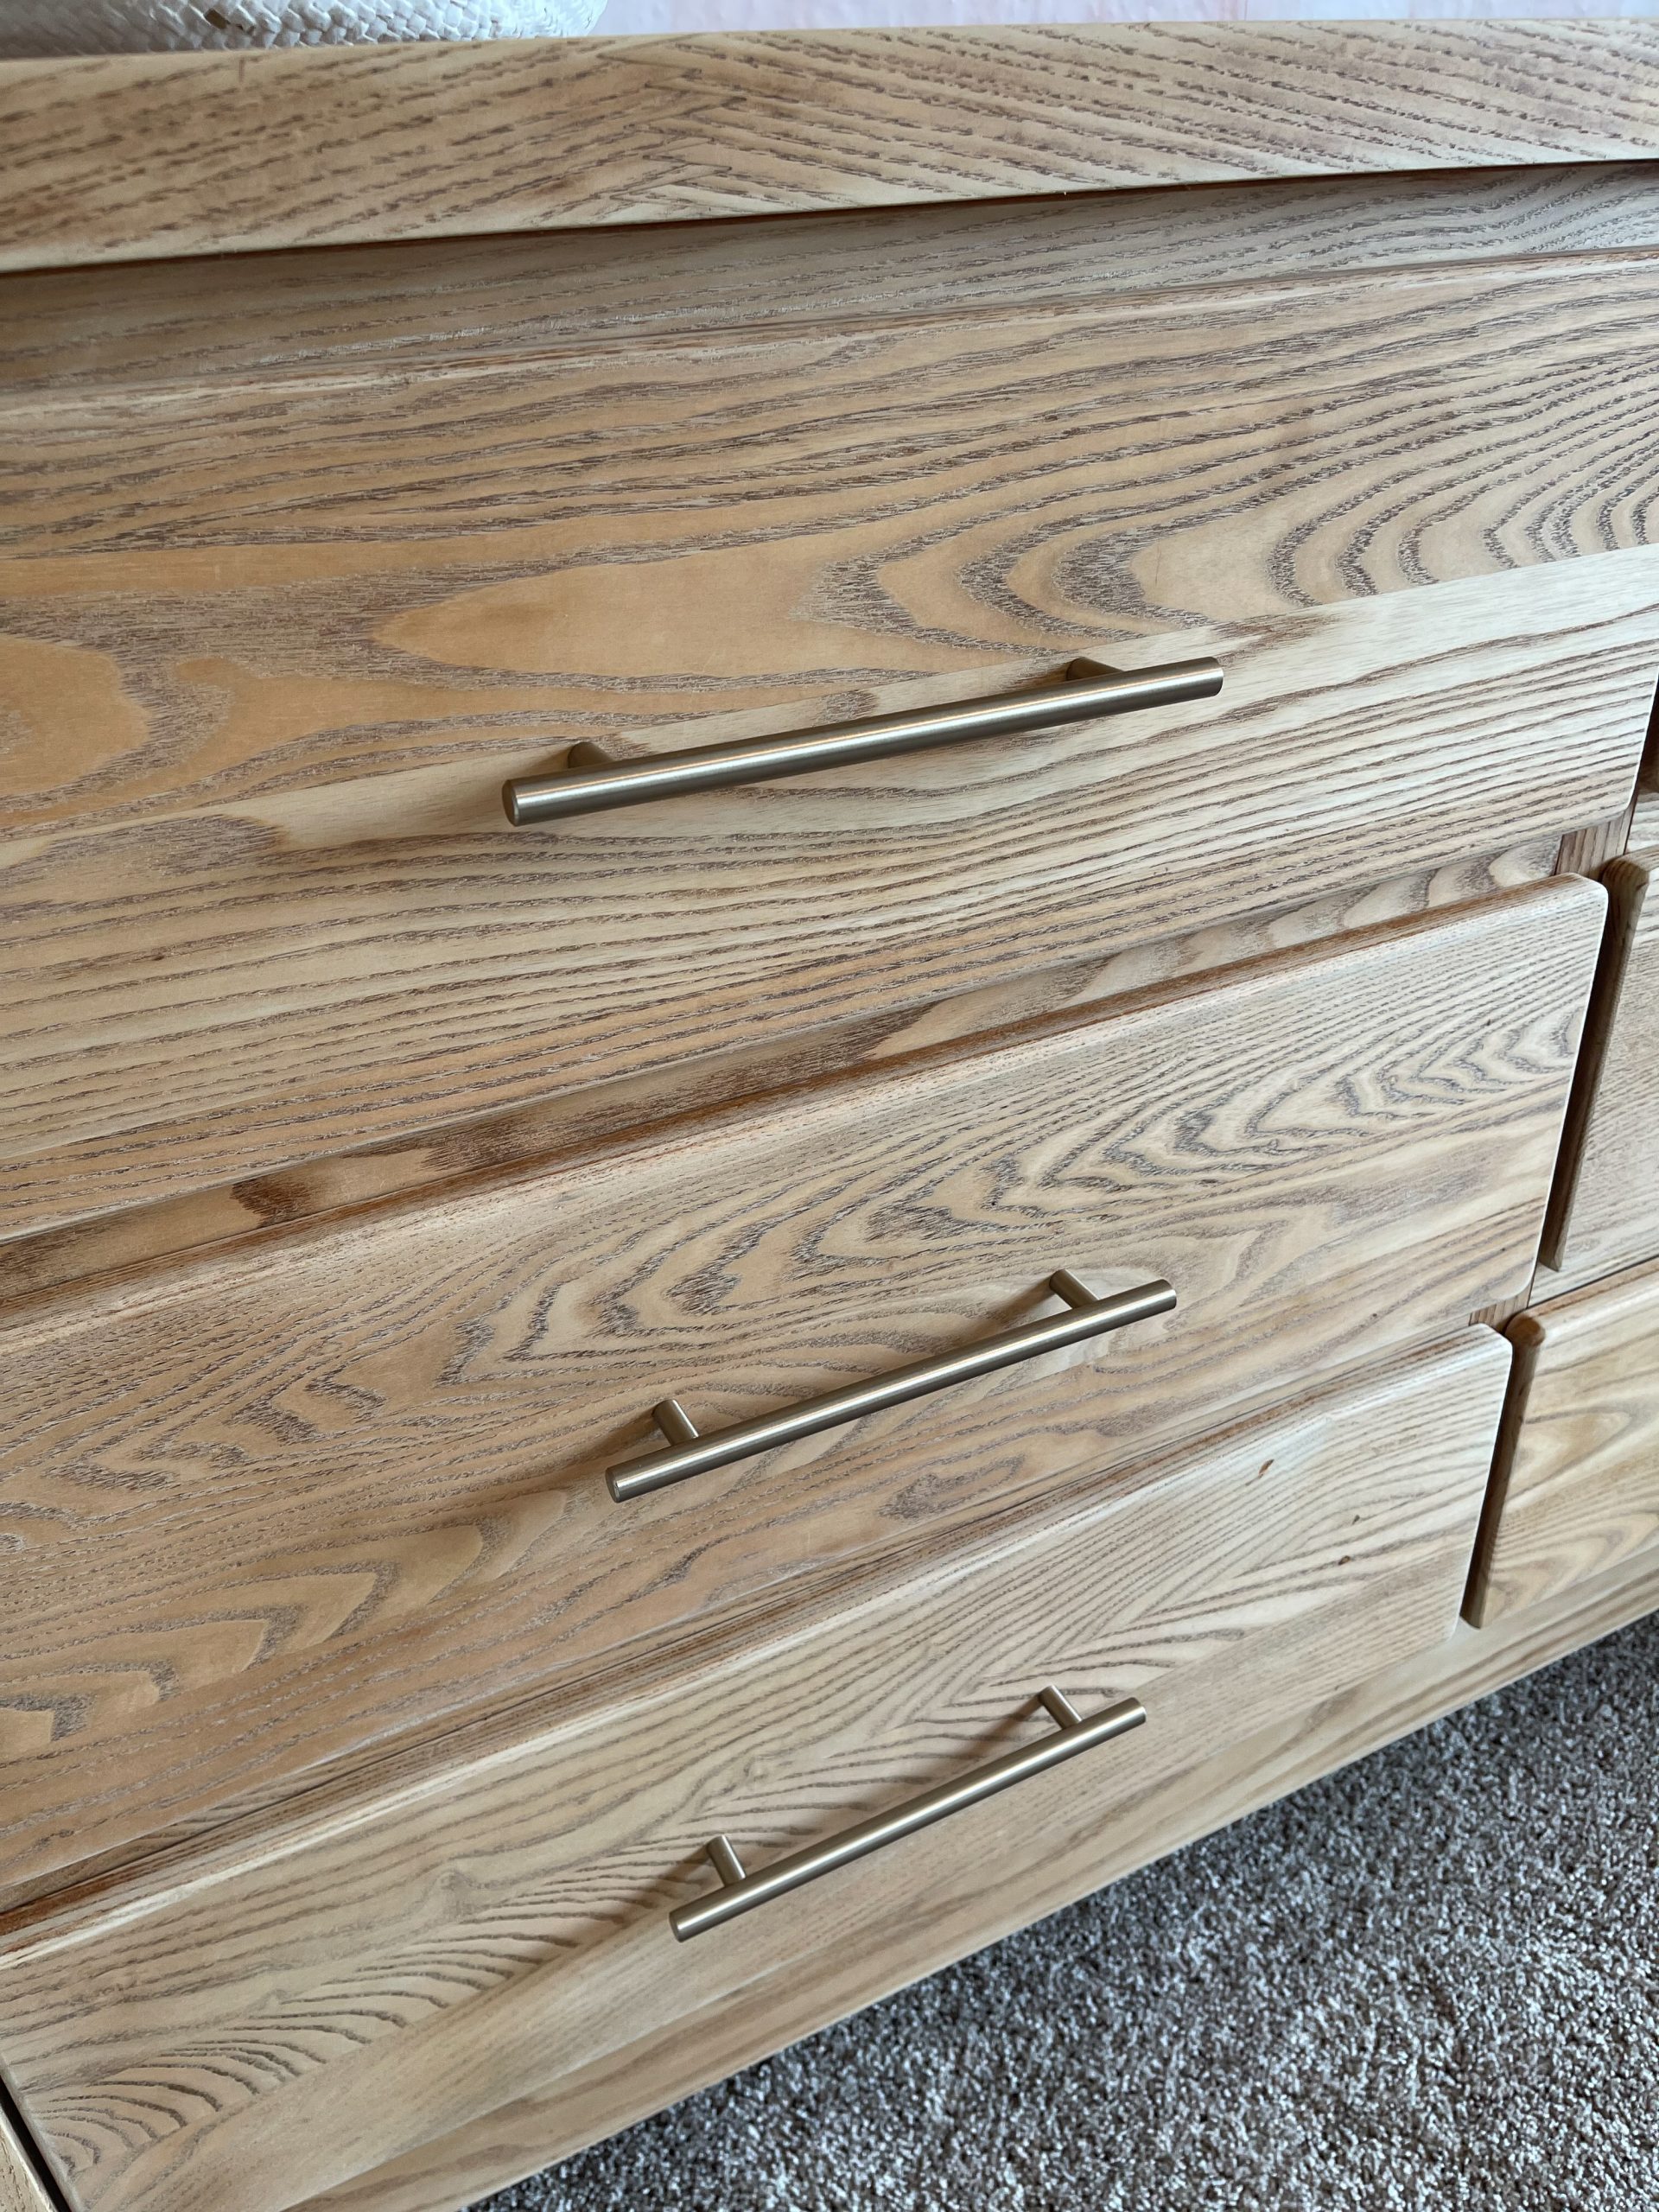
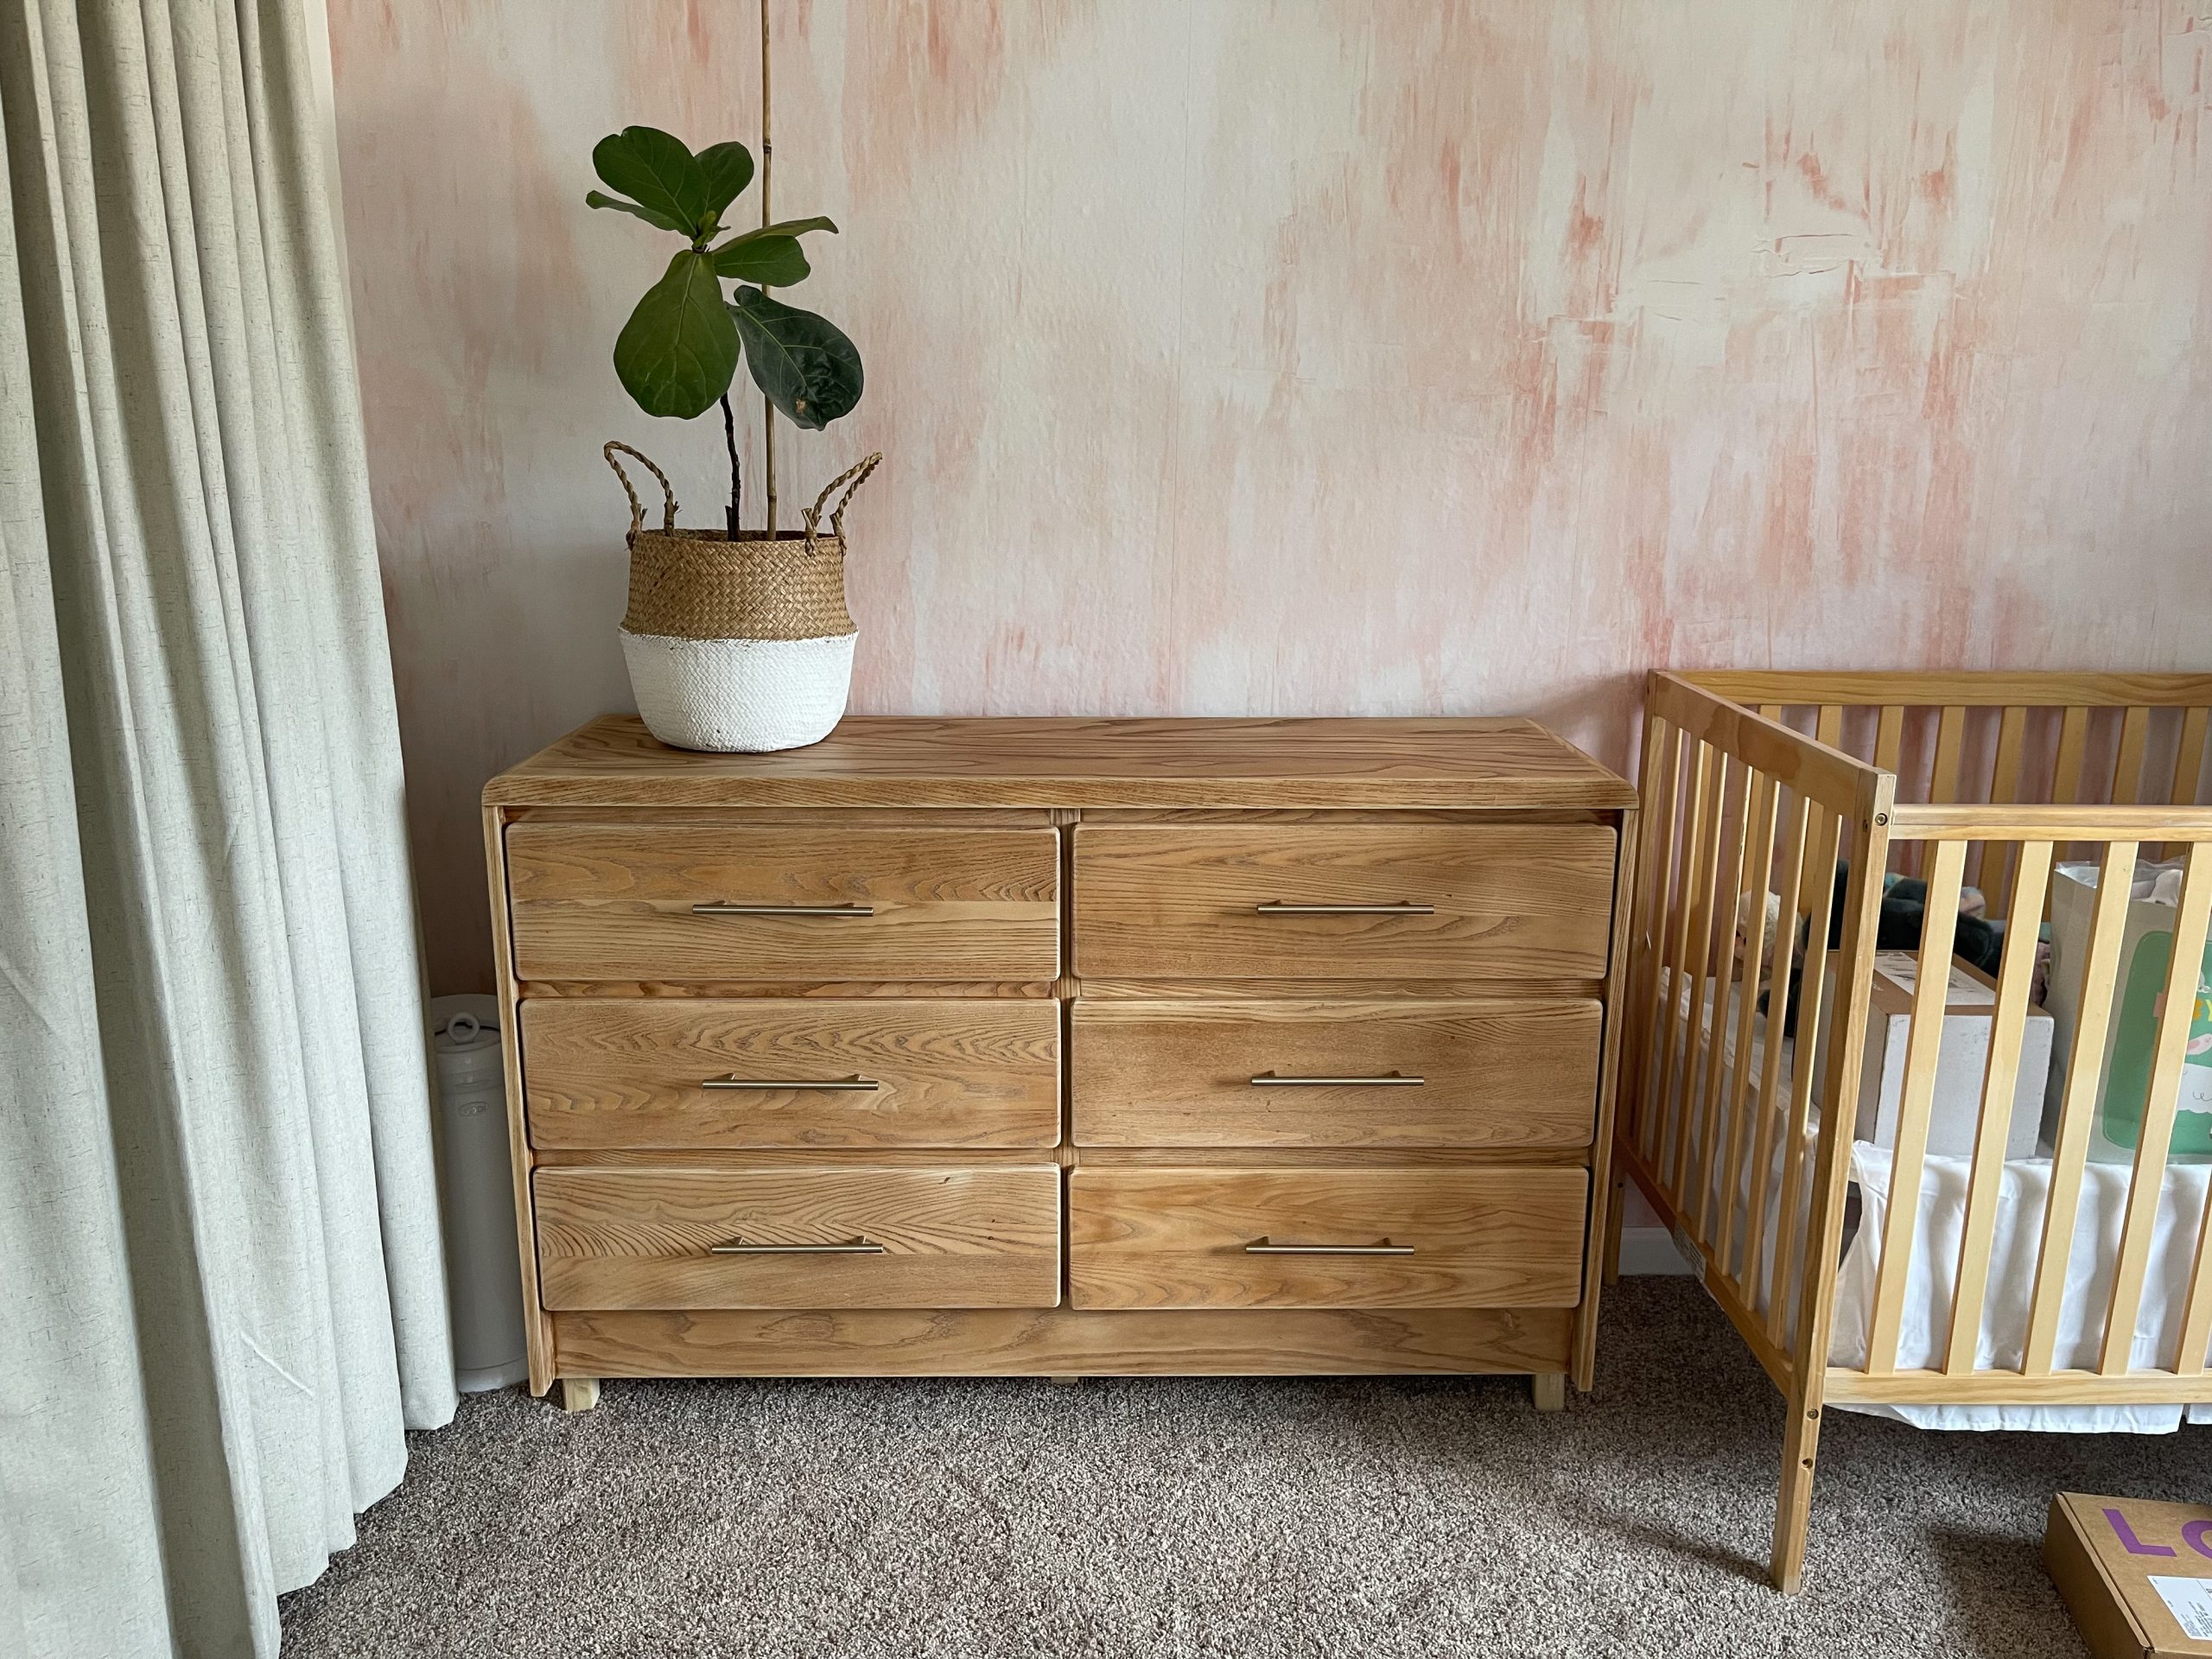
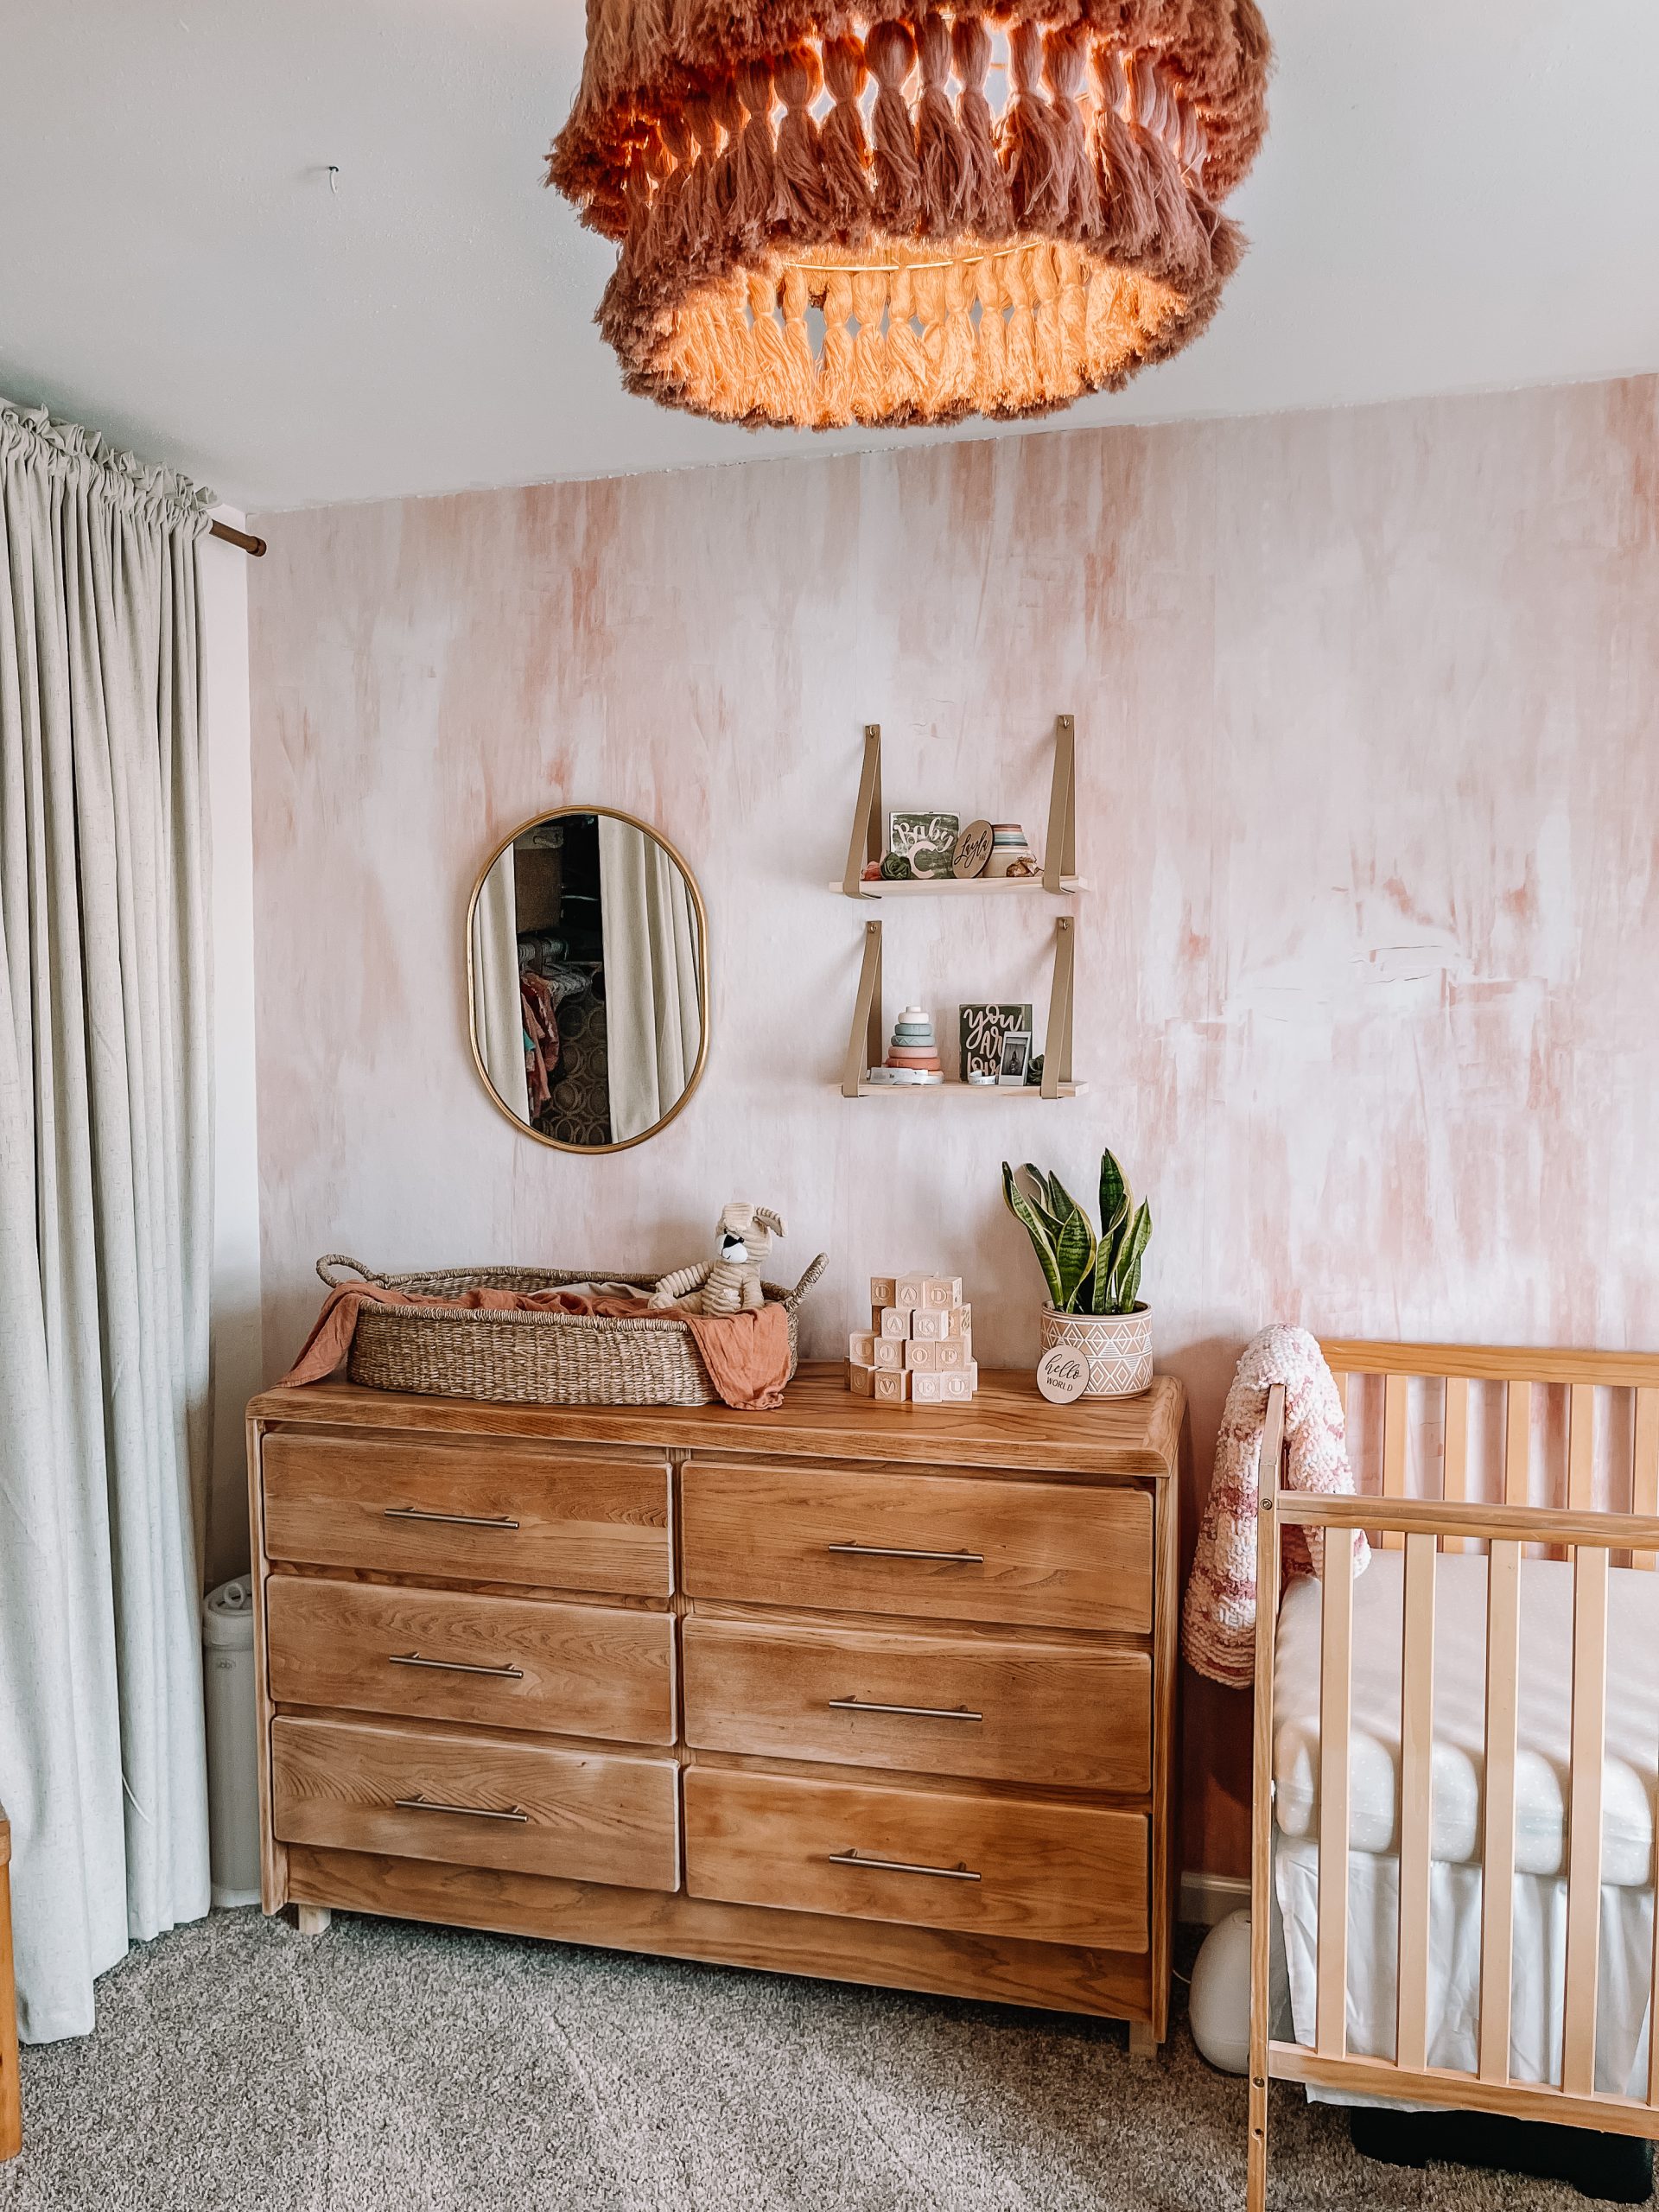
We stripped the varnish, sanded it, then bleached the wood. After, we added a finishing wax and new hardware. We added legs to it too so it would be the perfect height for a changing table. We originally bought 6 inch legs and they were way too tall, so they were cut down about 3 inches. They’re not the cutest legs, but they work! 😉
I’ll be sharing a blog post with a more in-depth HOW TO for refurbishing this dresser, but the video at the end of this post shows quite a bit too!
NEW LIGHT
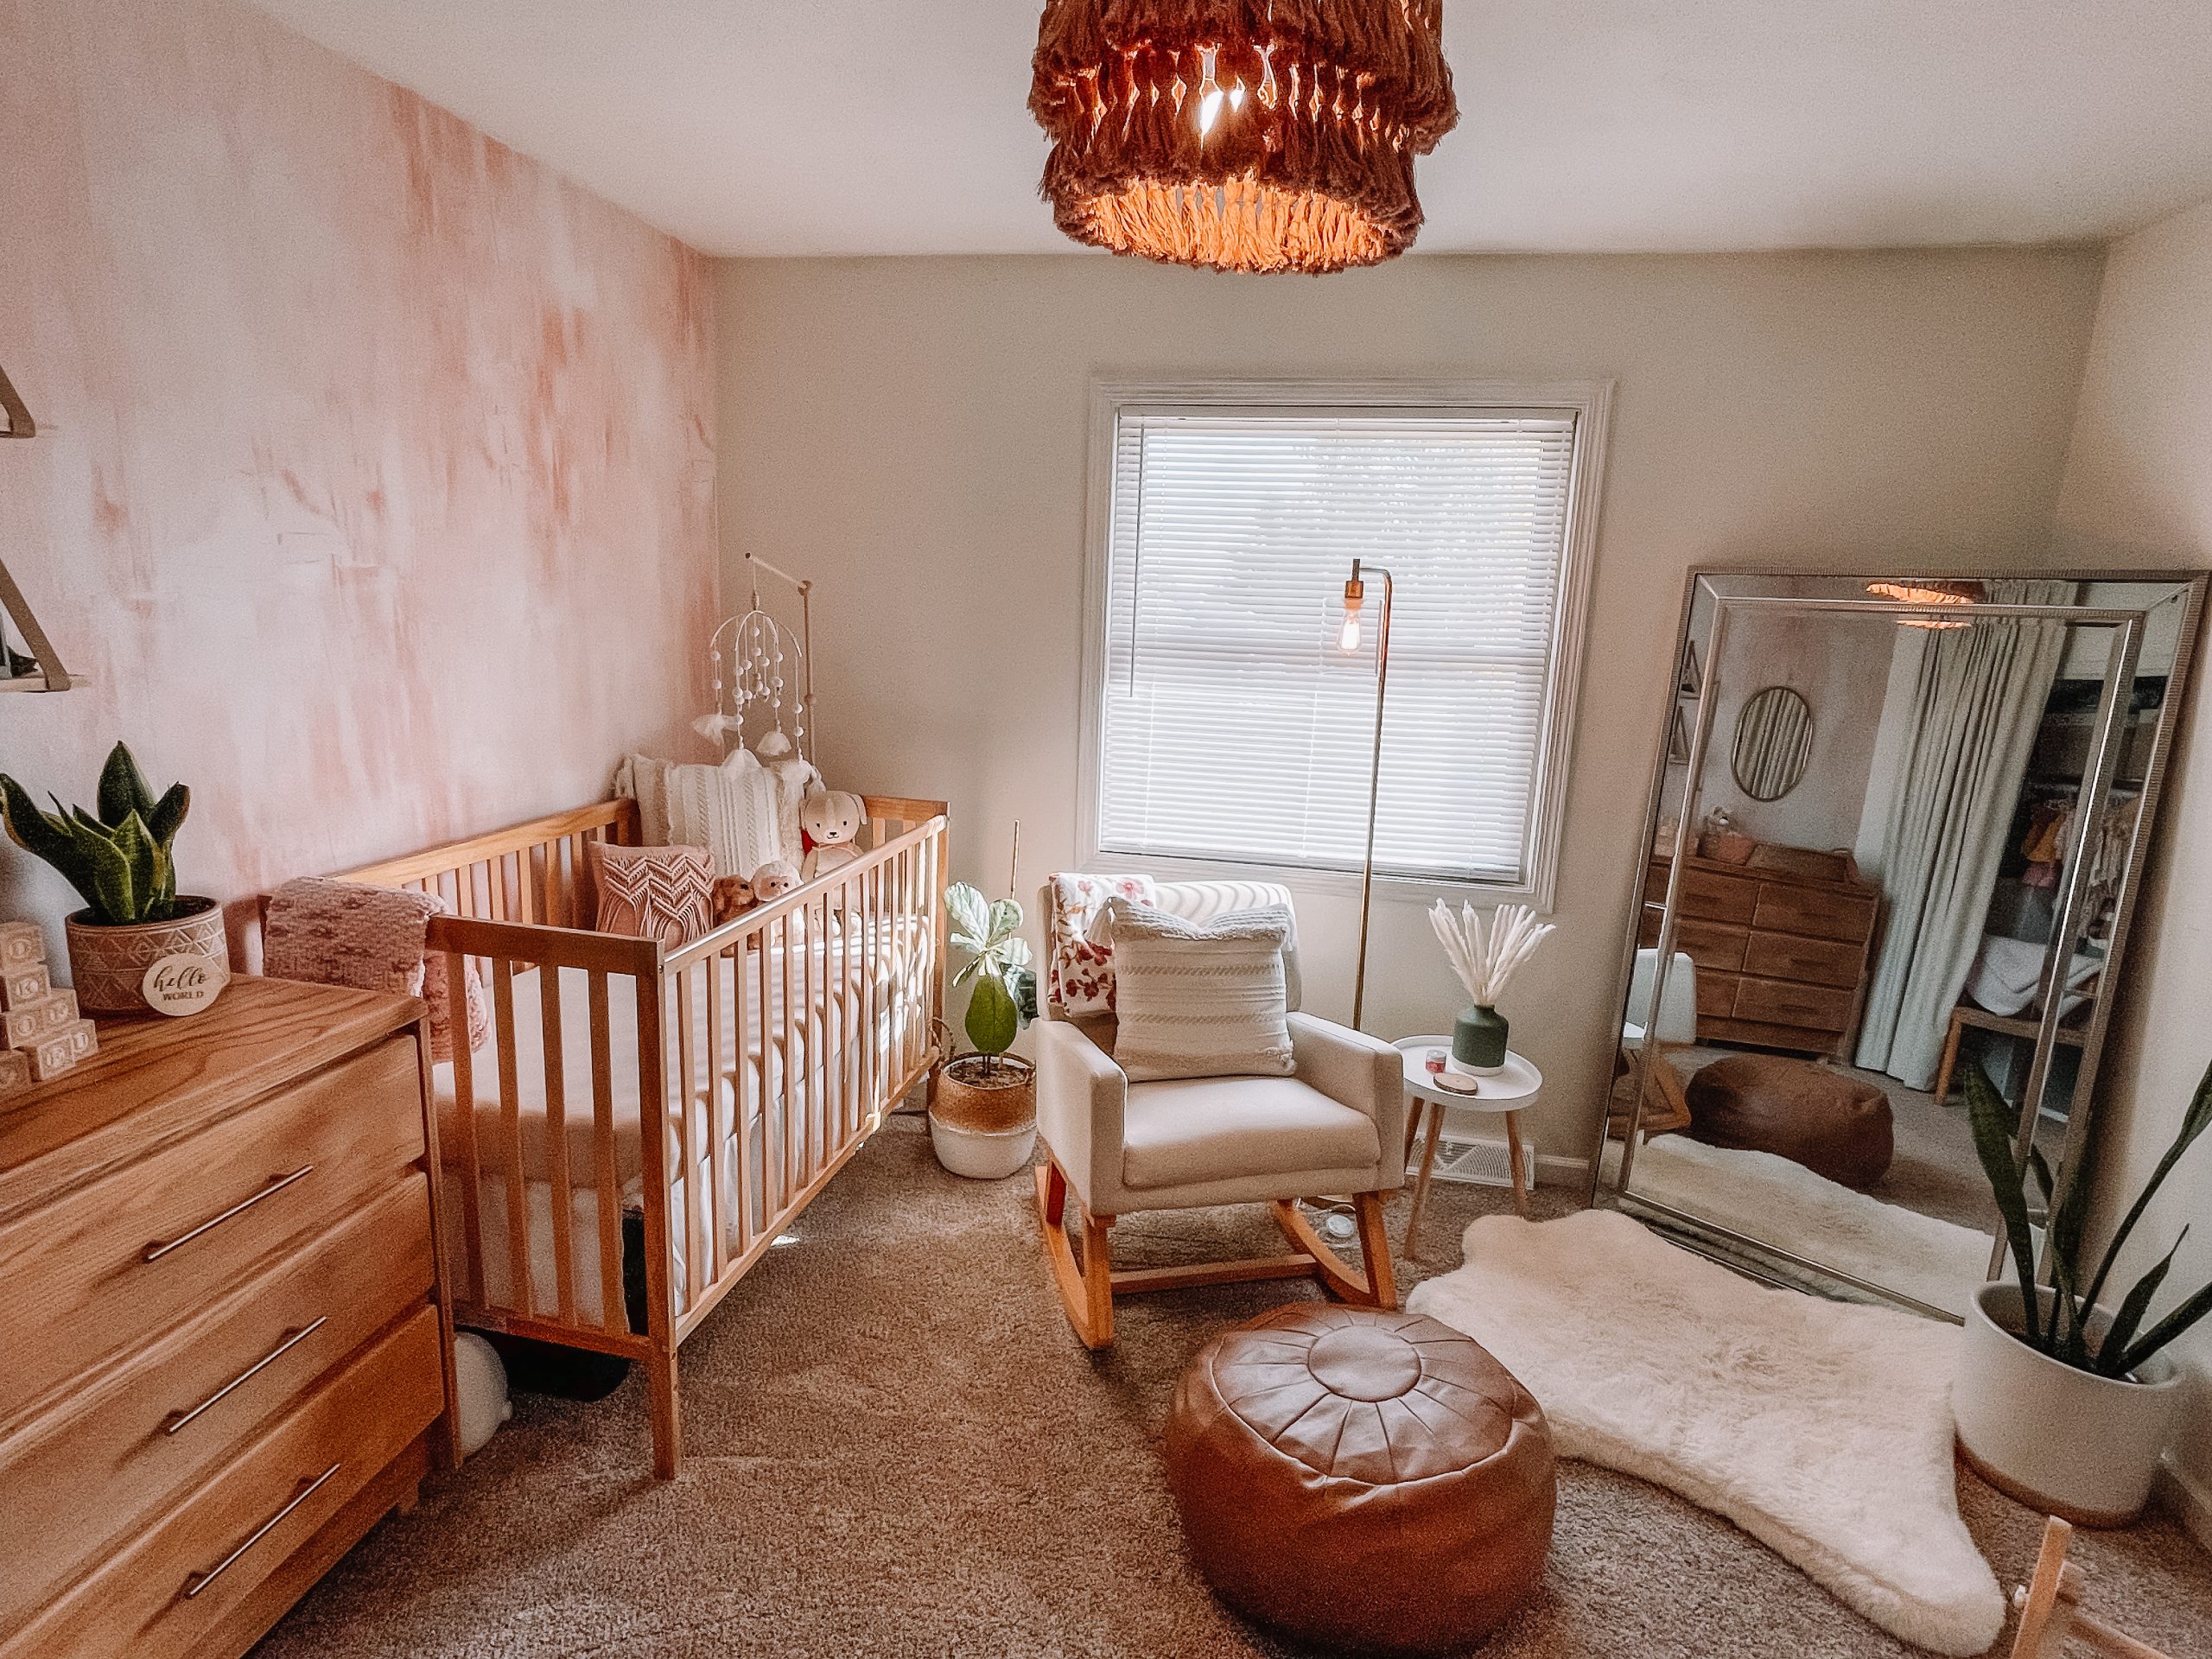
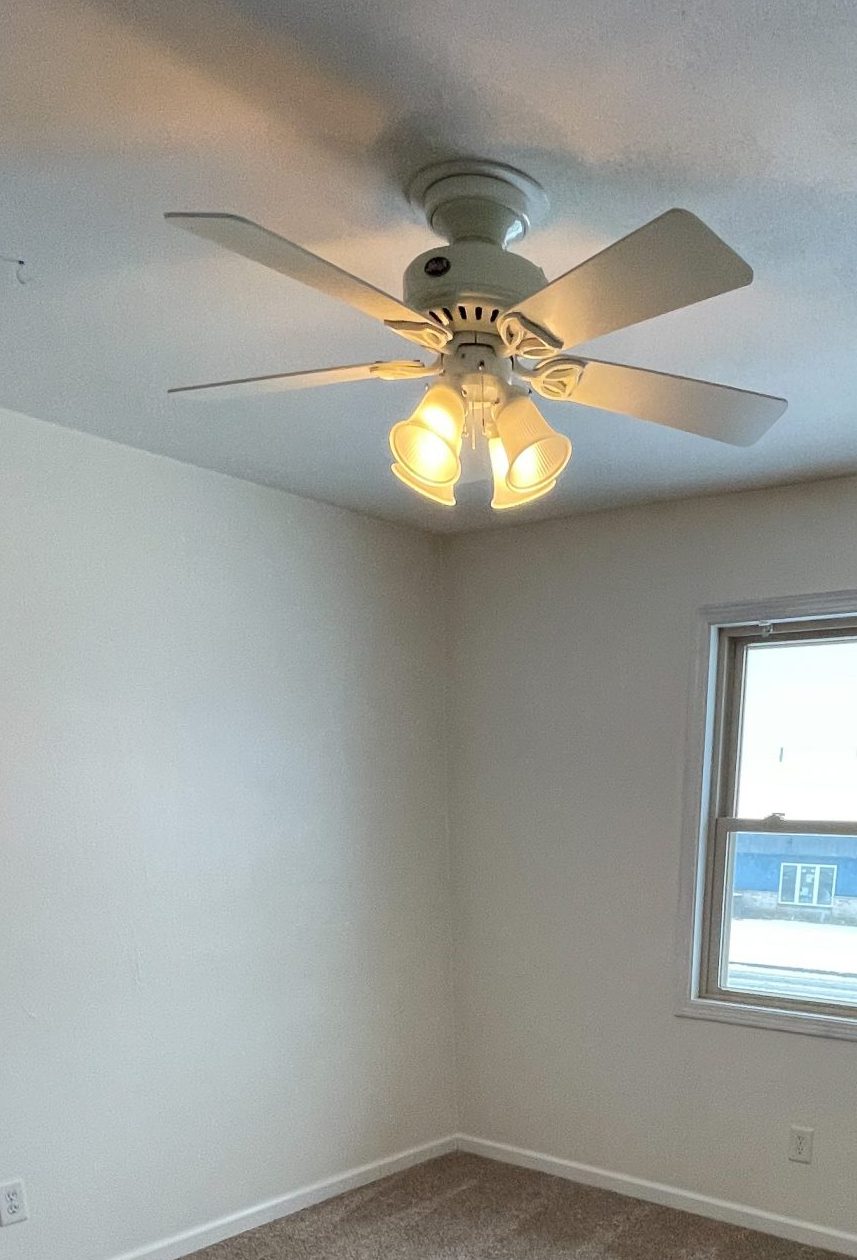
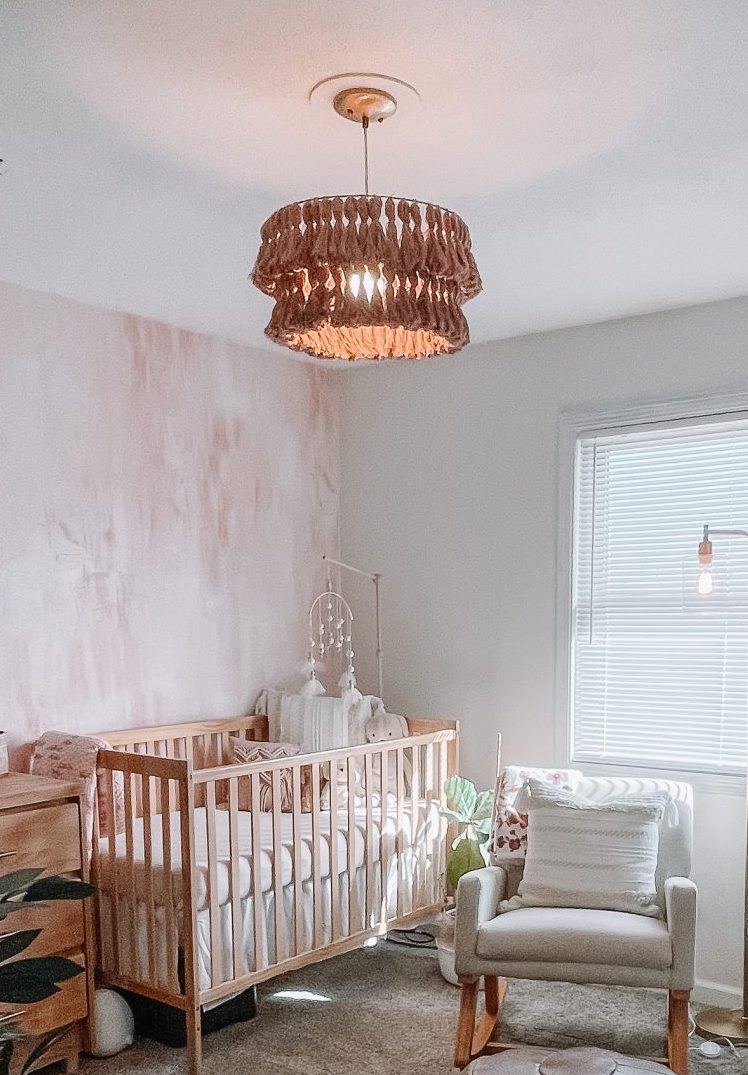
After the dresser, replacing the fan was next. I knew there should be a good amount of air flow in a nursery, so we do have a floor fan and heater that is currently in our bedroom, but will be in here once the crib is being used. I have always wanted to change this light and I went back and forth between this blush colored light and the cream one, as well as the 2 tier or 3 tier look. This room isn’t large and the ceilings aren’t high, so I went with the 2 tier. I chose the blush tones since there isn’t a ton of the pinkish hues elsewhere in the room.
- before
- after
NURSERY REVEAL
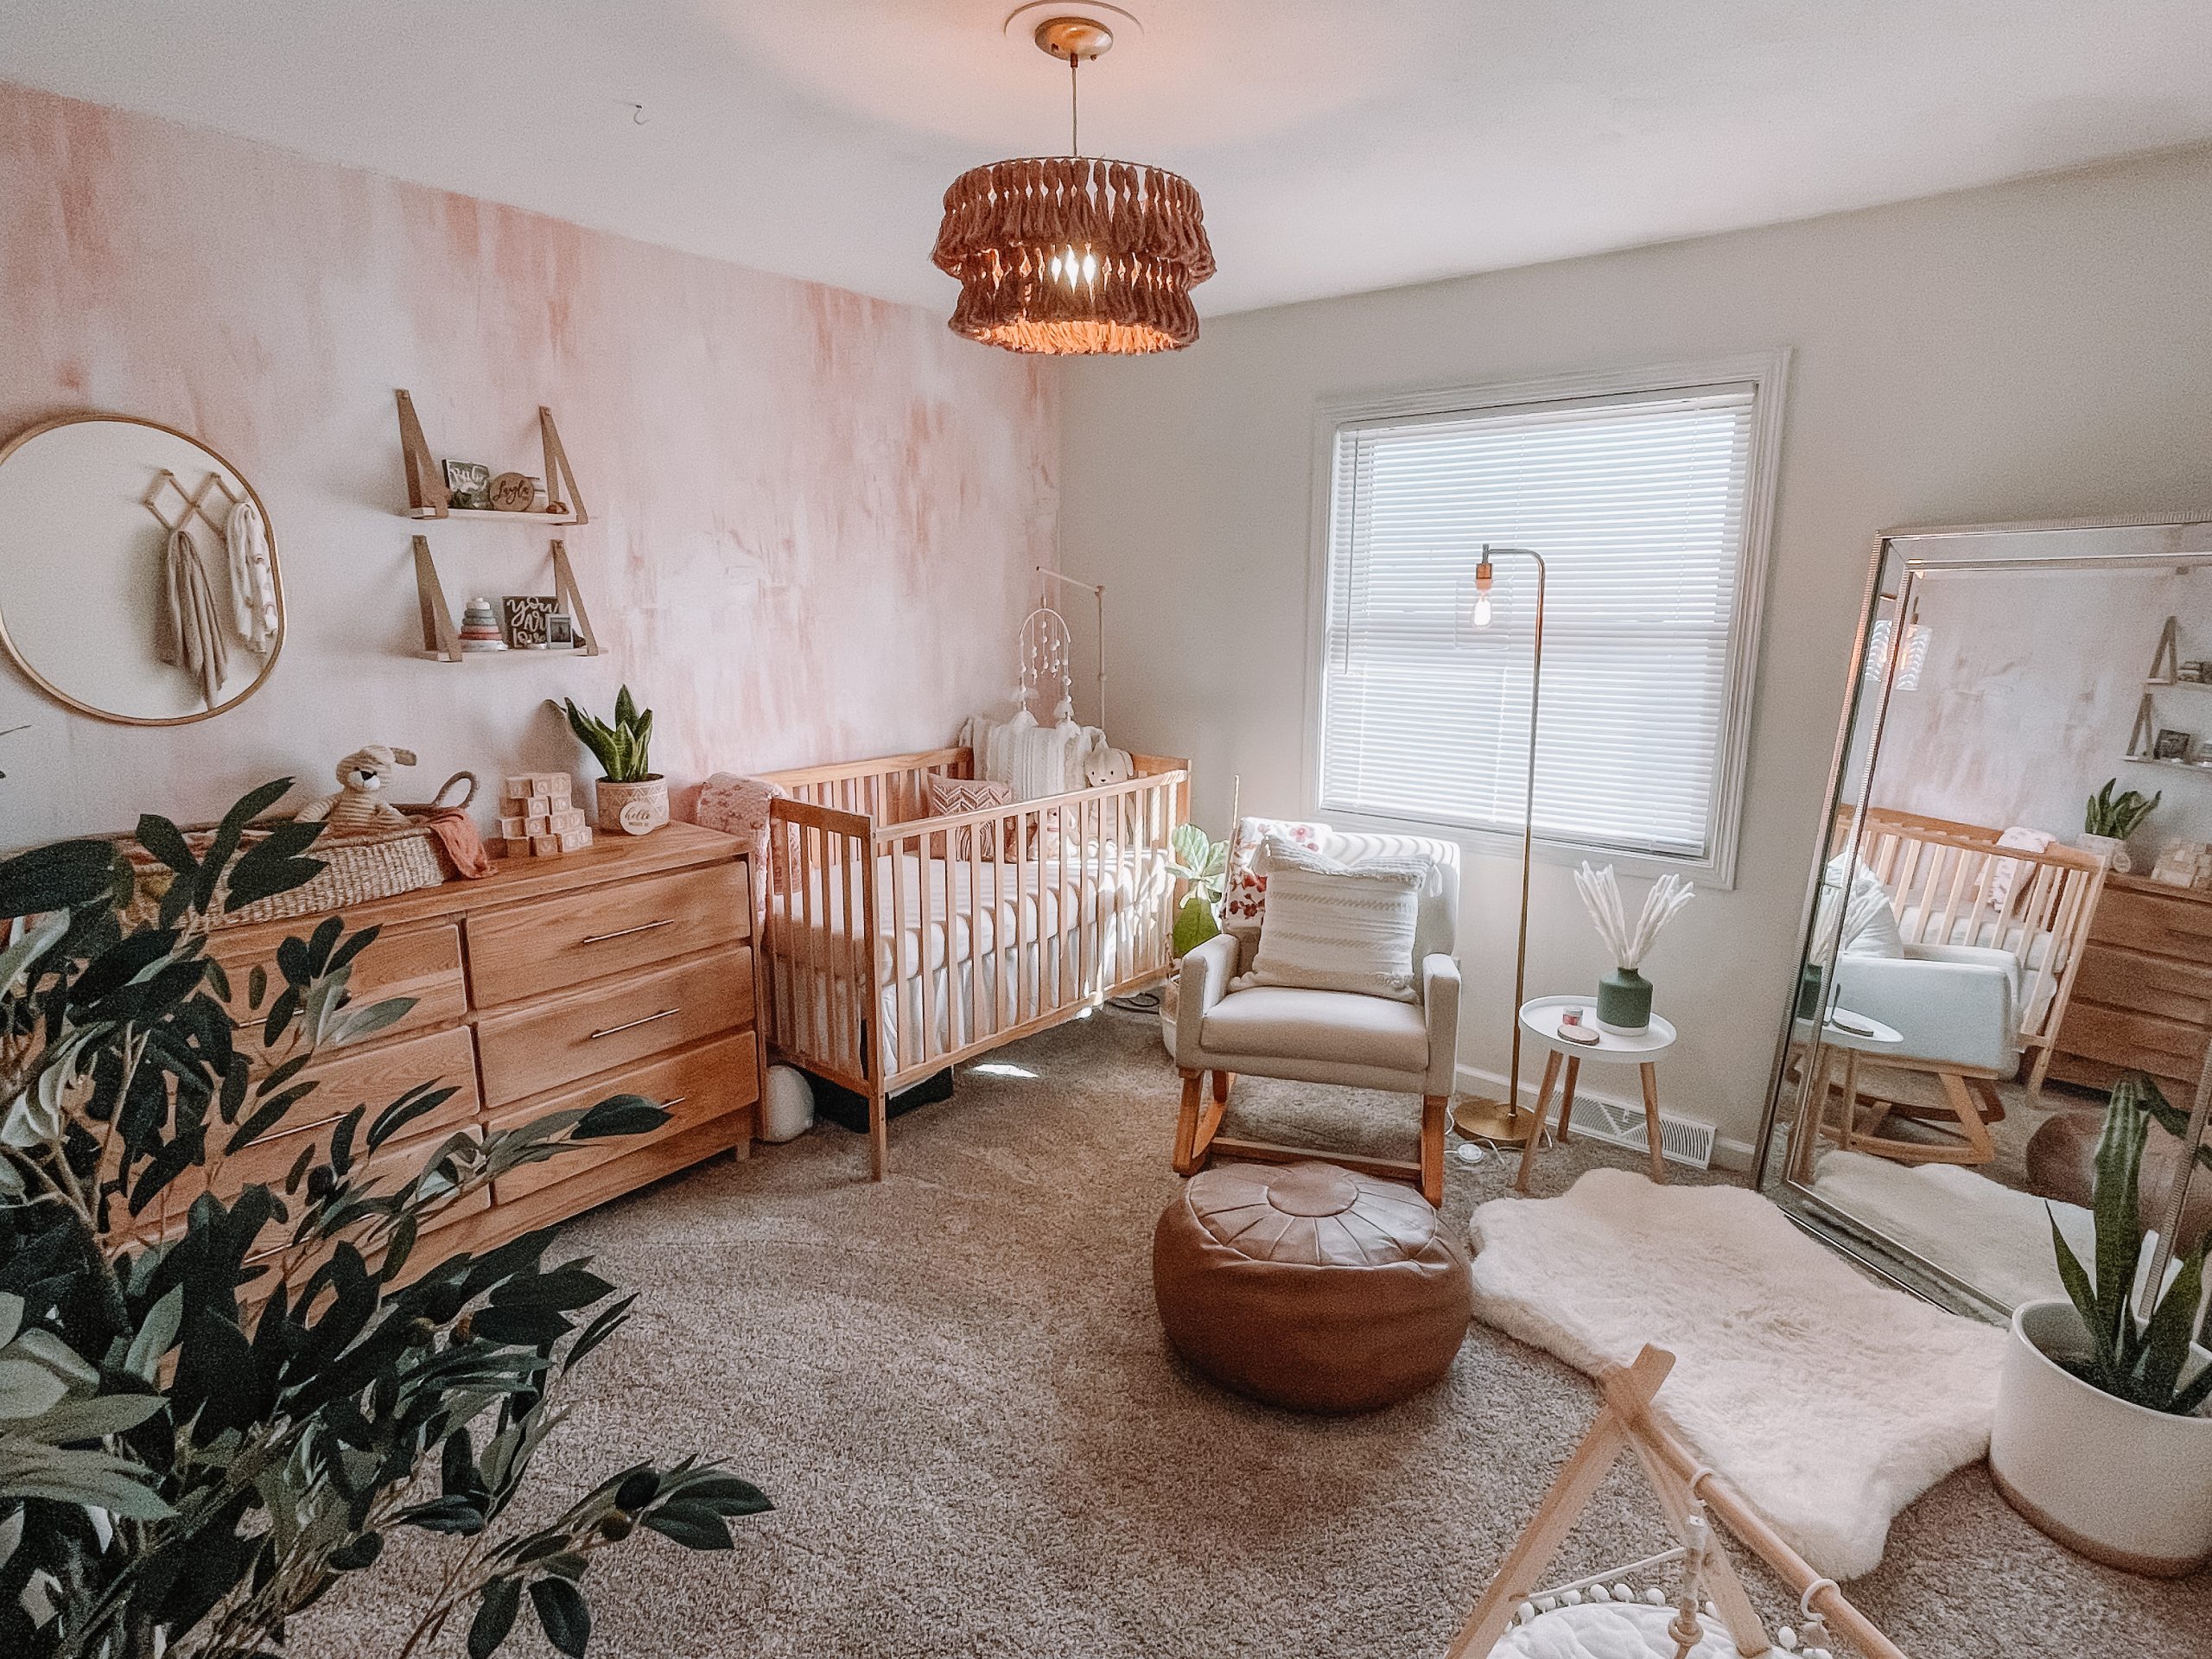
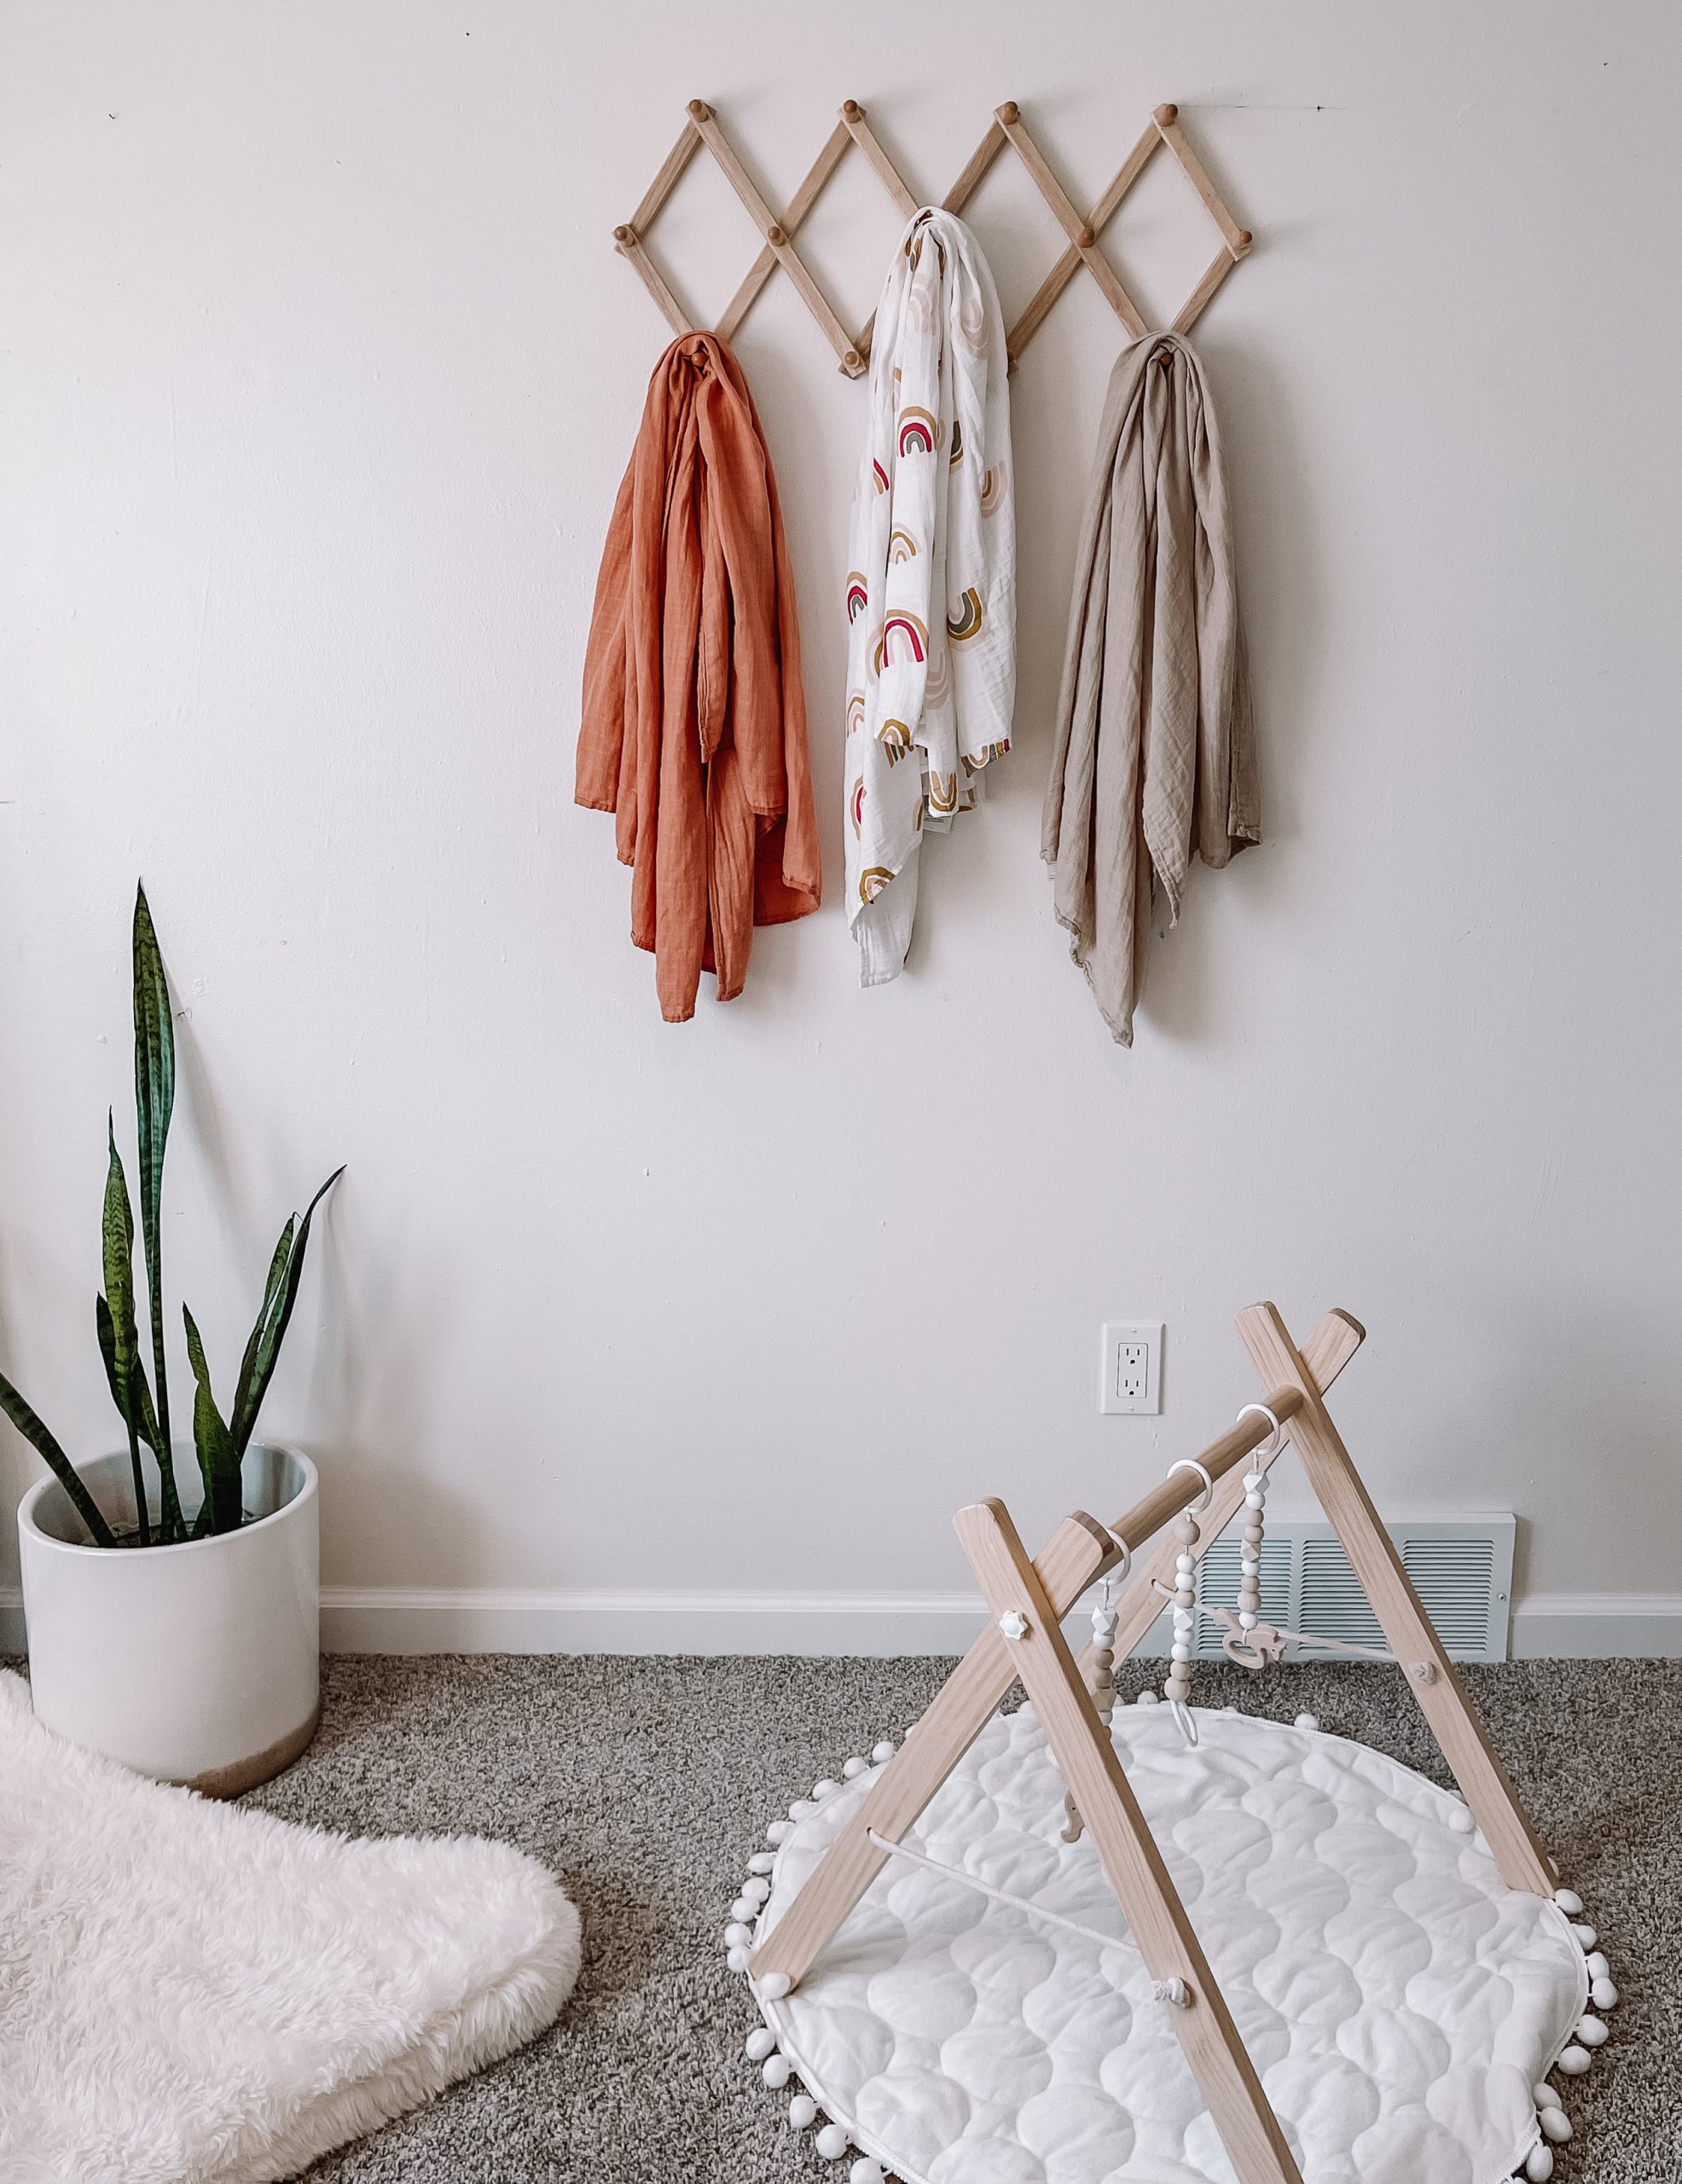
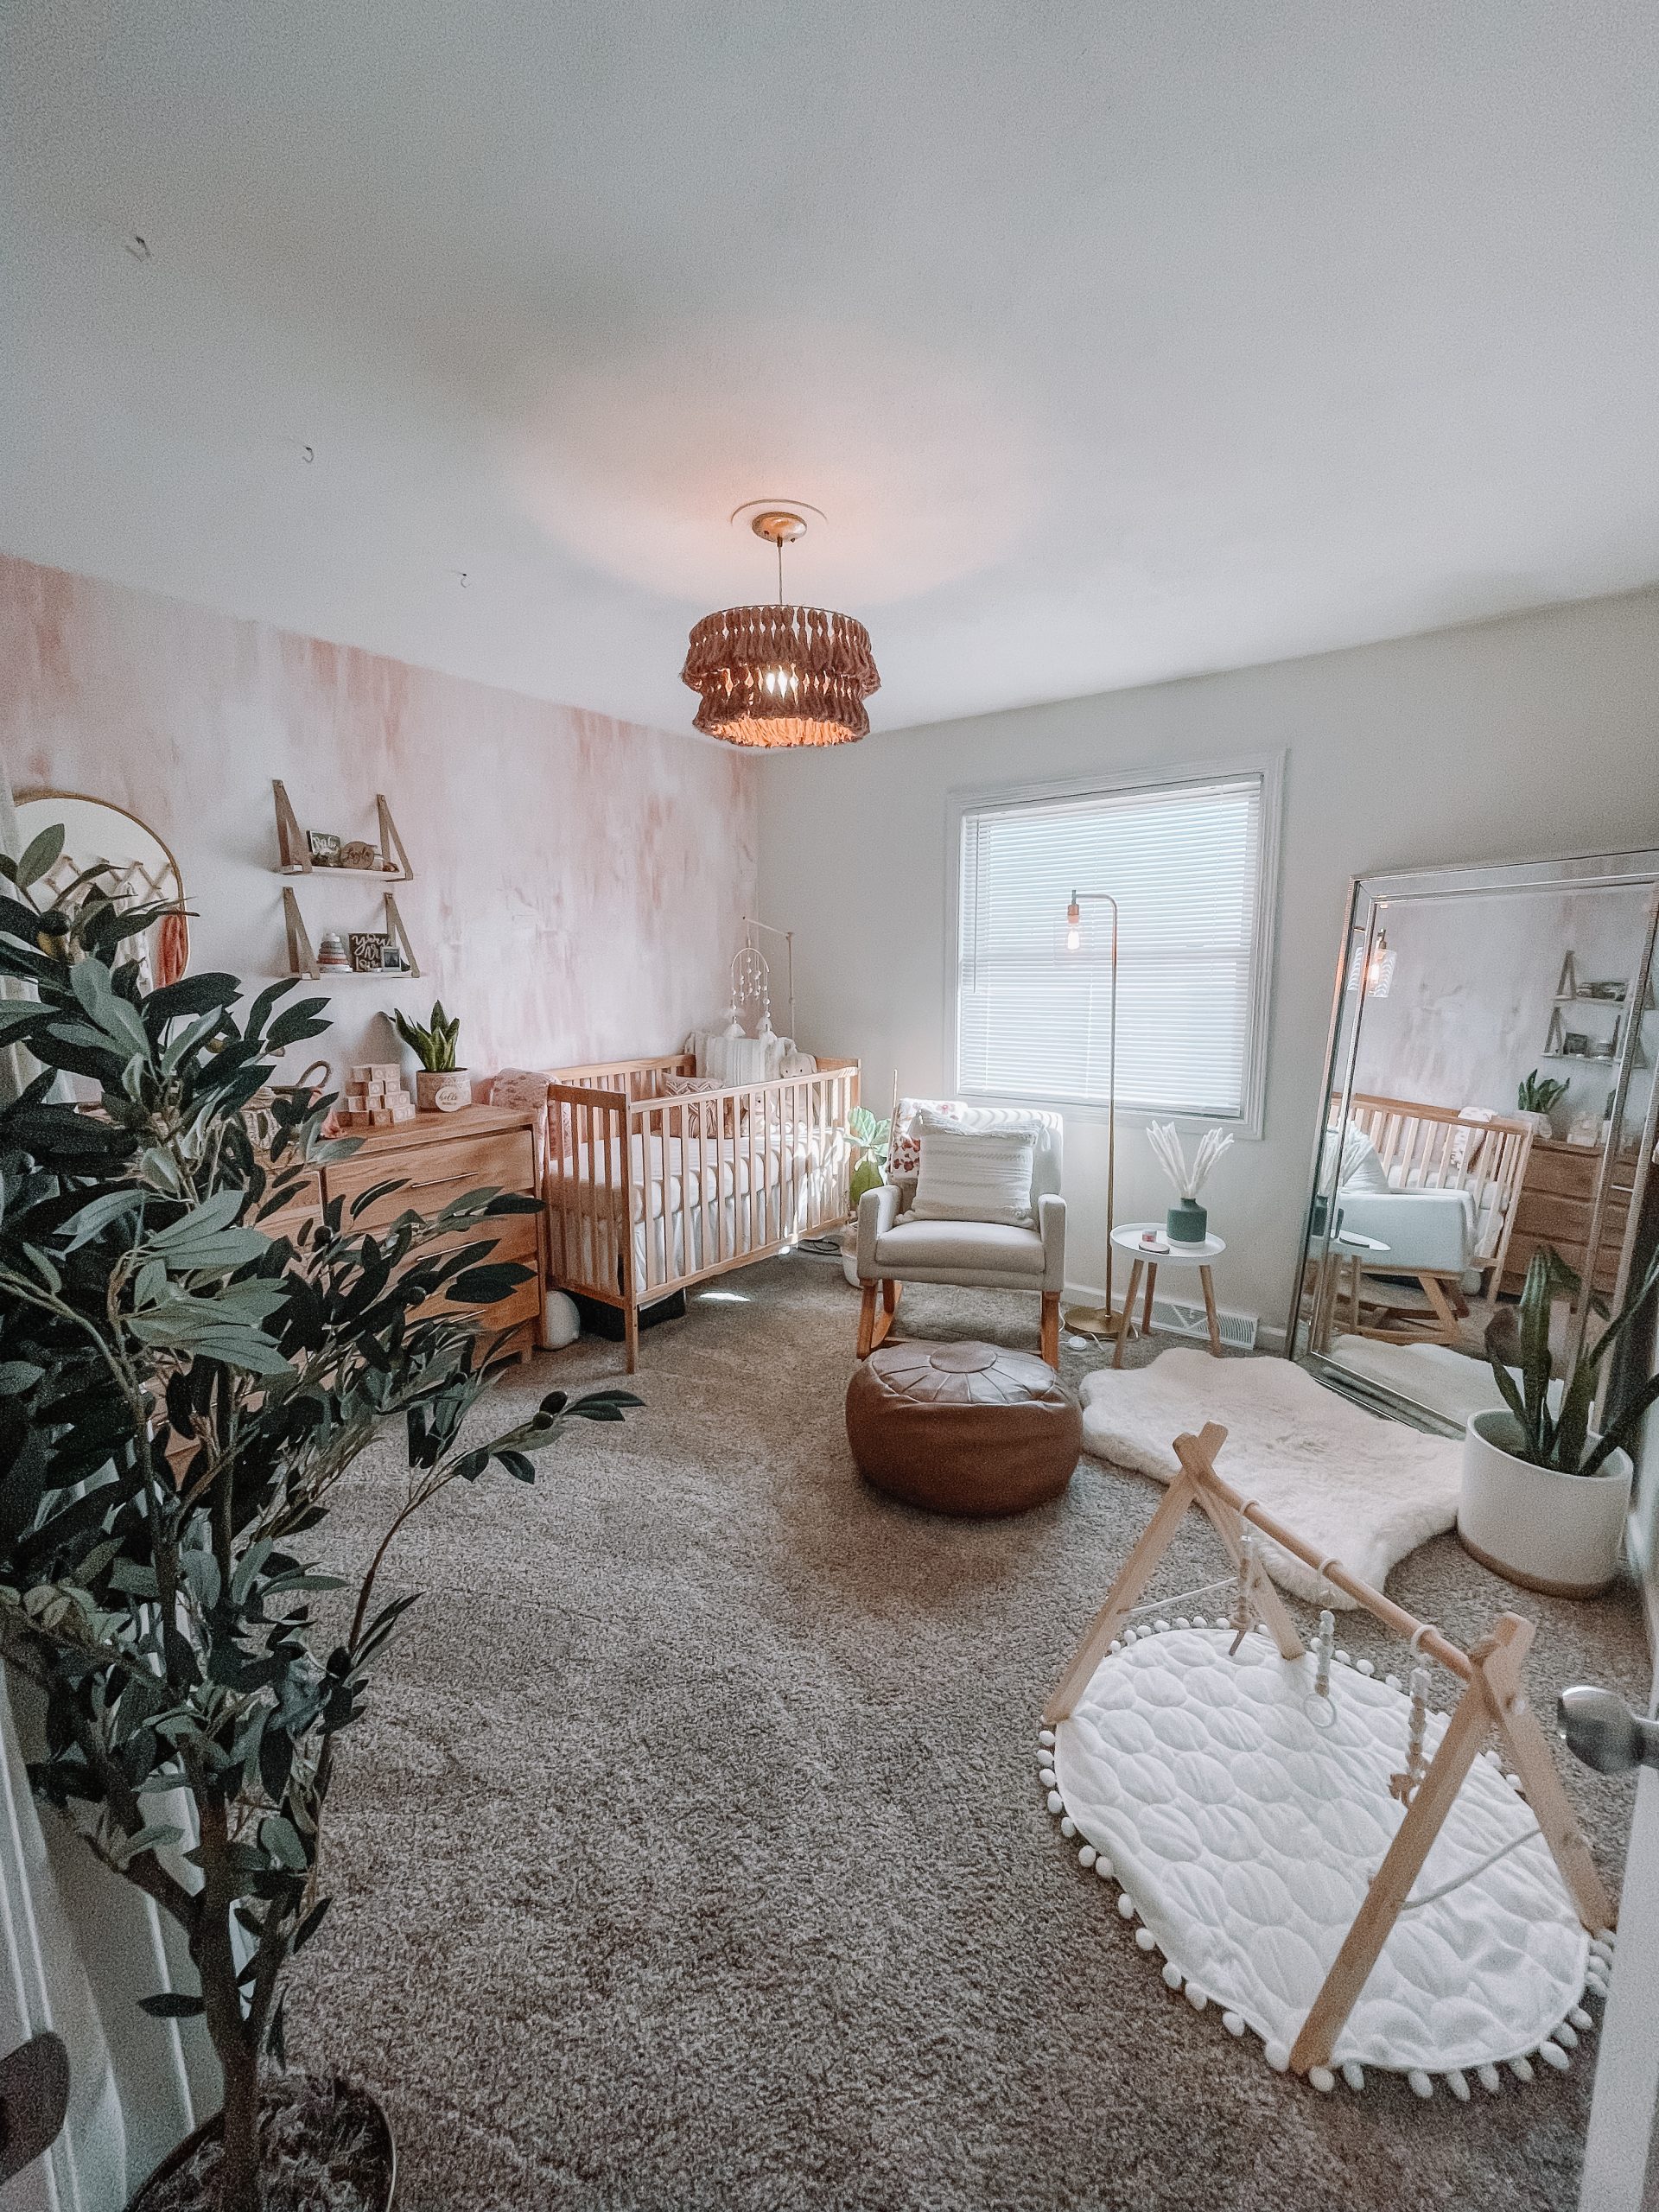
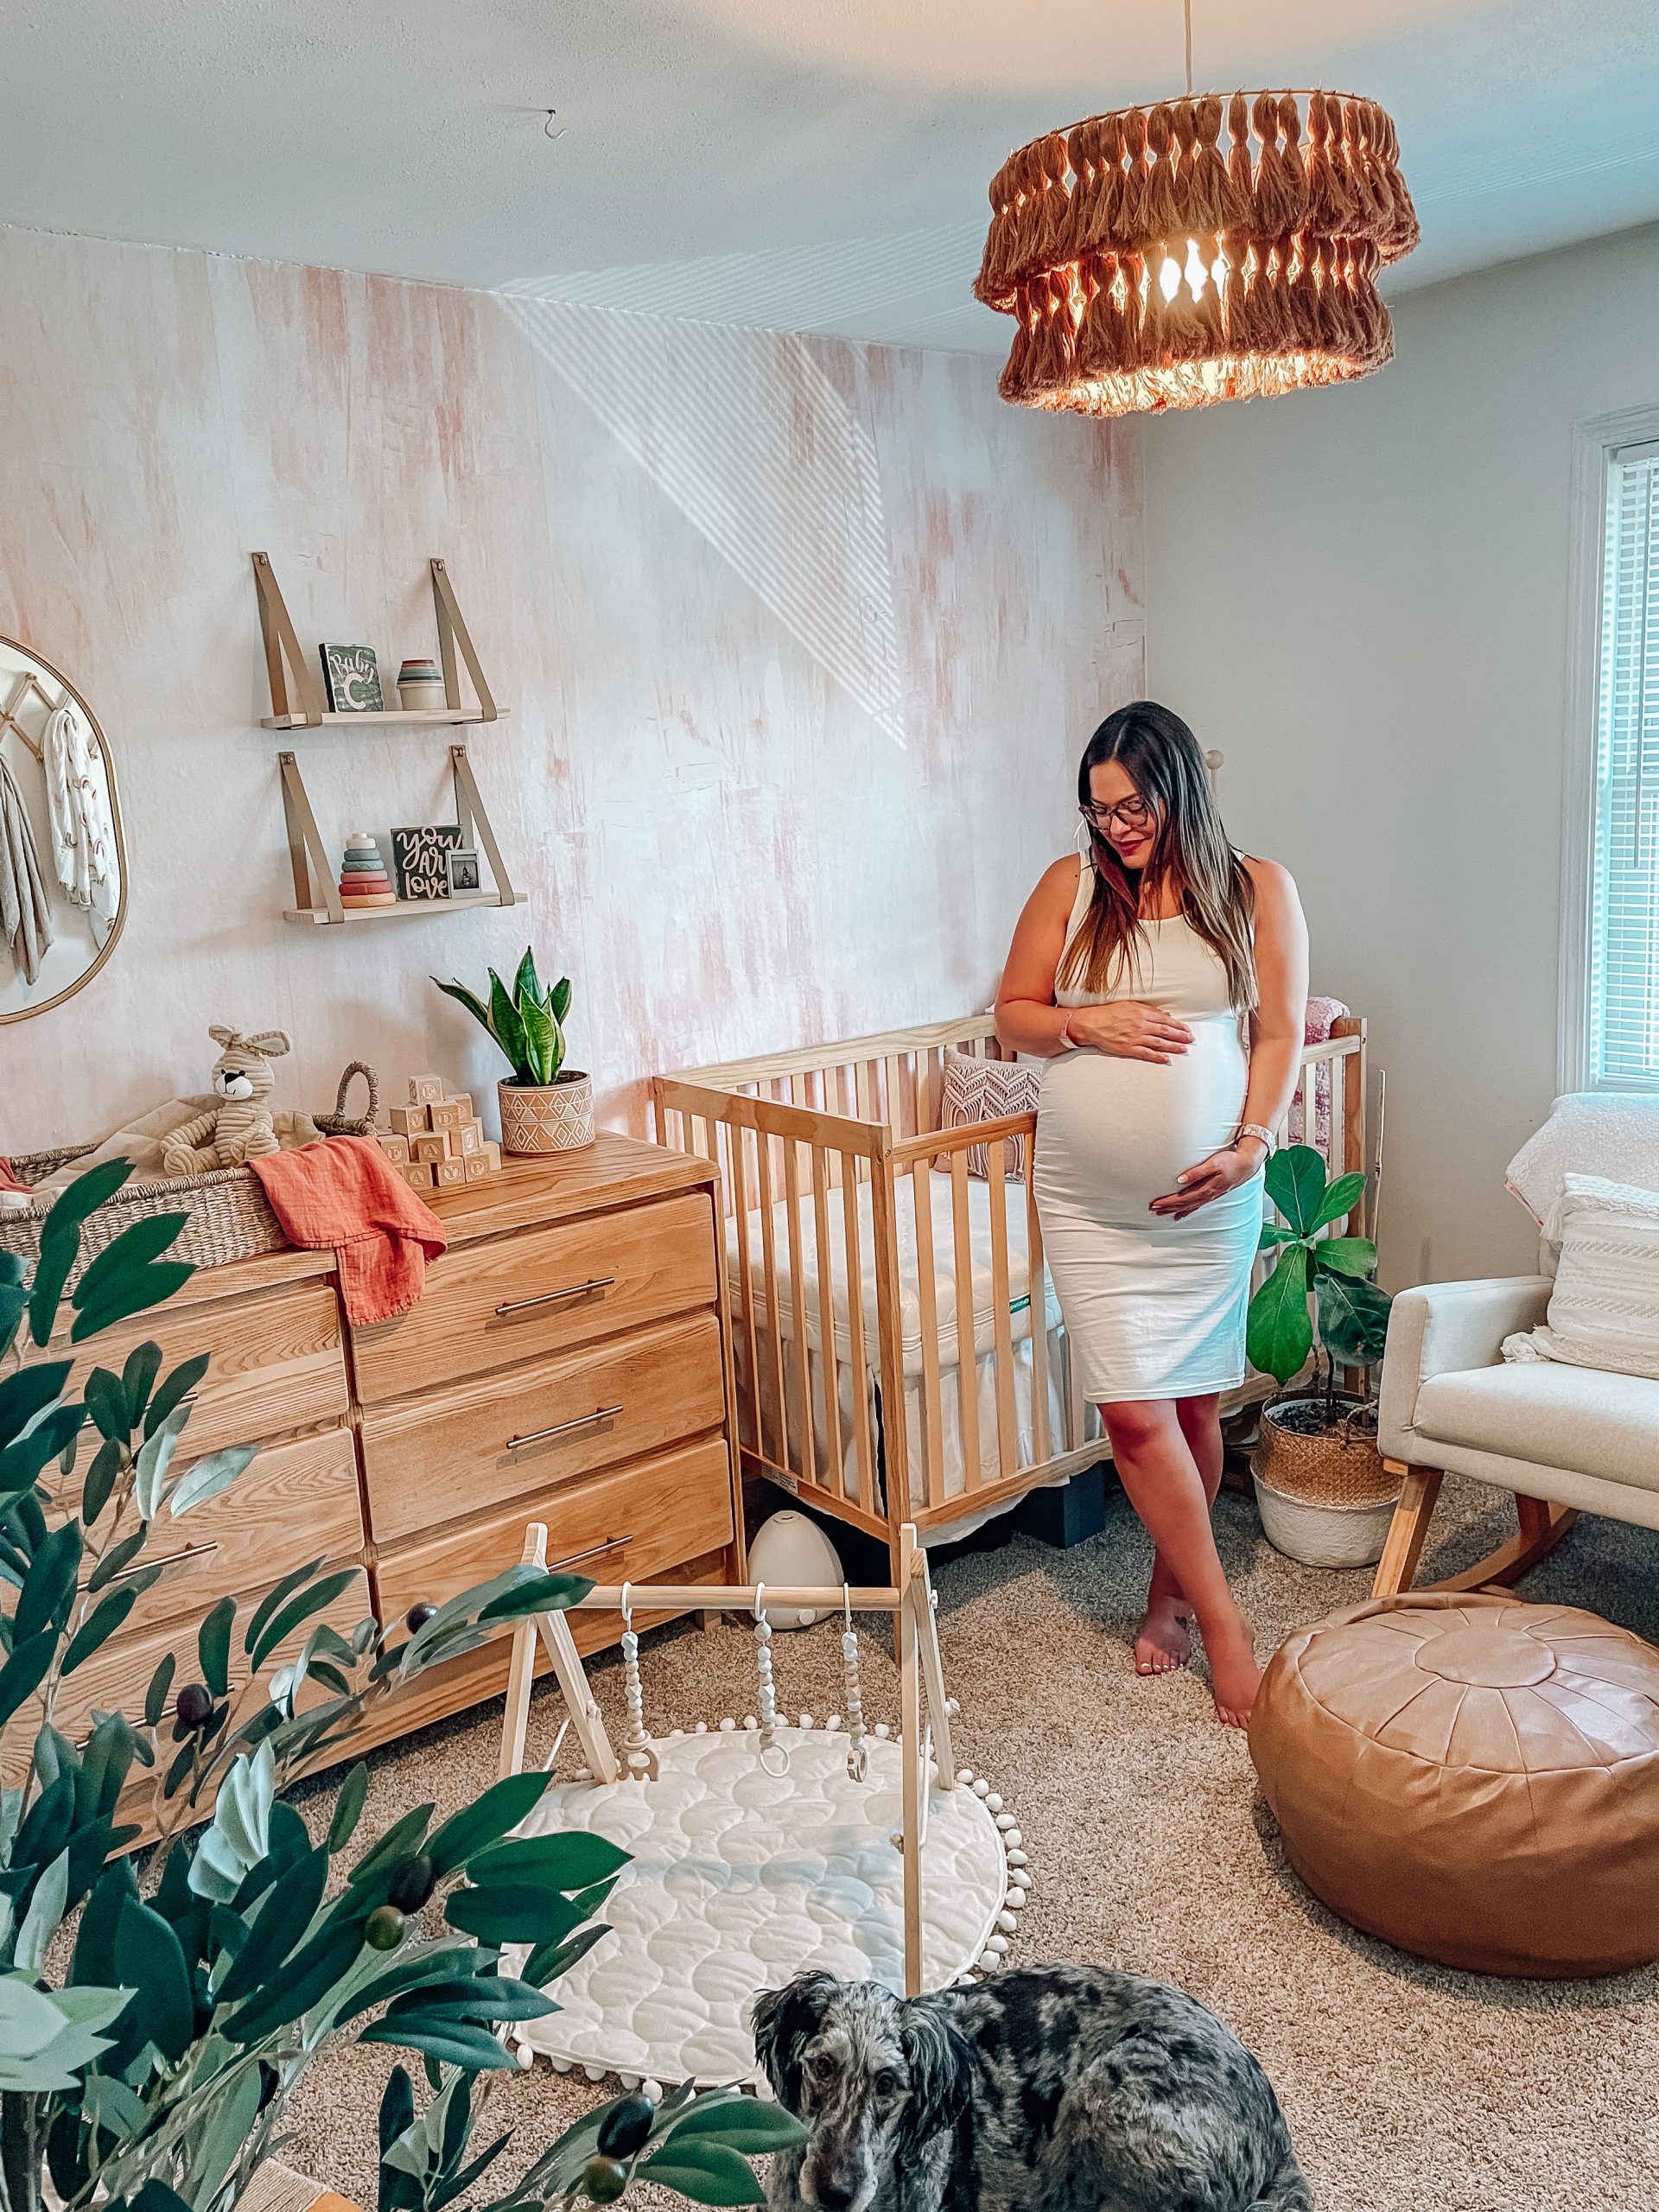
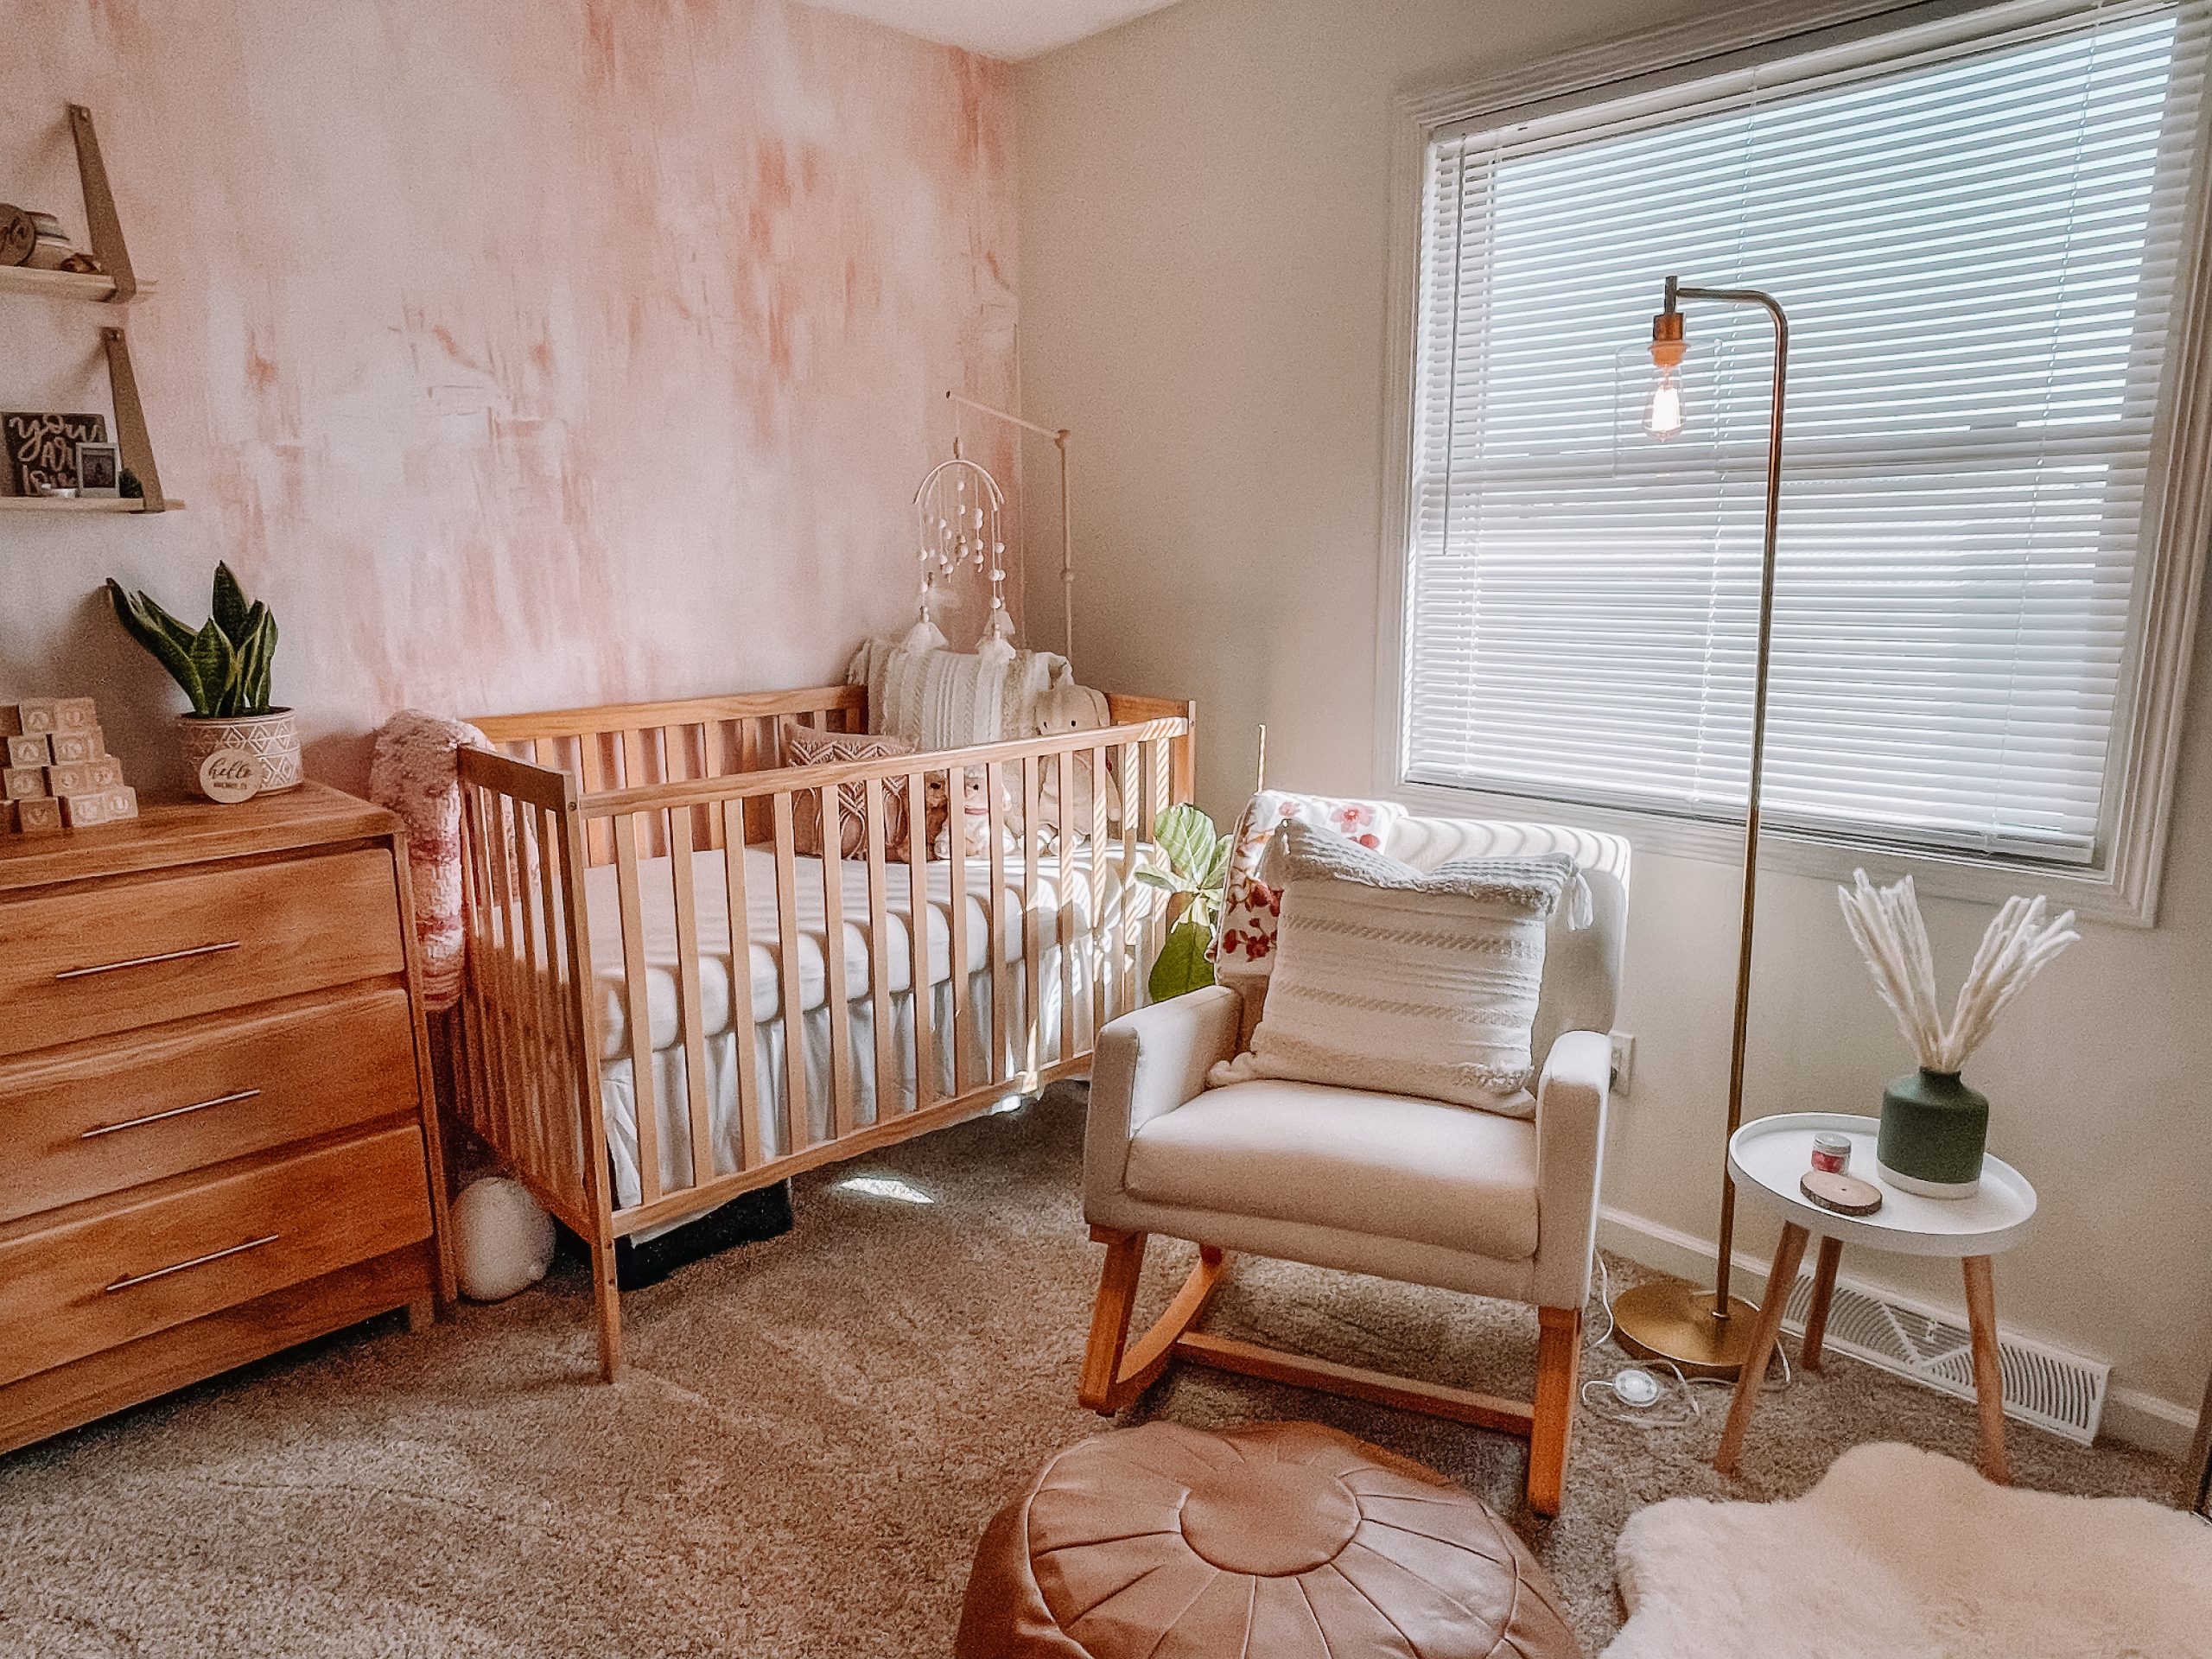
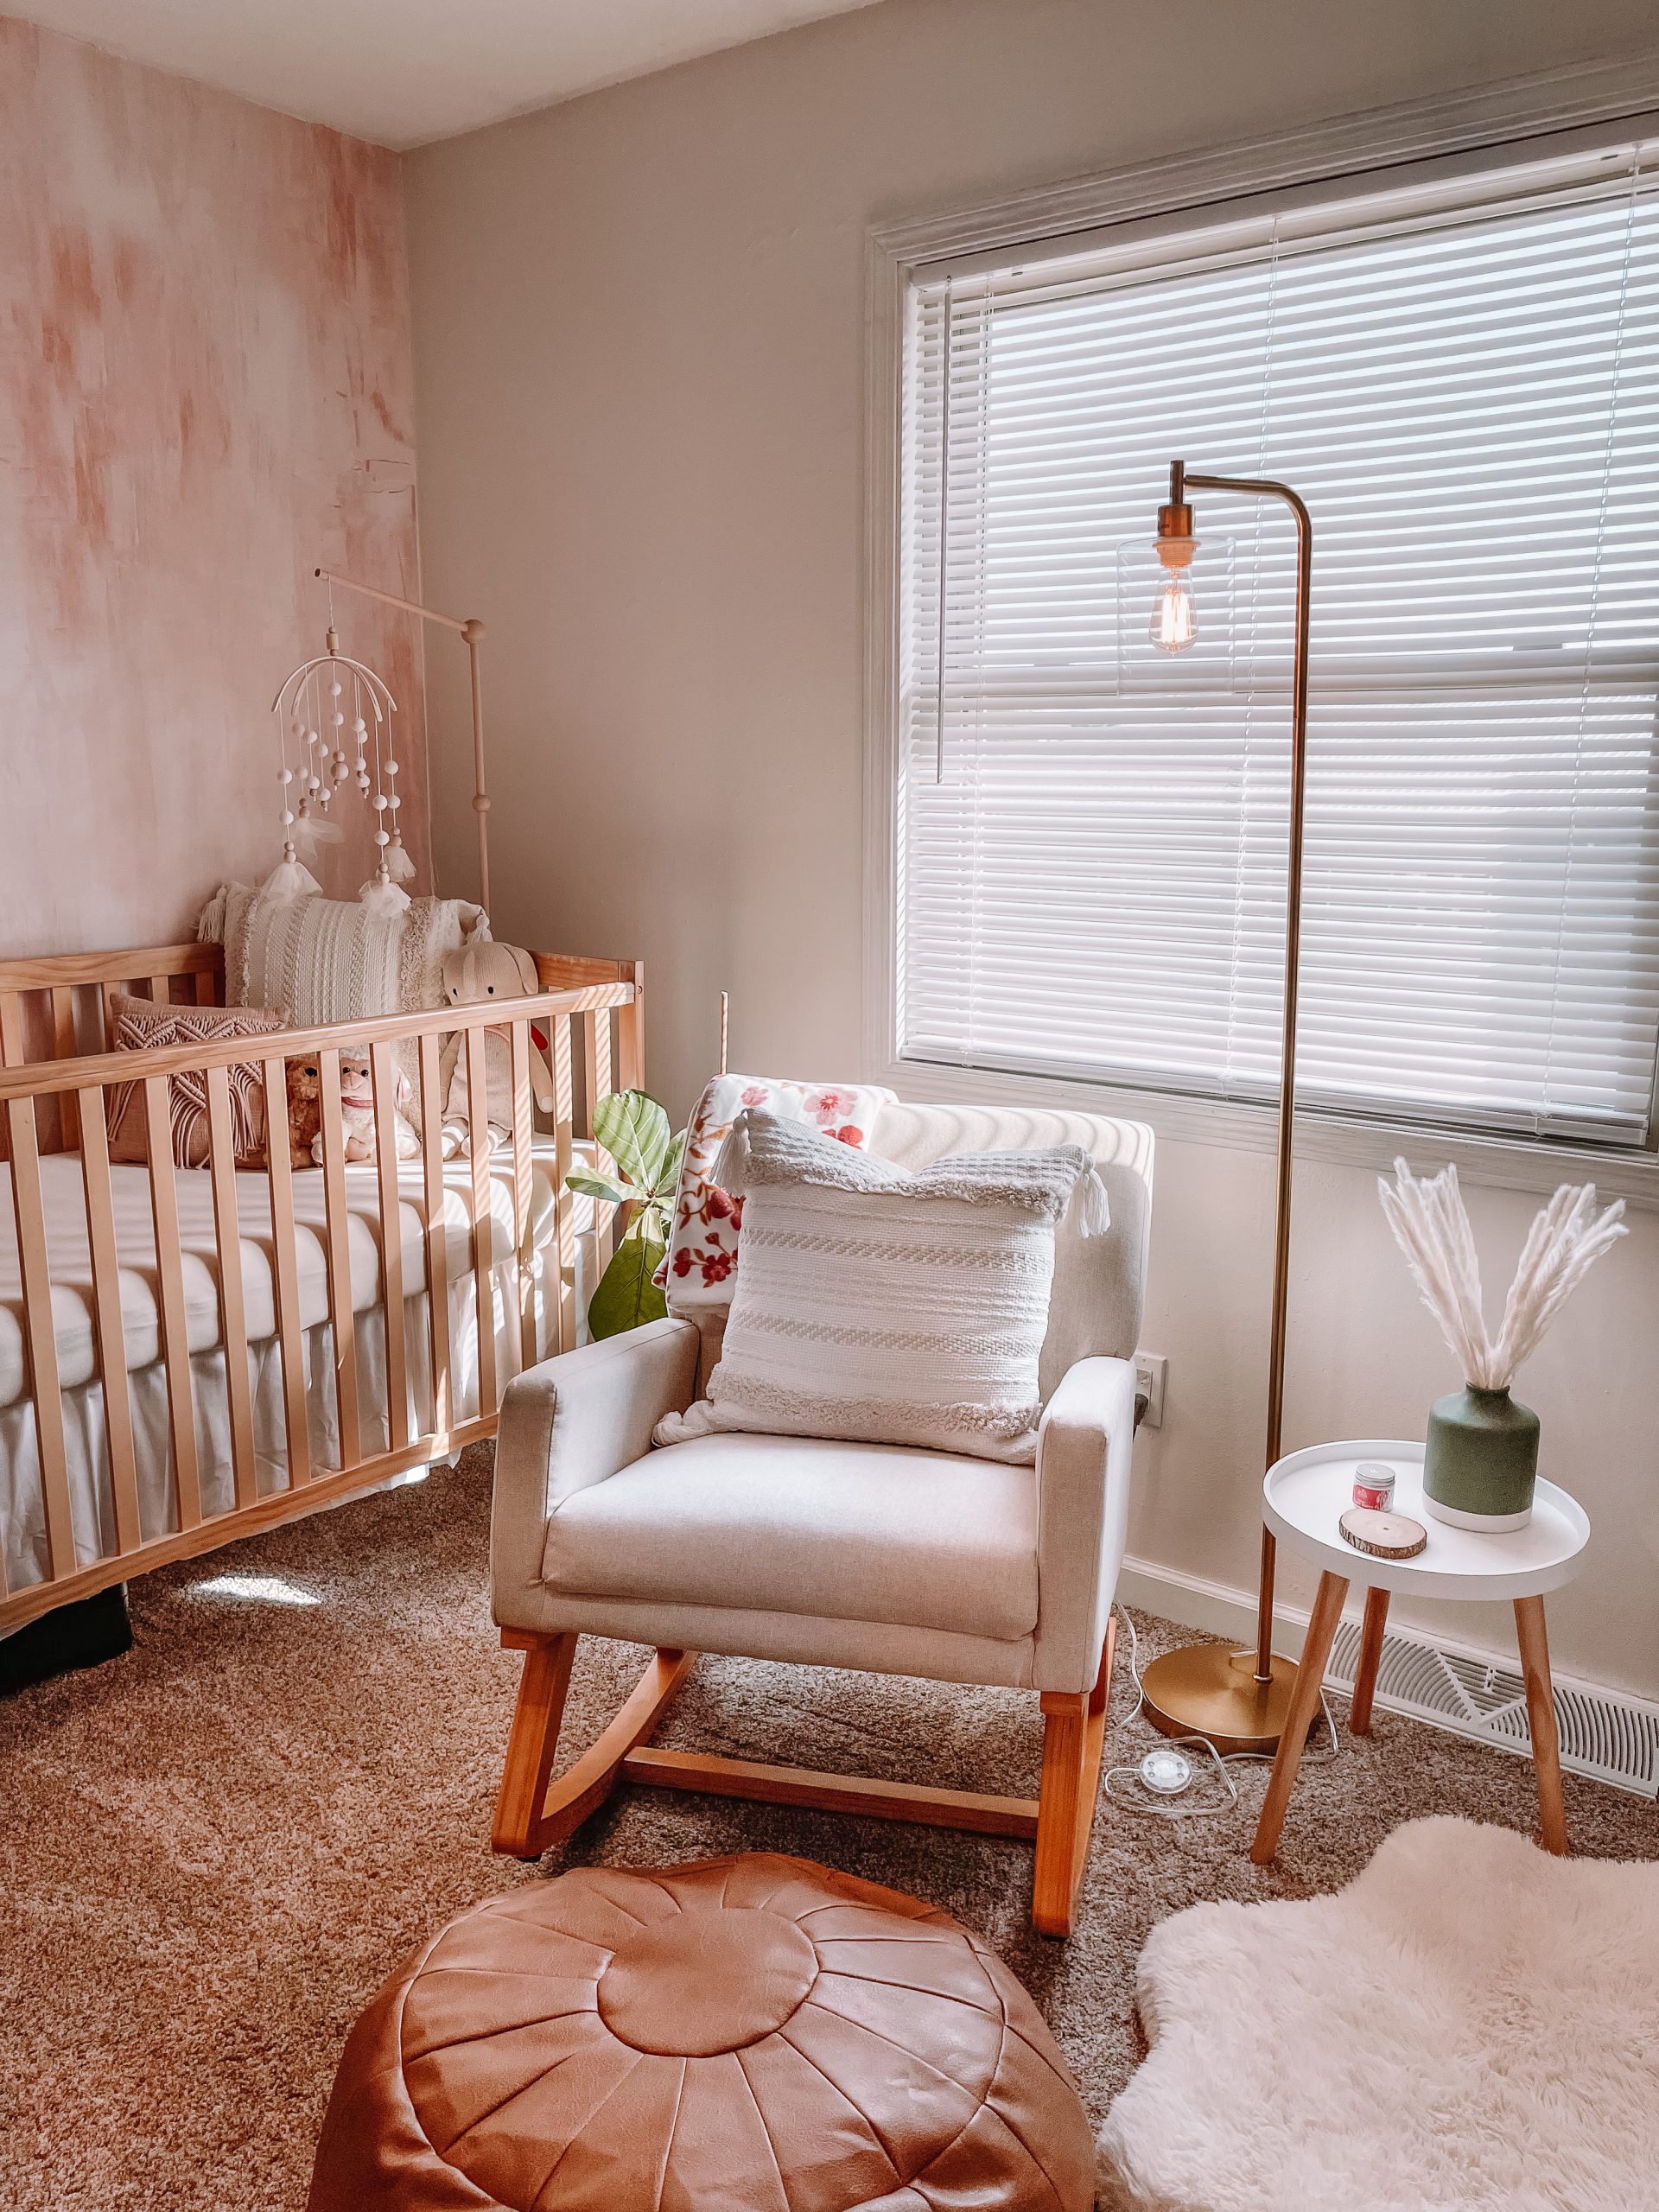
After the dresser was done, everything else fell into place. This room has always been where the dogs hang while we’re gone so the mirror and faux fur rug corner stayed as the “dog area”. The faux fur rug is actually a dog bed that we found last year at Costco. We usually have another dog bed and water bowl in here too, but I removed them for the tour.
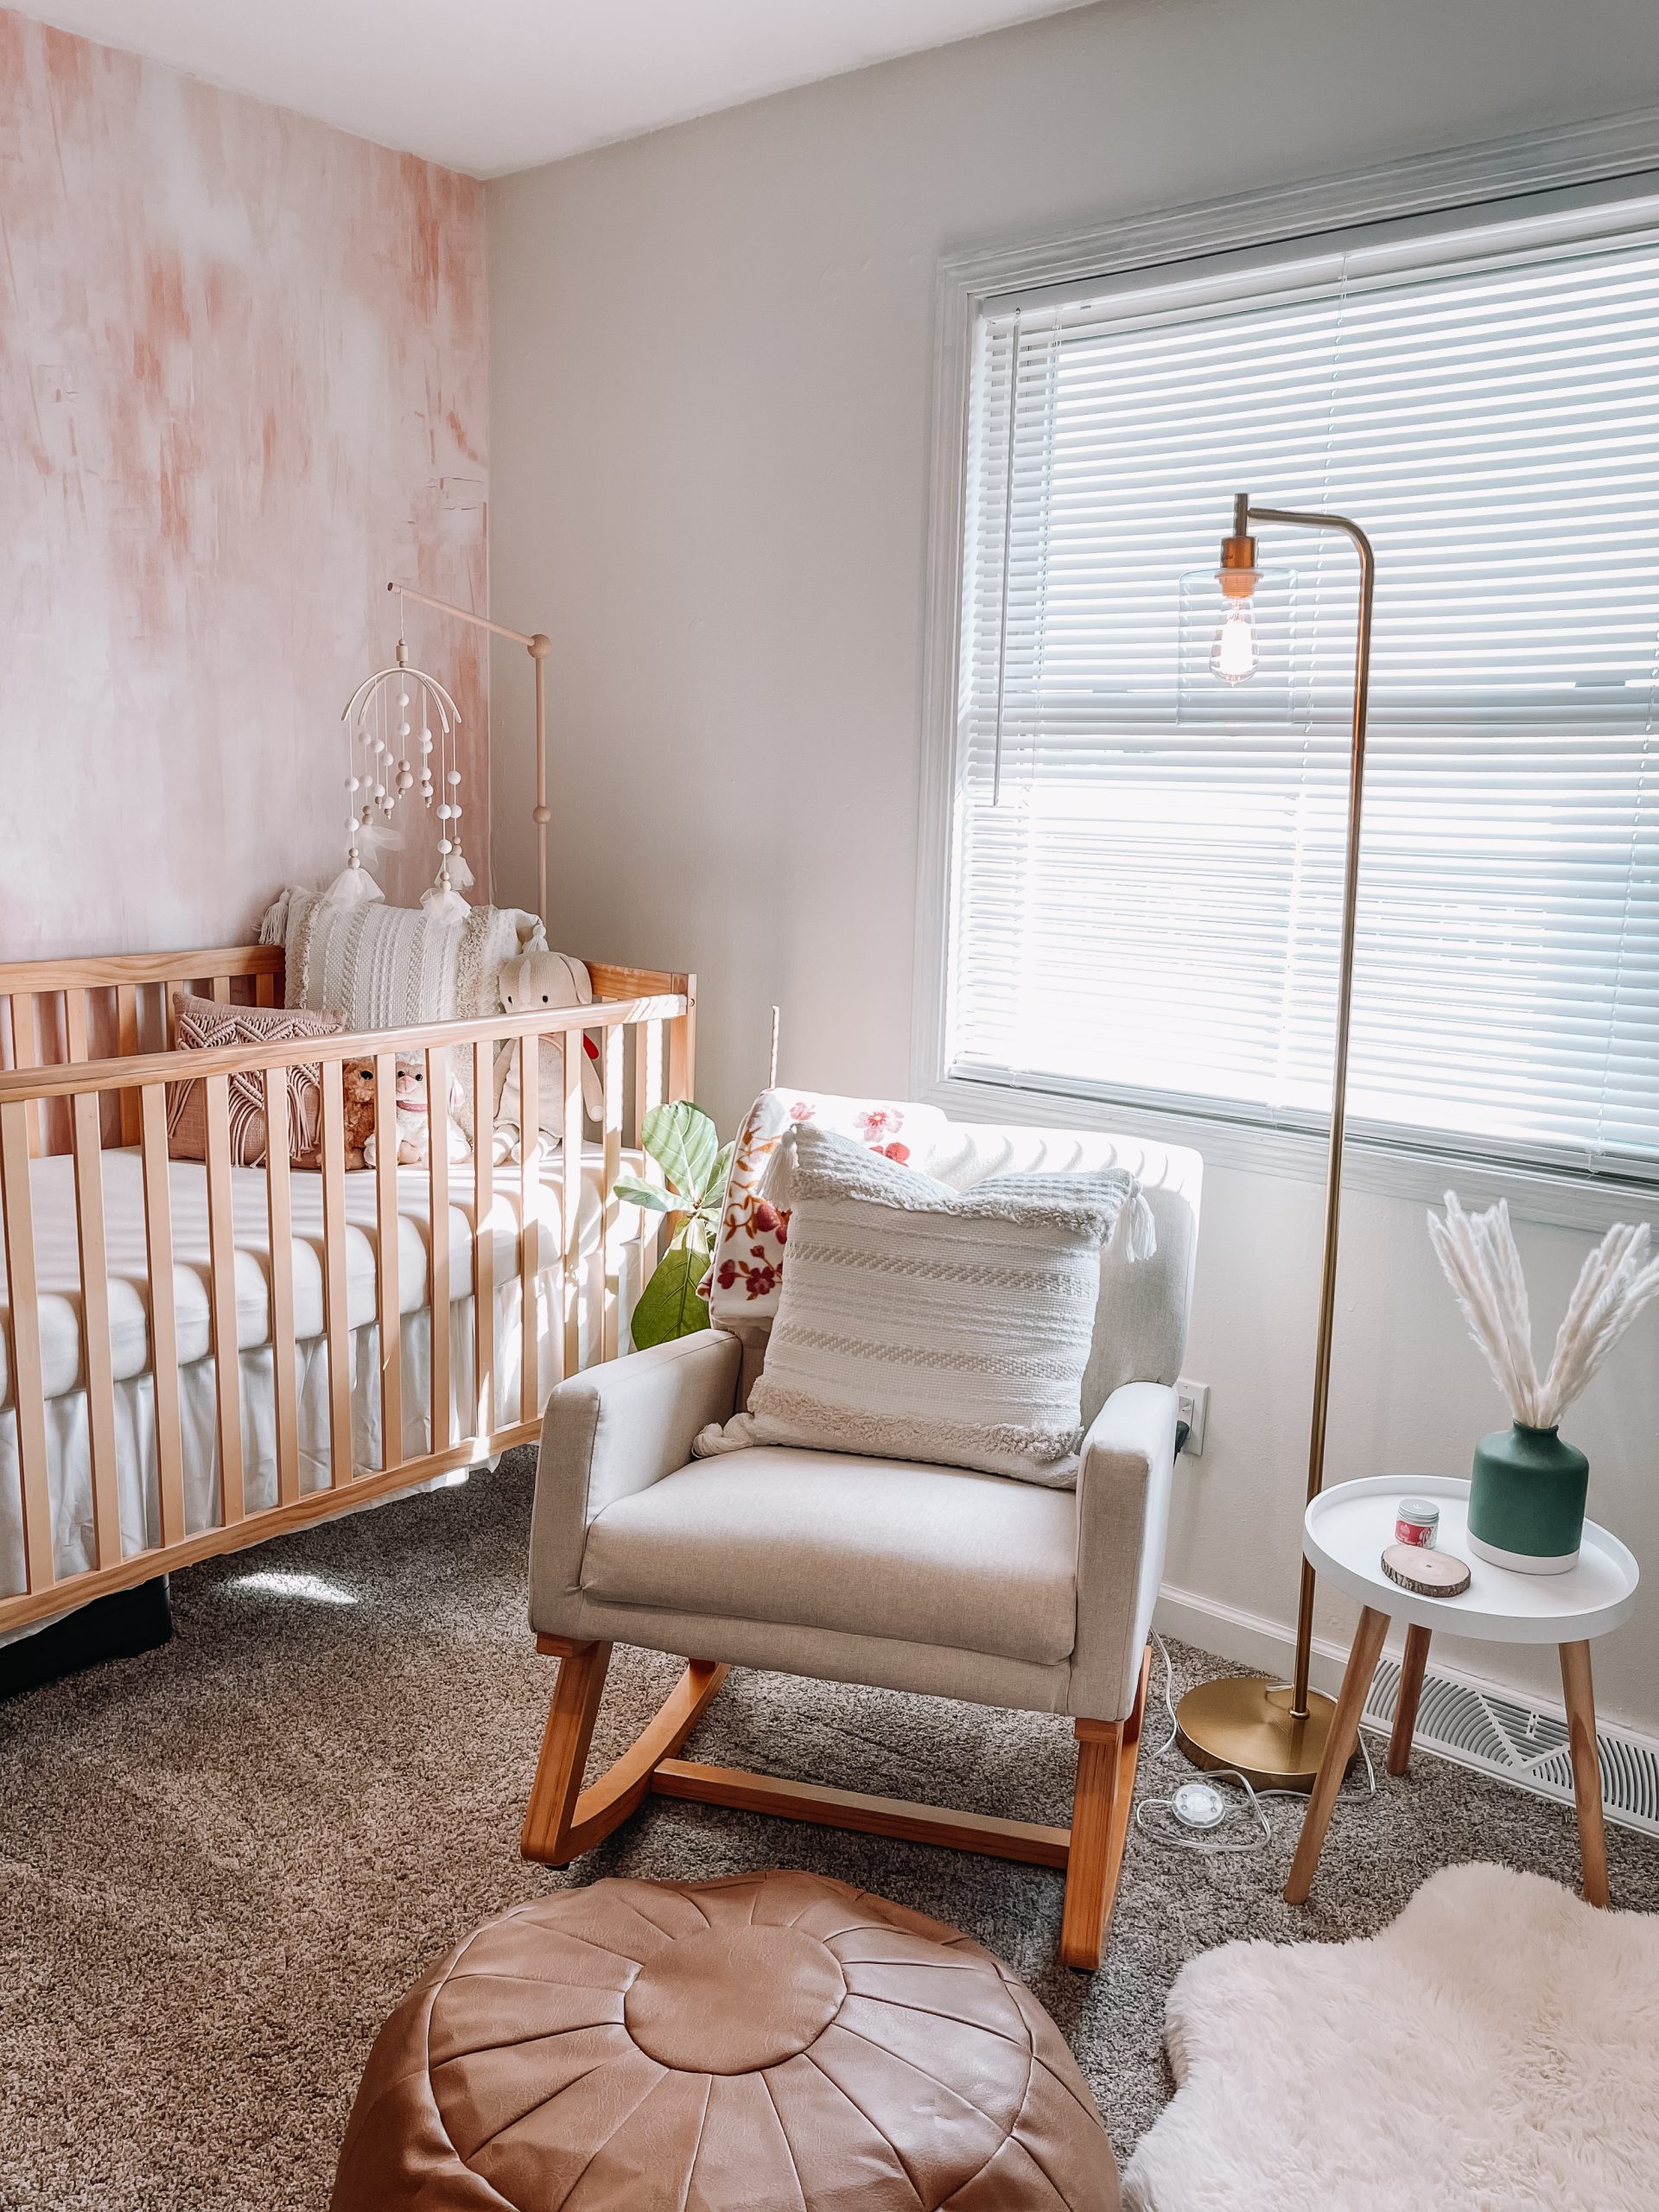
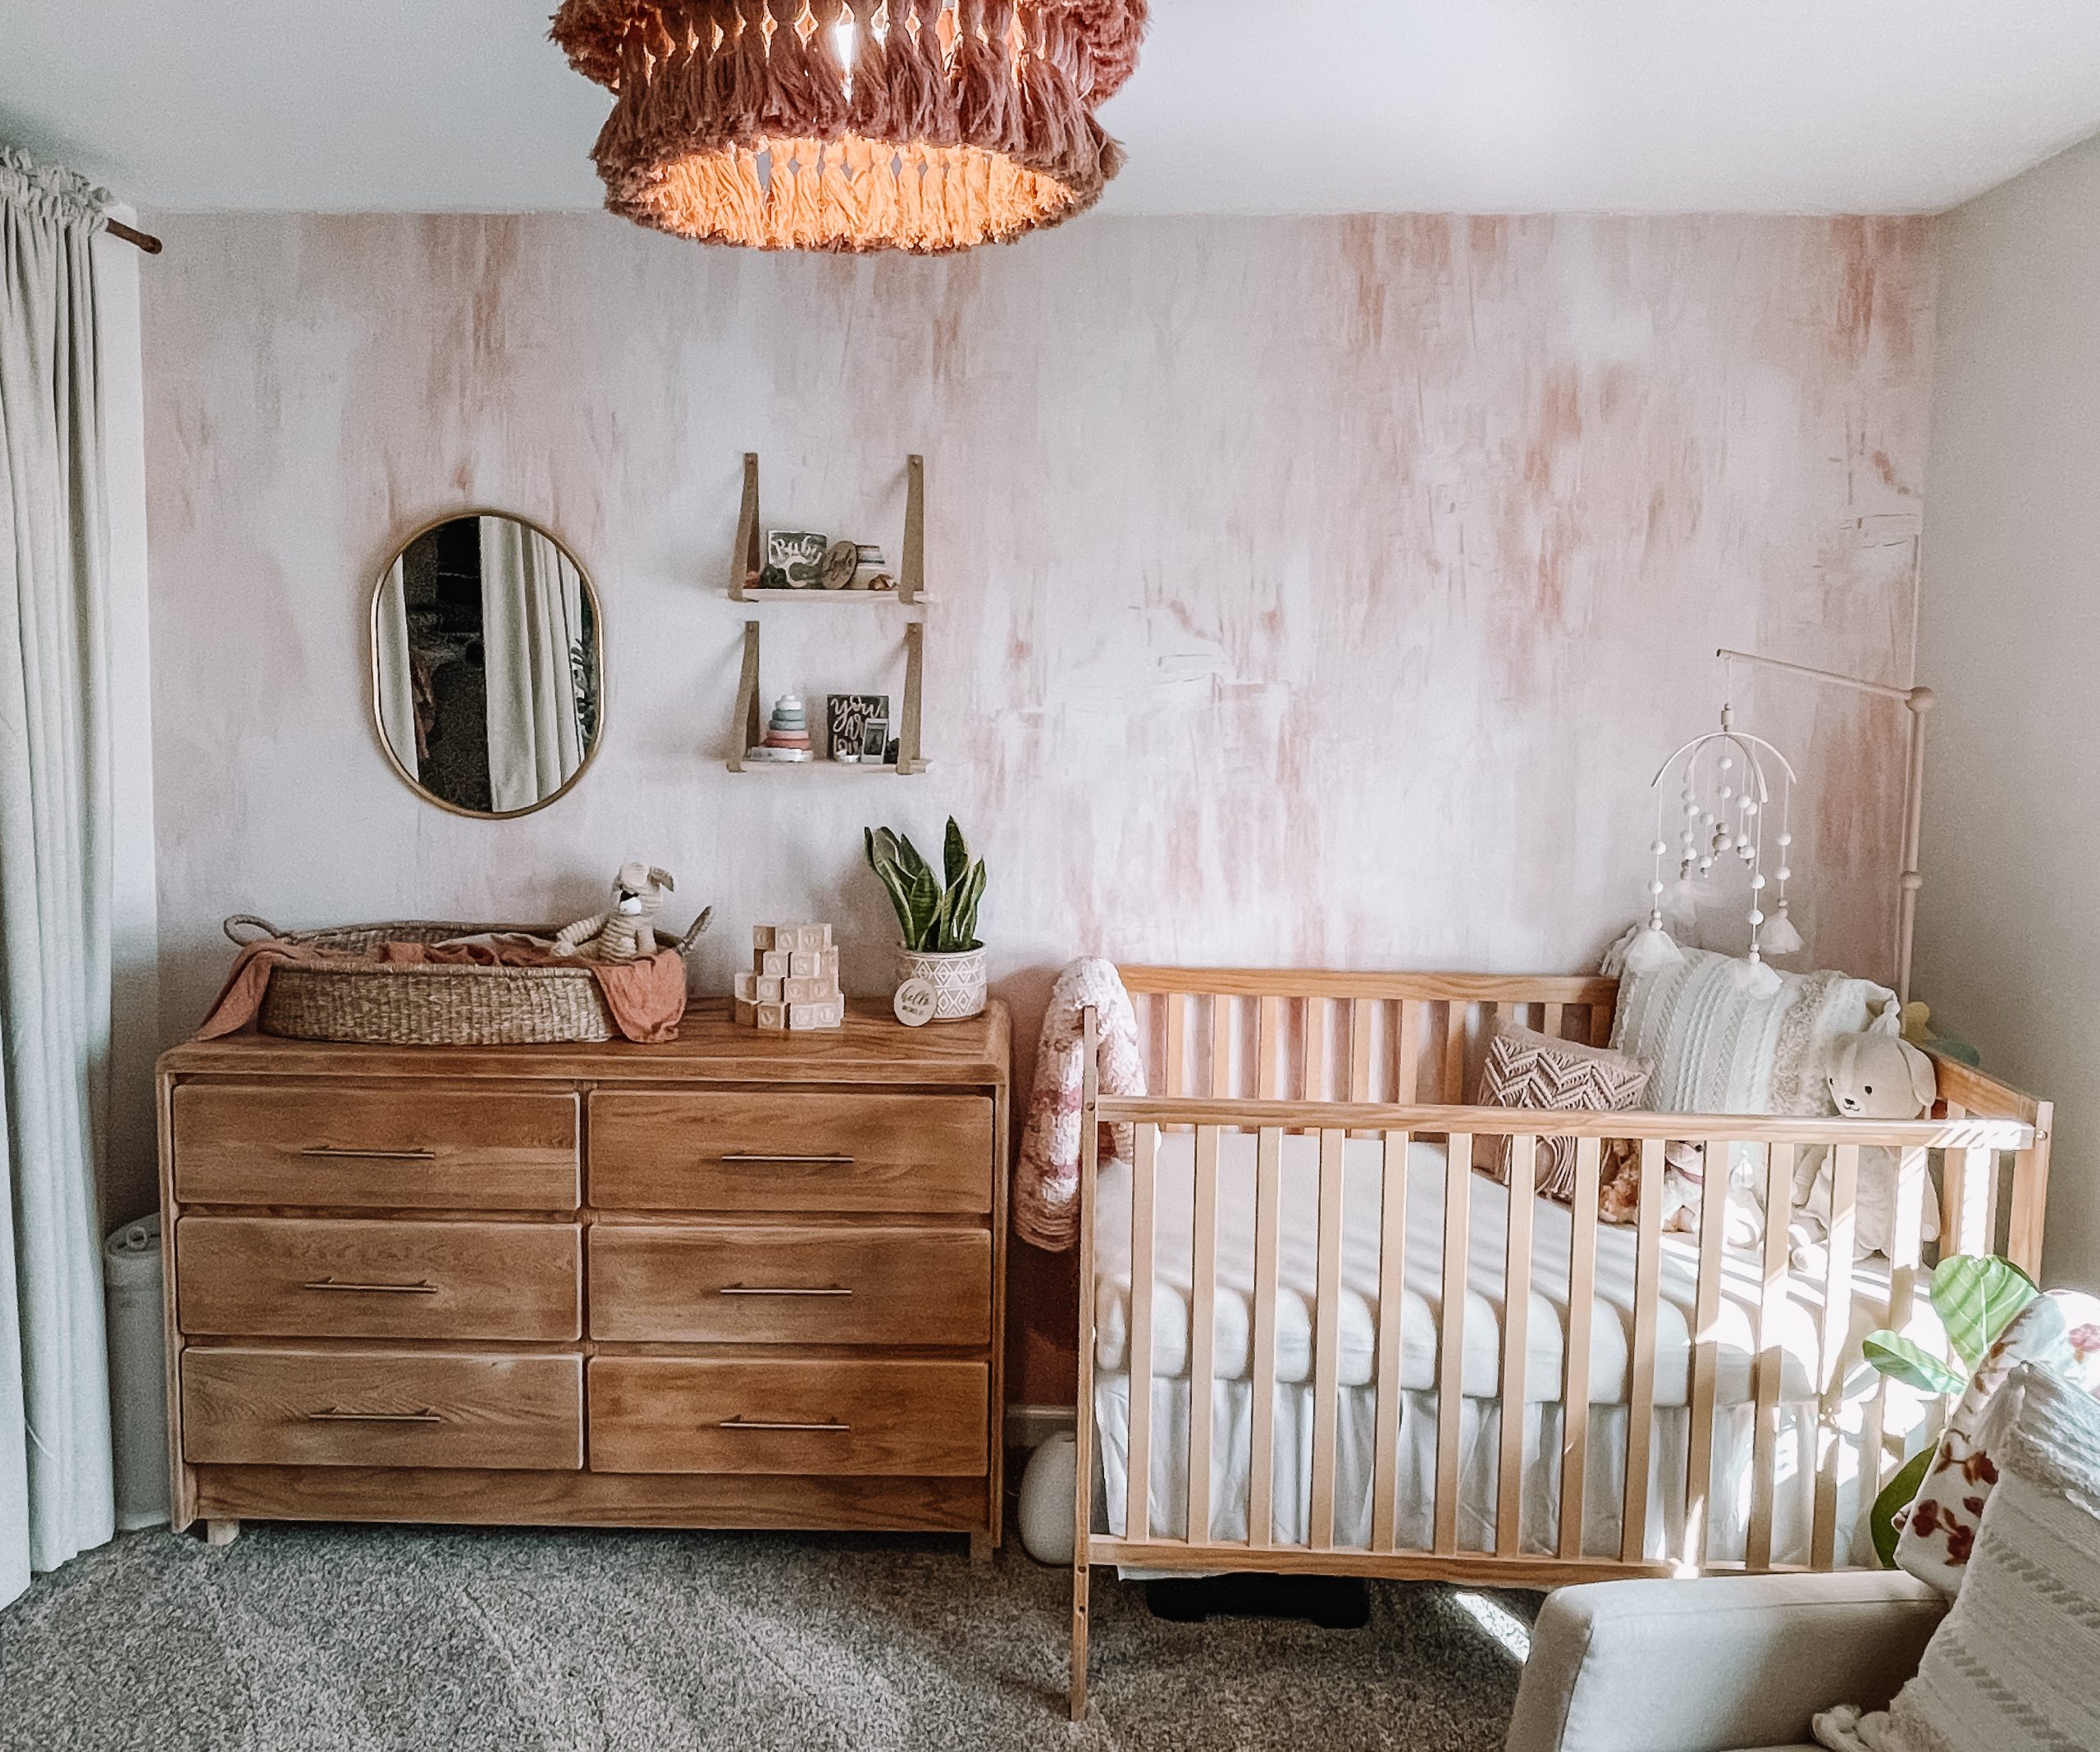
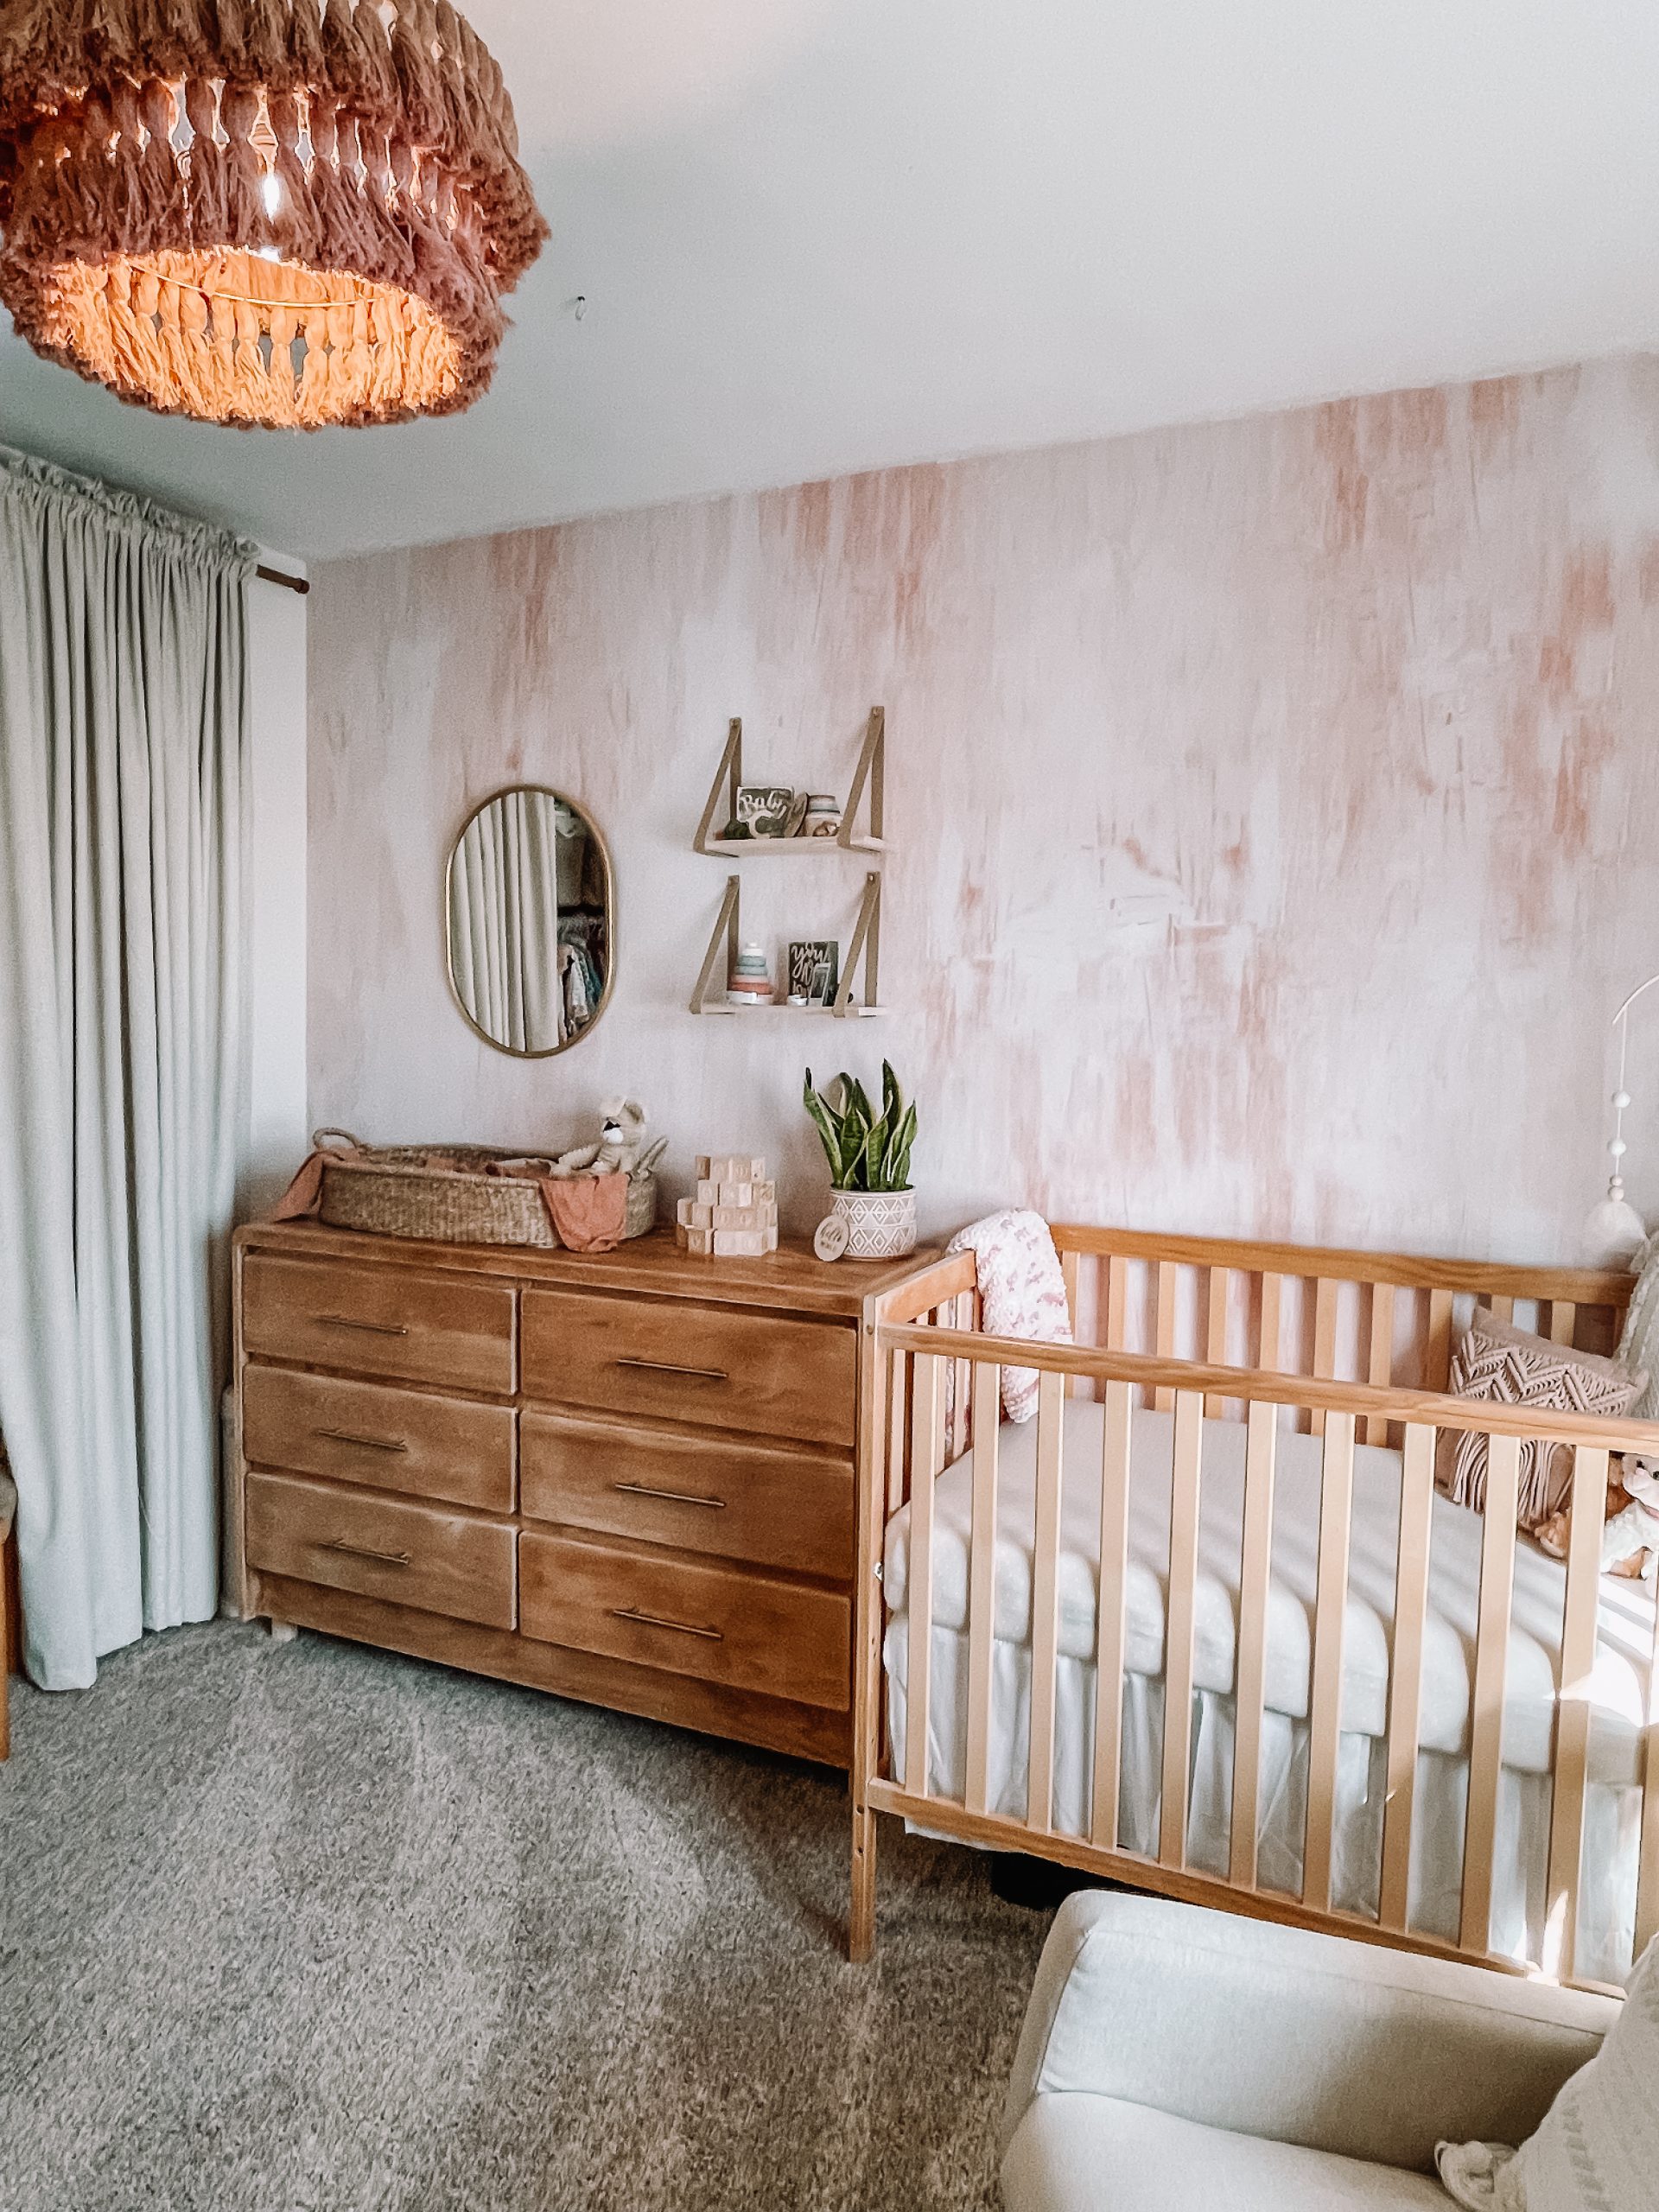
The crib was a hand me down, but still available online. I was a little worried about the rocking chair not being comfortable, but to be honest, I use it every night to nurse and it’s super comfy, but definitely needs the pillow for support. The boho pillow cover fits perfectly in the space and the insert I found is SOO comfy!! Definitely purchasing more of these inserts. I usually nurse with the boppy pillow too. The ottoman/pouf is actually a storage ottoman. It holds a bunch of blankets currently. I was looking for one that was more structured, but they were just so pricey that I opted for this and it works well. I use it while nursing and it helps me rock back and forth better.
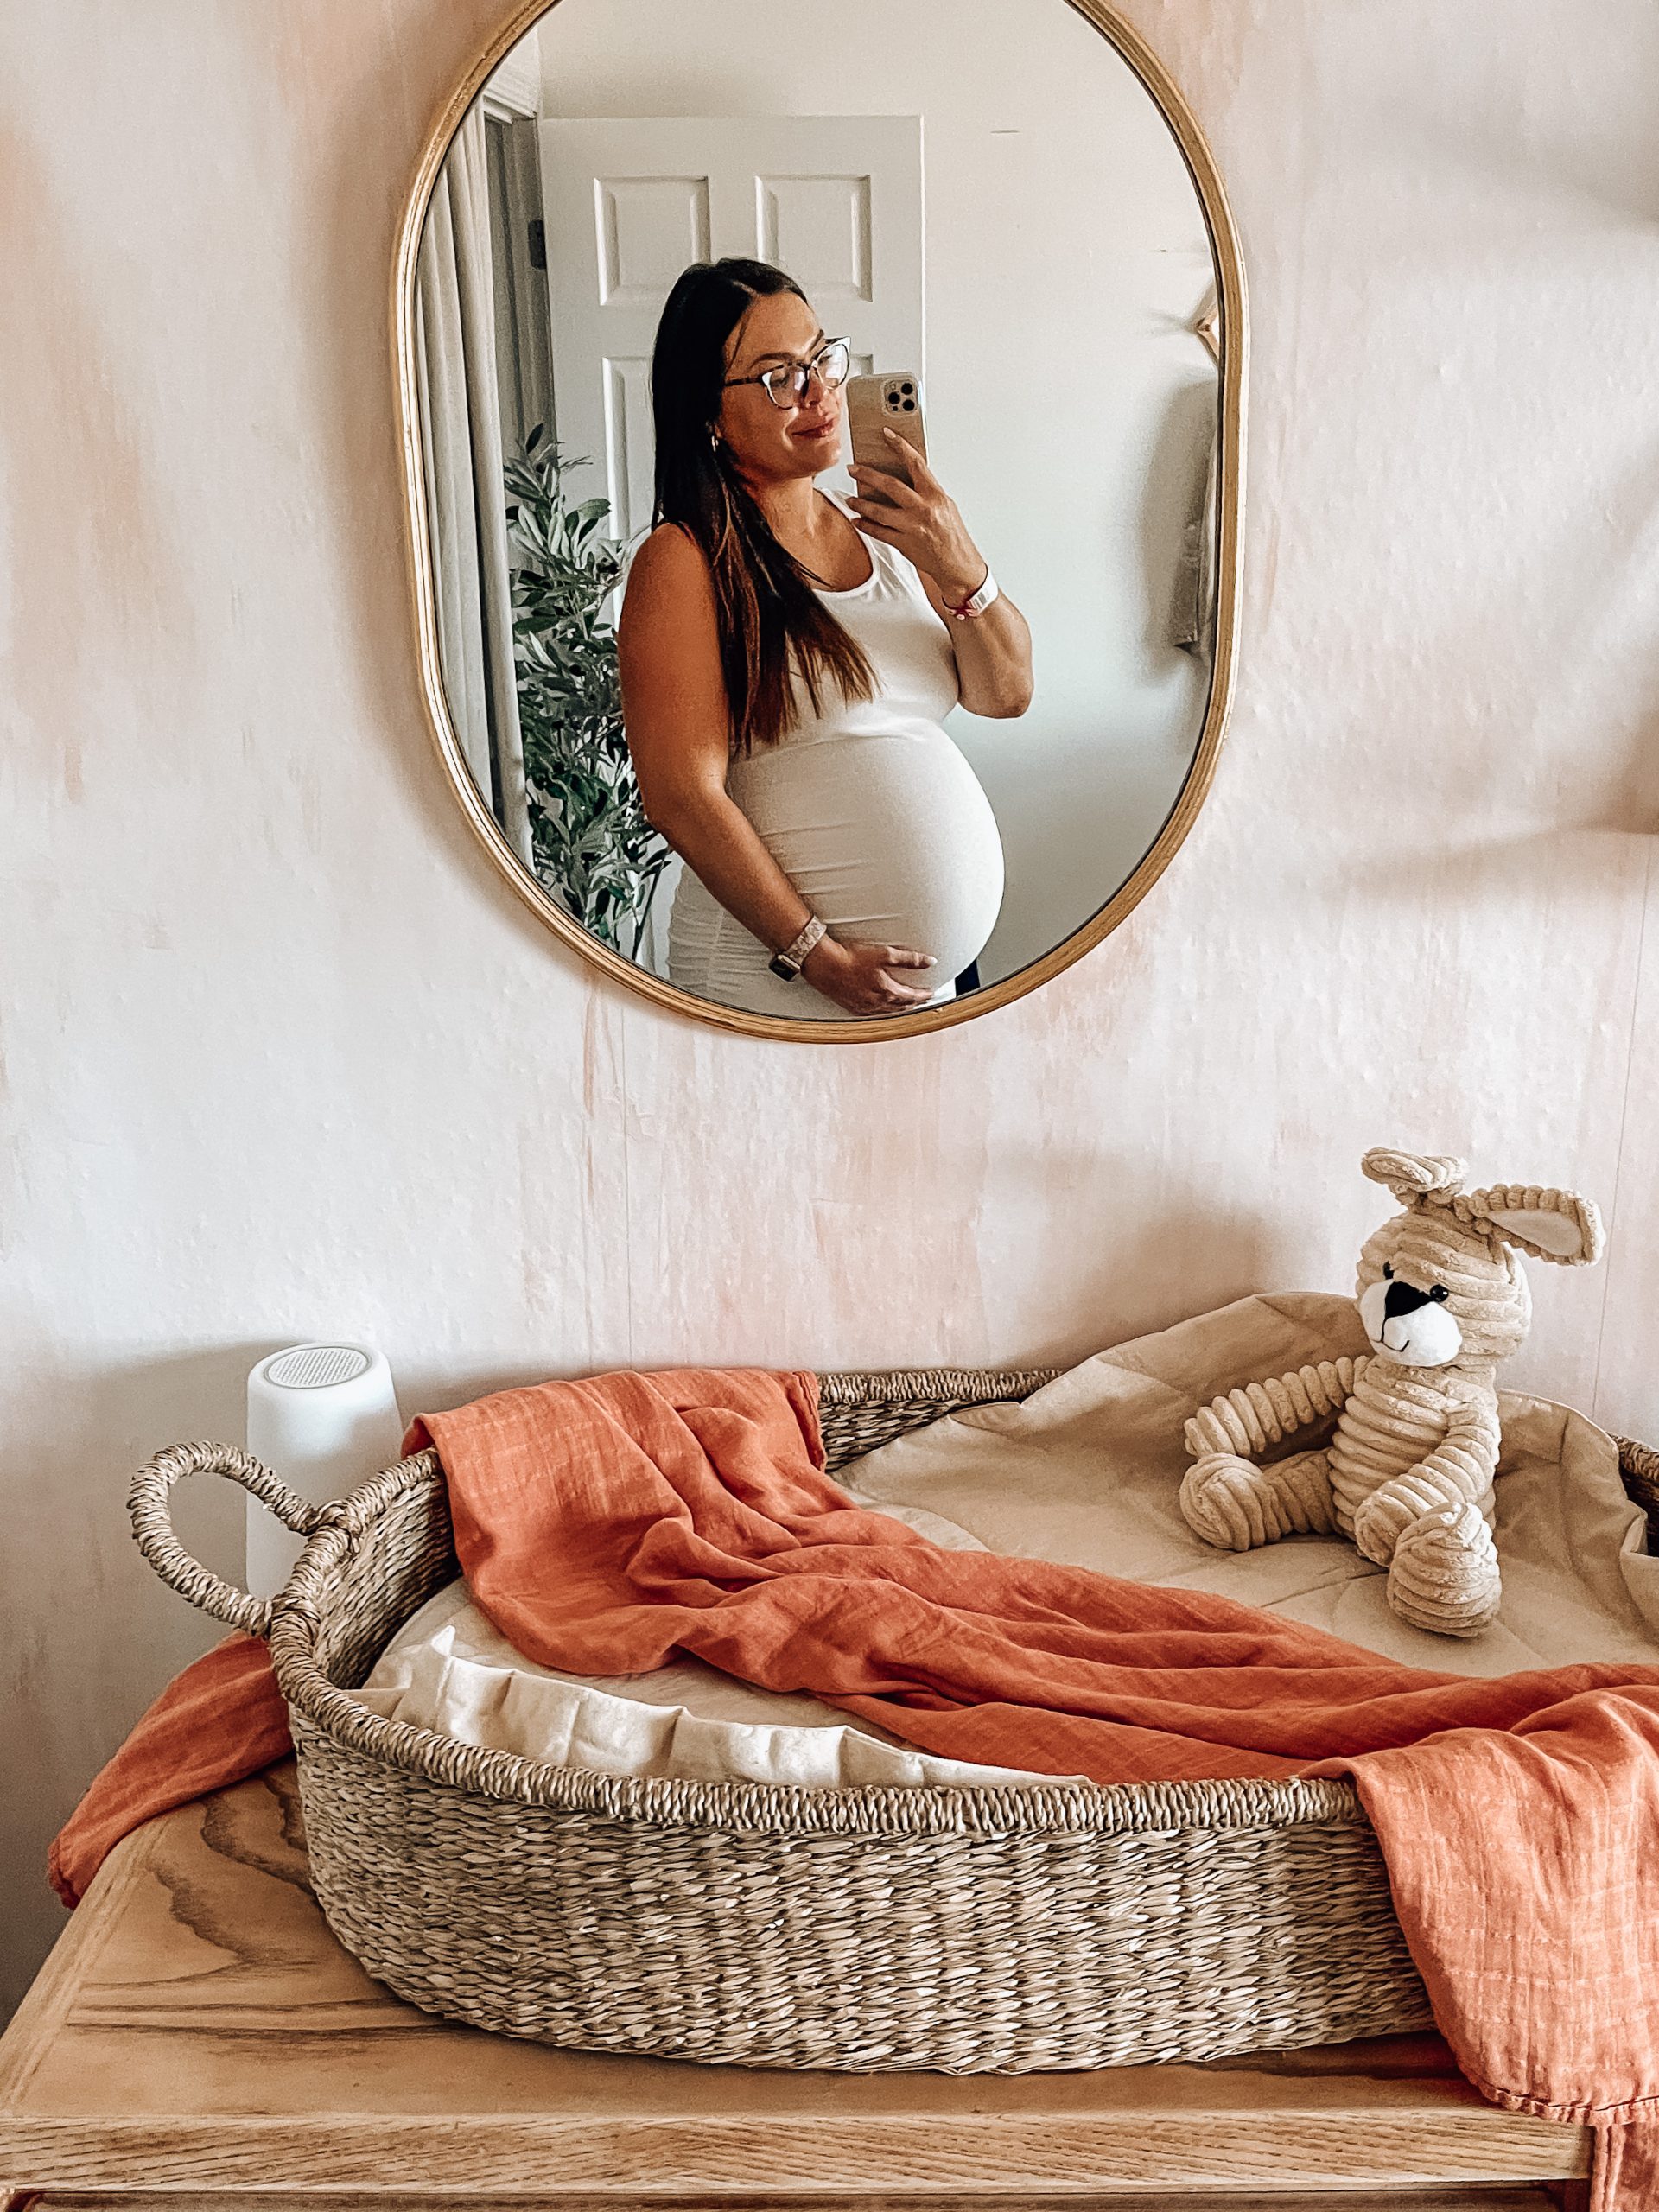
The changing table area is probably my favorite, mainly because the dresser turned out so well, but I love the diaper changing basket. Above that, we have some shelves and a mirror. The mirror was a tricky one. I was looking for something larger and more oval or squoval like this one, rather than a circle and this is the only one I could find that had a distressed gold frame like I was looking for. I have my eye out for some other ones just in case.
If you’re looking for more links to any of the decor or baby items in the nursery, you can find them all HERE!
HOME RENO/ NURSERY REVEAL VIDEO
Links:
Cuddle + Kind Doll – 1 doll purchase = 10 meals for kids <3
All other links can be found HERE!
I hope you enjoyed it and maybe found some inspo for your current/future nursery! As always, thank you so much for reading and watching!





Leave a Reply