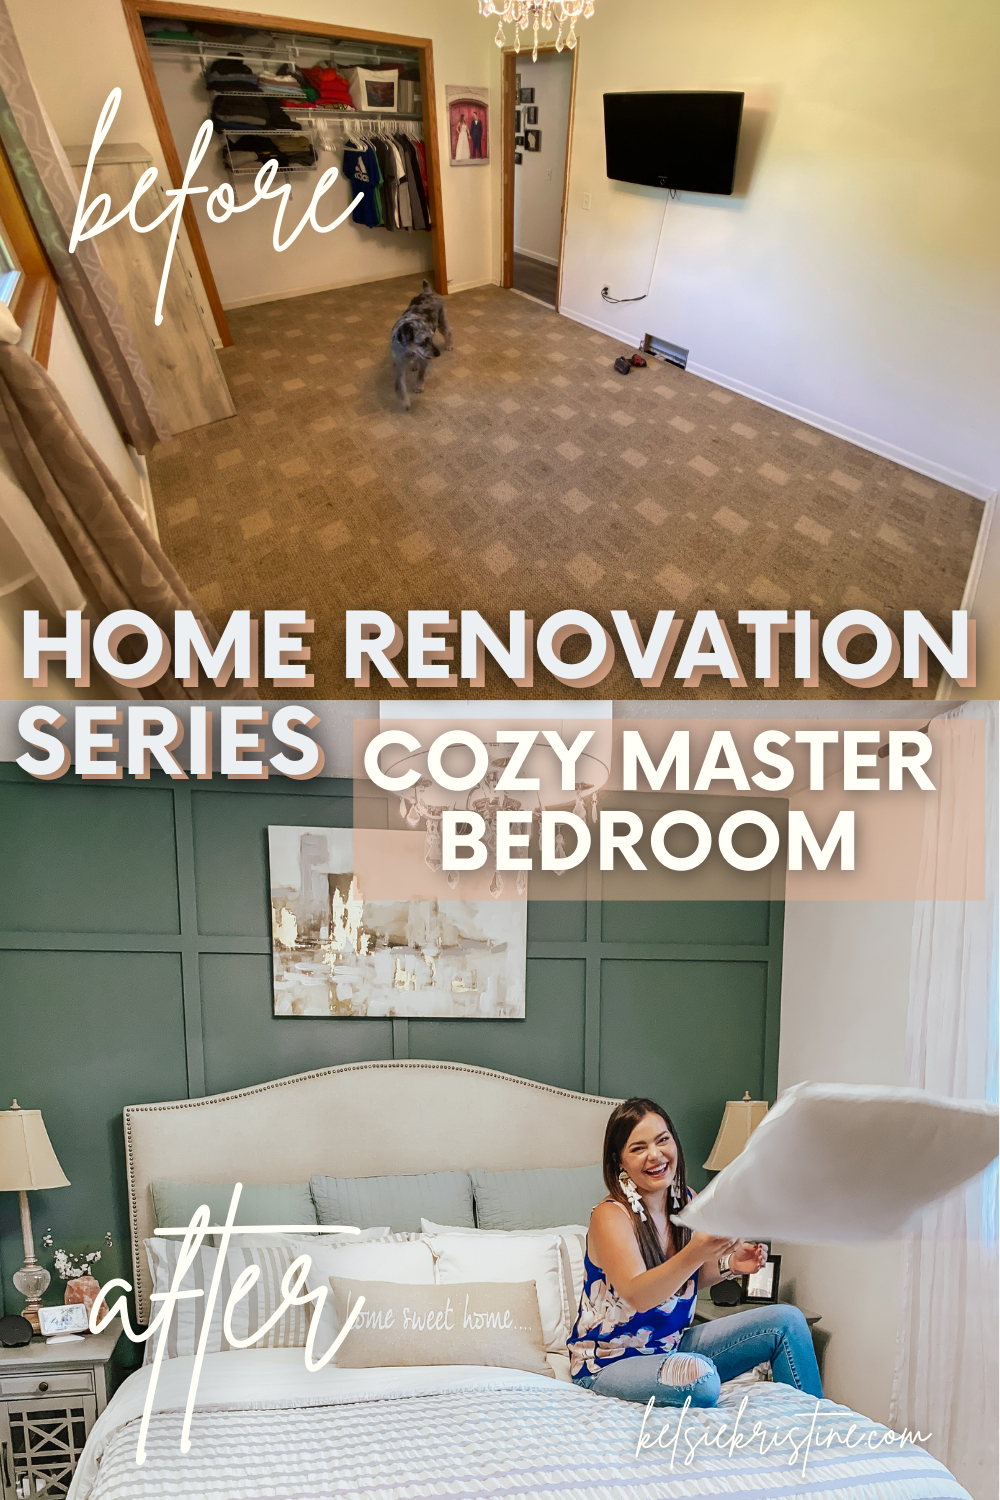
Hi friends!! Happy Sunday!! I’m back with another renovation series post -this one is all about our COZY MASTER BEDROOM! This is another room that’s come a longgg way. There’s still so much I want to do to this room, and I talk more about that in the video, but for now this is what we’ve got!
If you missed any other Home Renovation Series posts, find them all HERE.
Not Your Average Master Bedroom
When we first moved into the house in 2015, we decided that we wanted the “master bedroom” to be this room instead of the one that is “technically” the larger of the 3 bedrooms. The other room is my current beauty room (which I’ll share in the next reno post), but it’s oddly long and skinny and didn’t quite fit what we were looking for. Plus, the bedroom that is now our “master” is on the back side of the house so it has more privacy from street traffic. It’s a much more square room so we were able to do more of what we wanted in it.
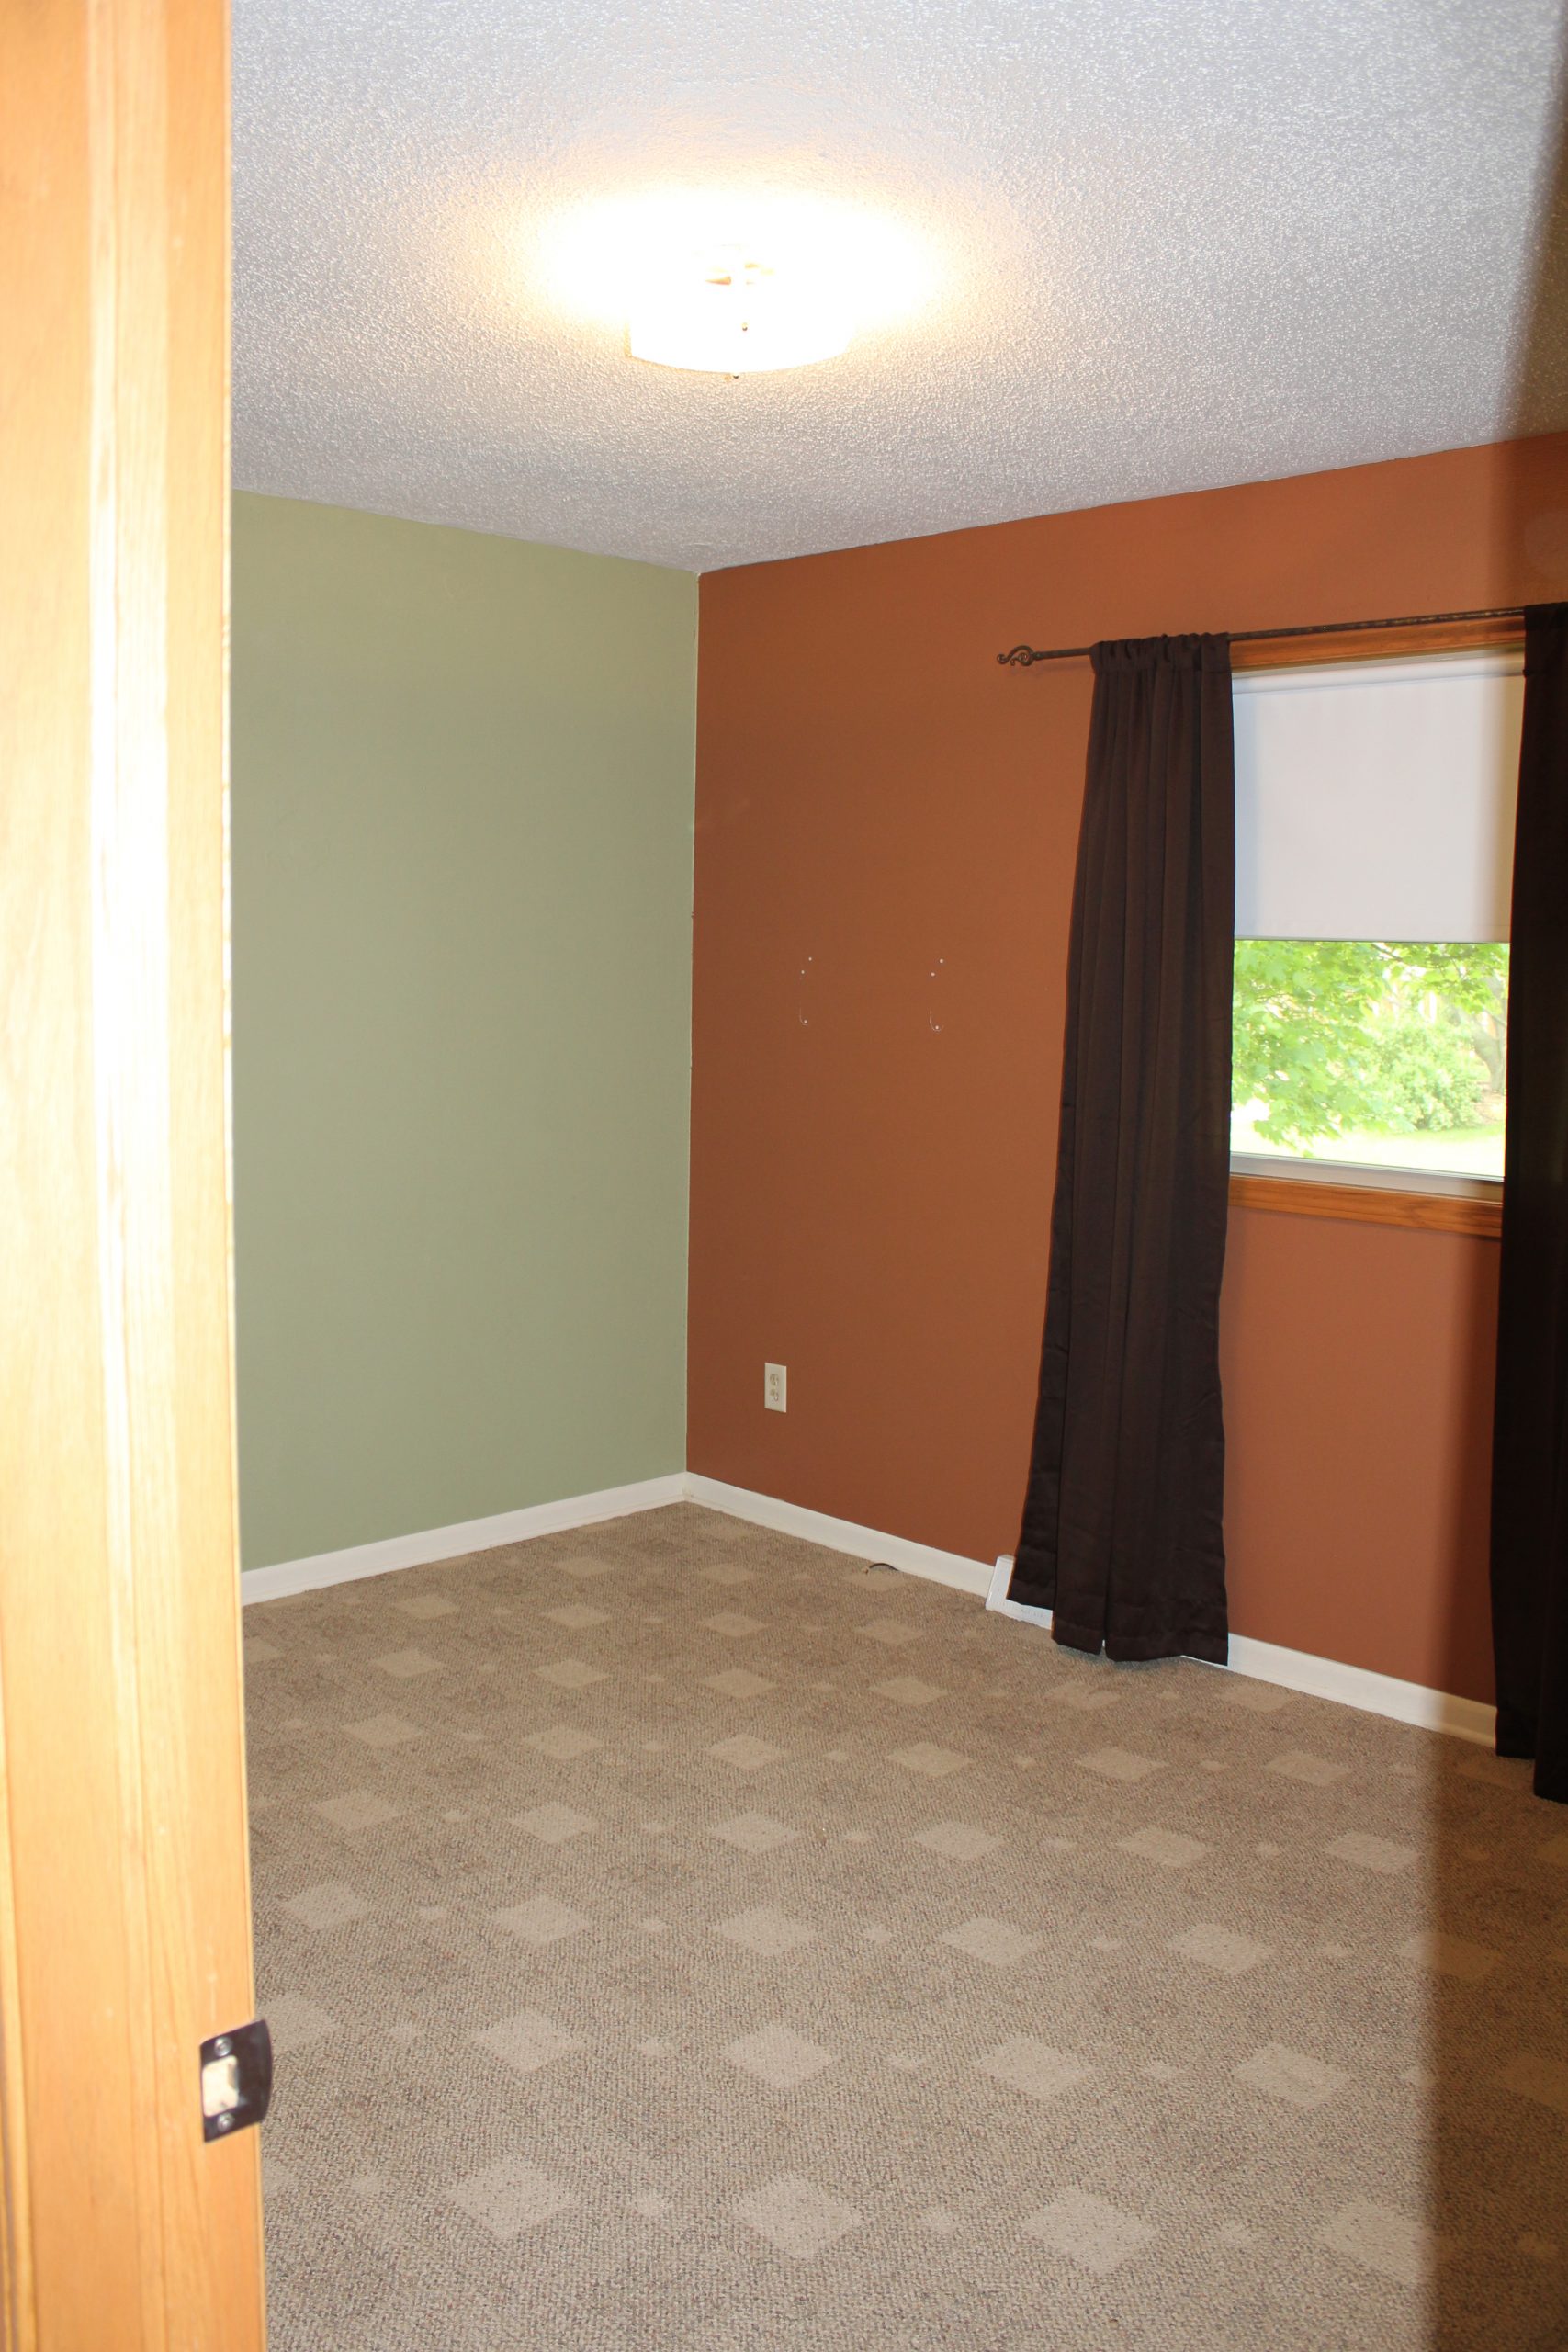
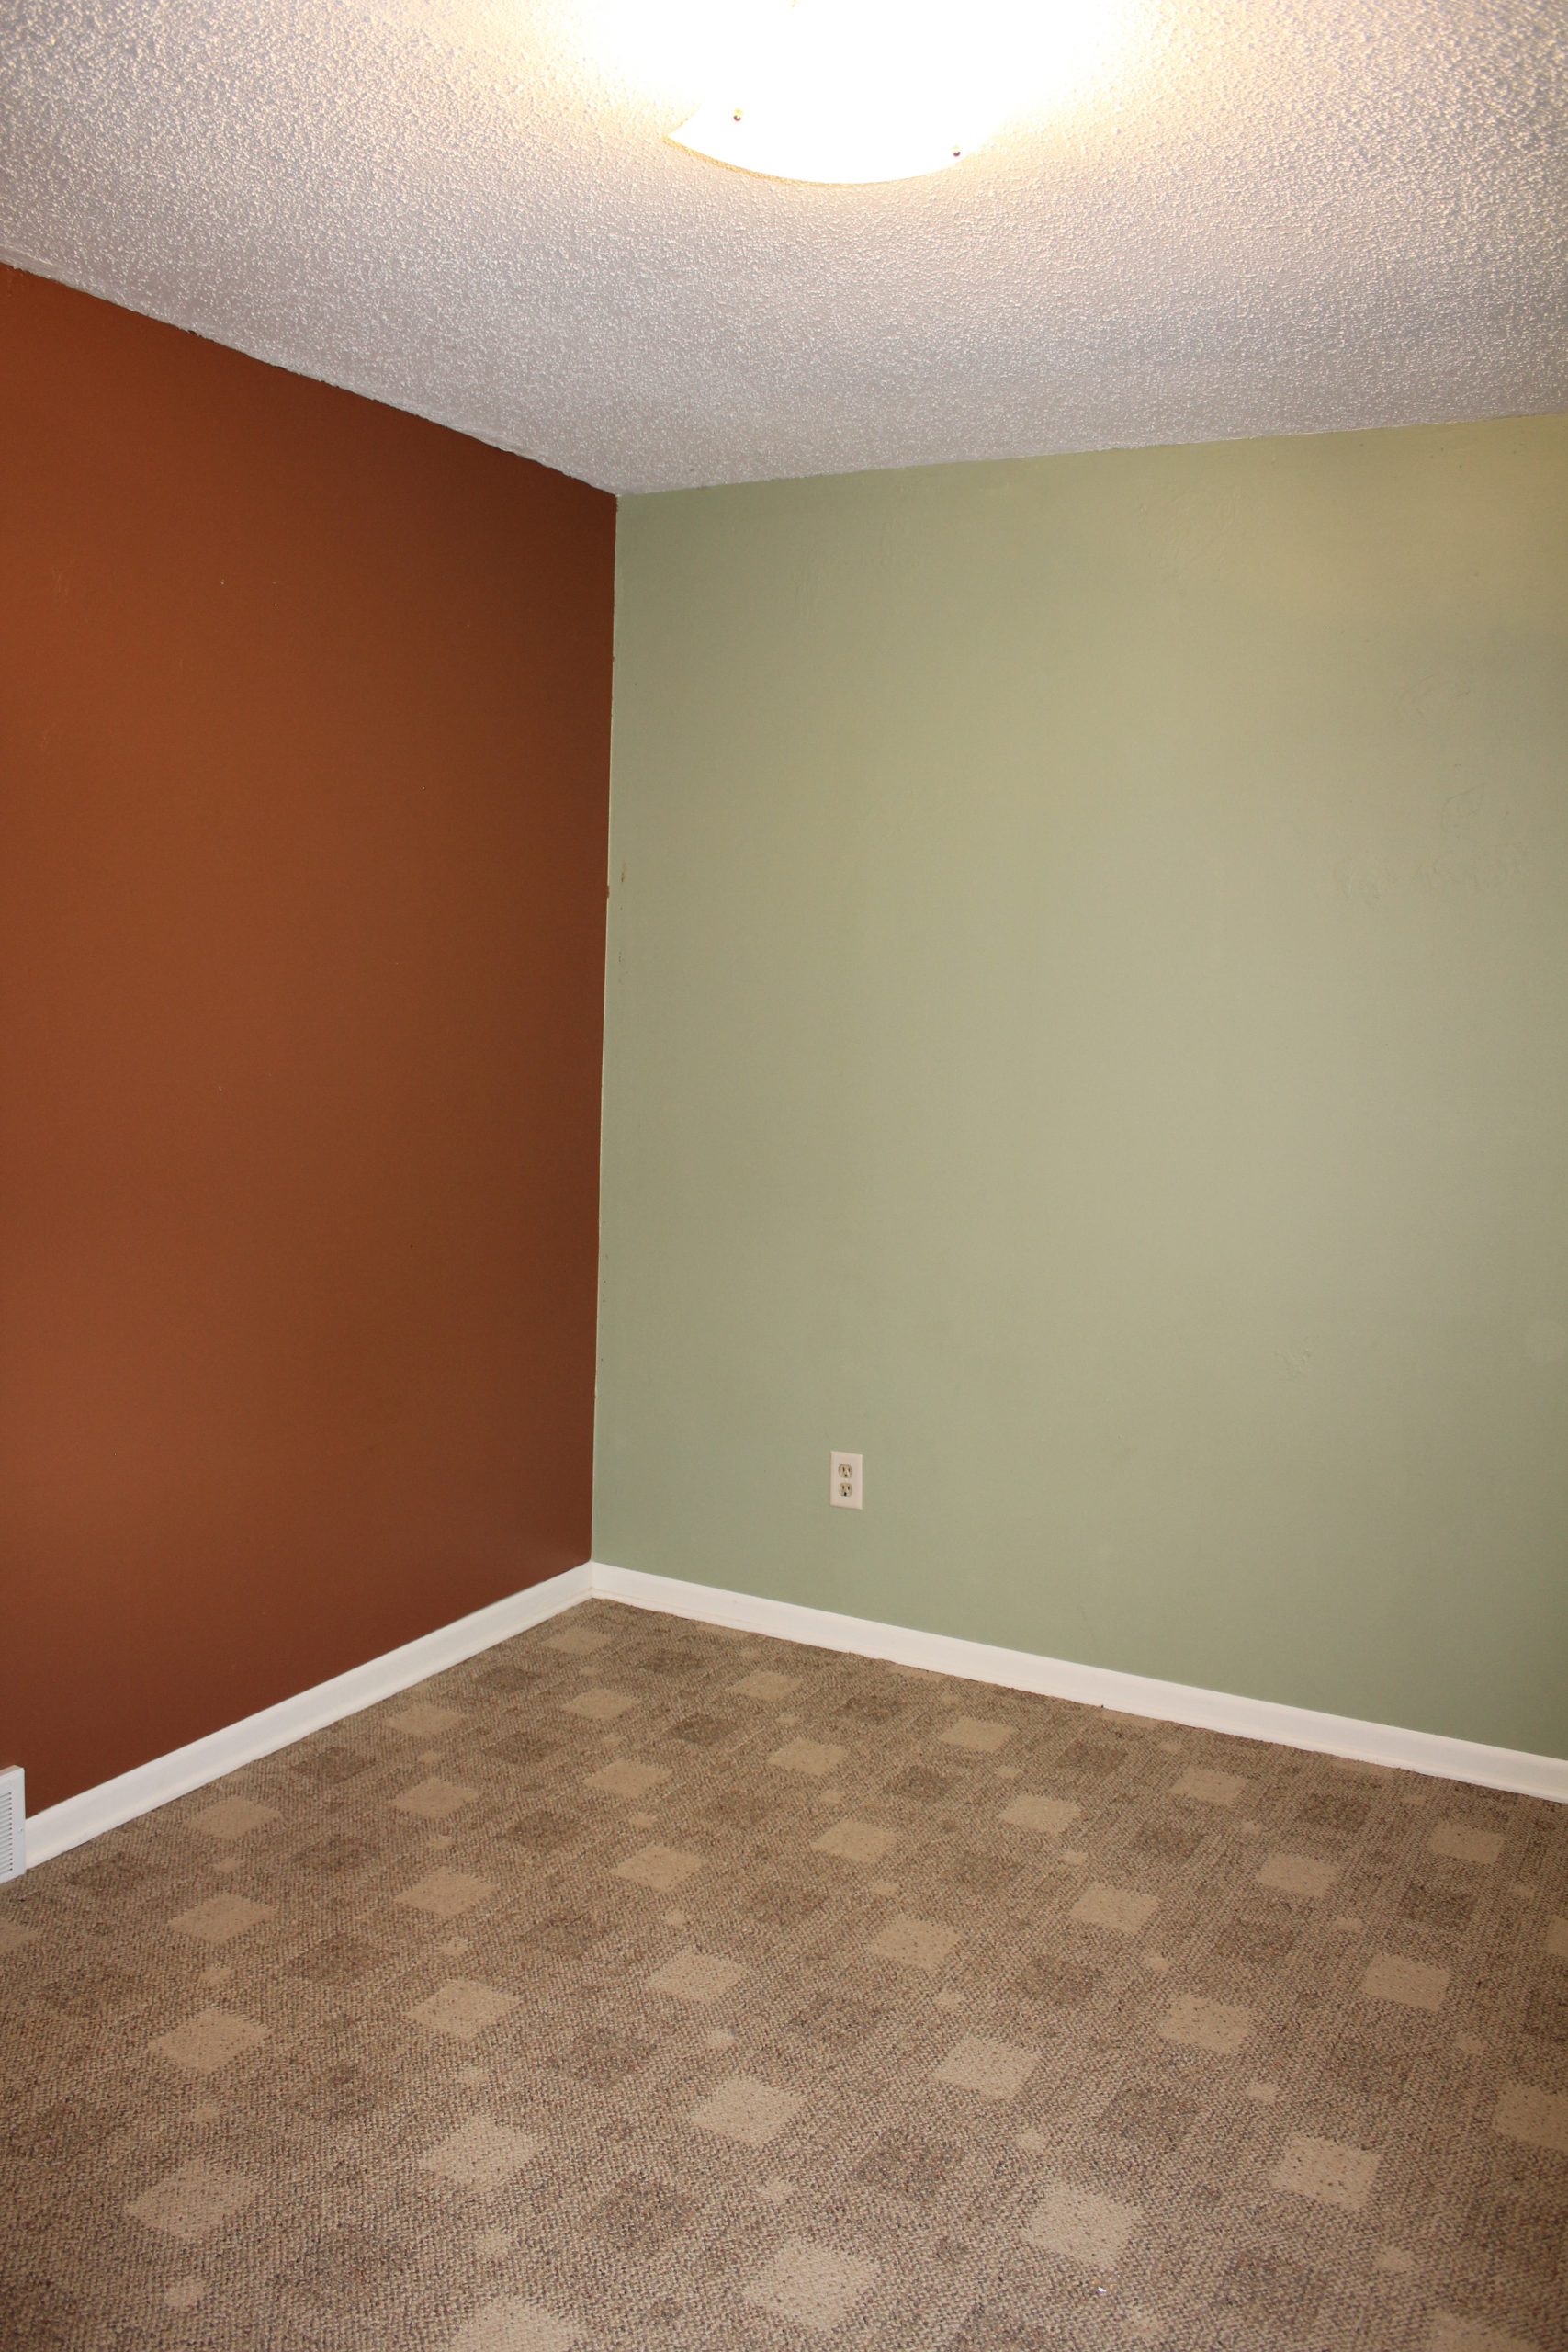
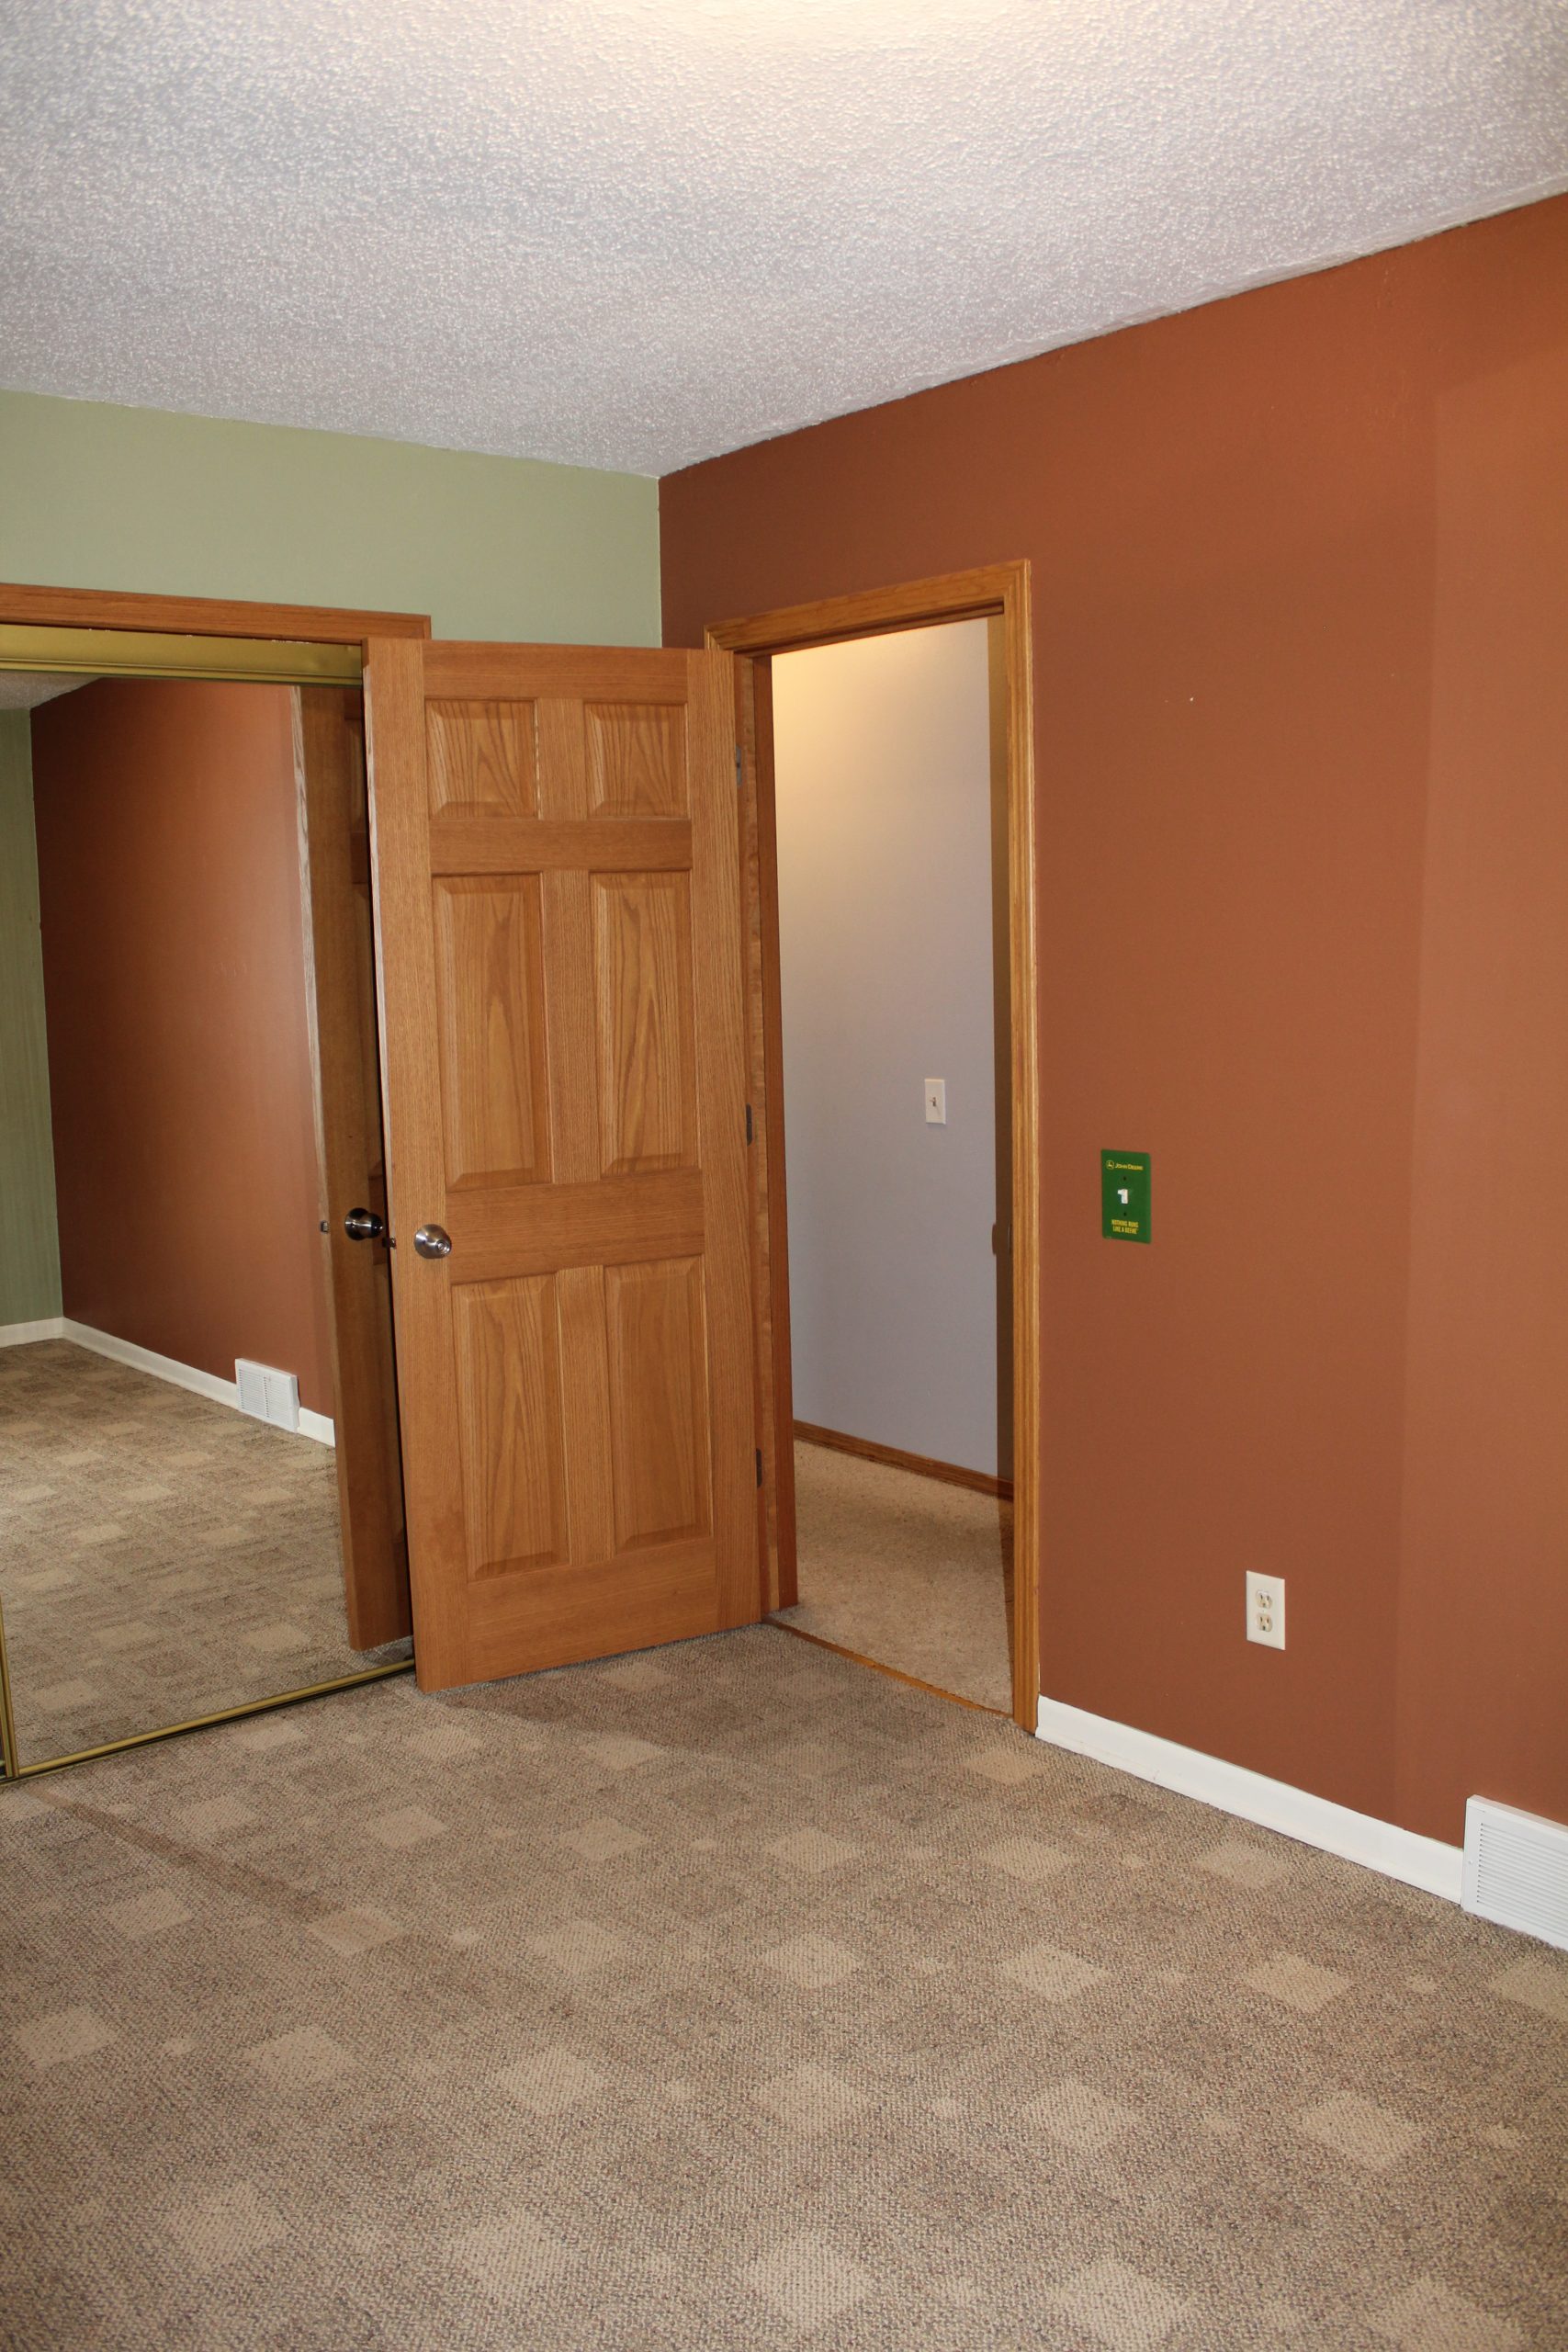
- When we bought the house in 2015
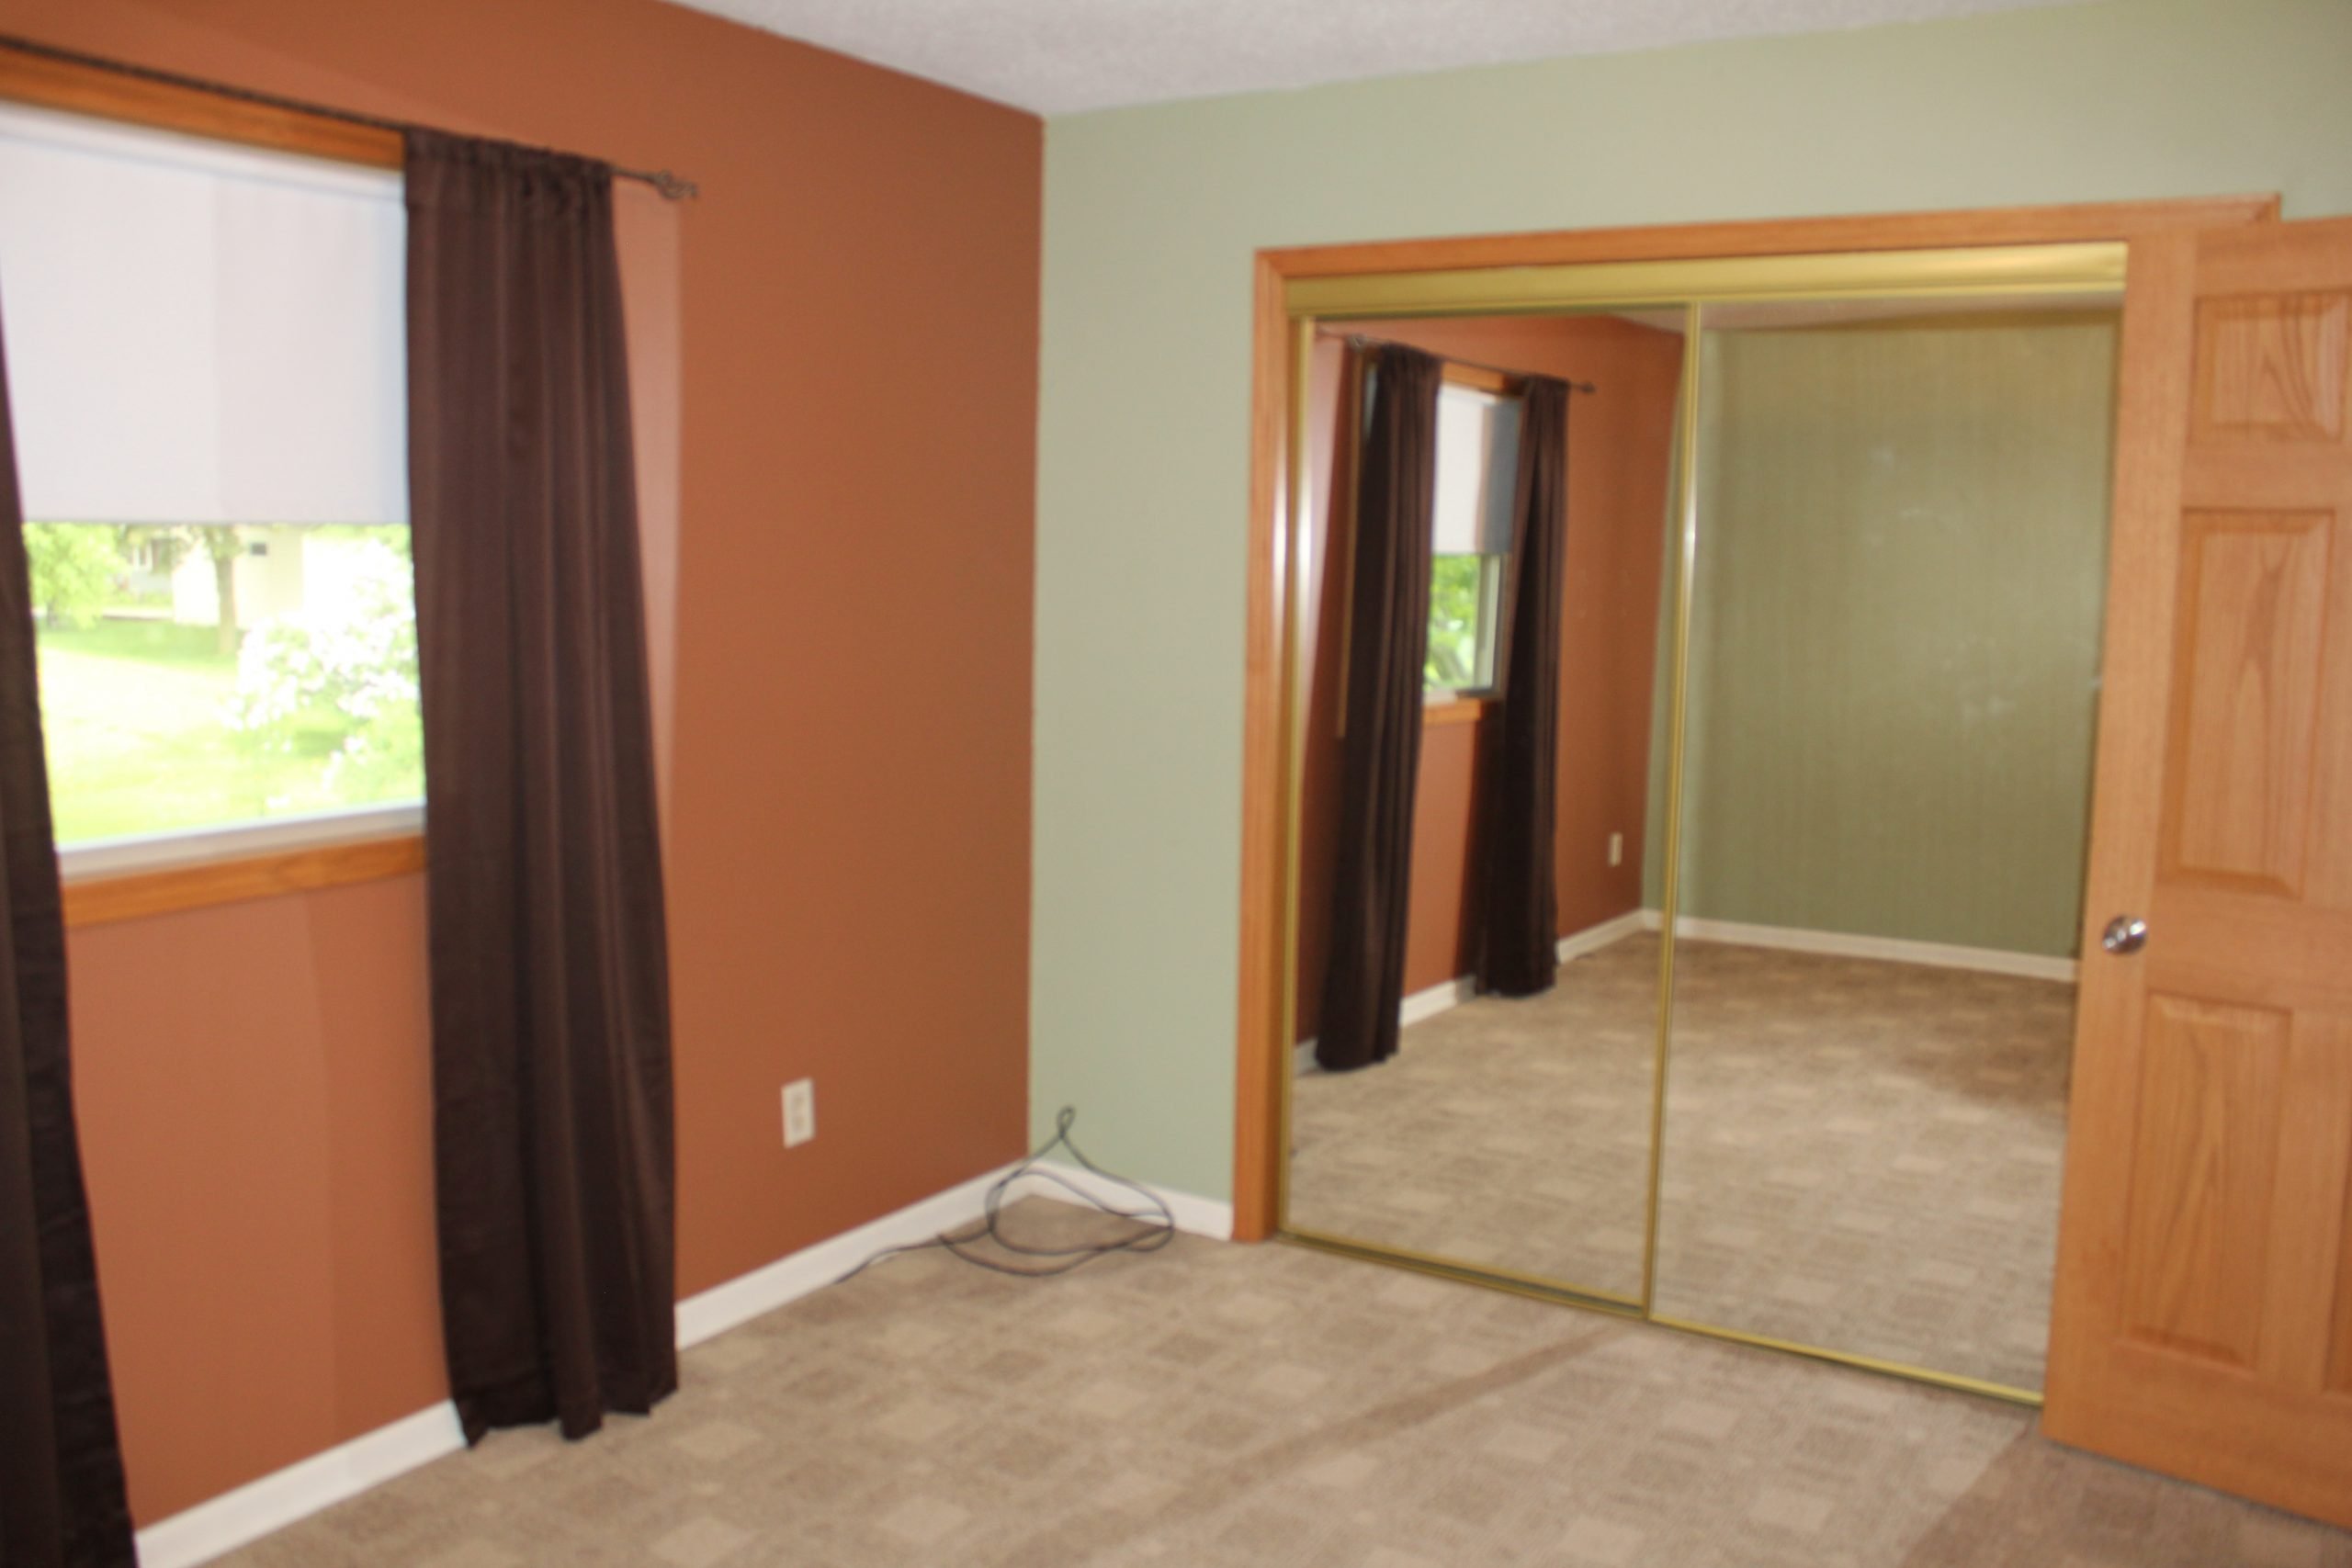
Bedroom when we bought the house in 2015
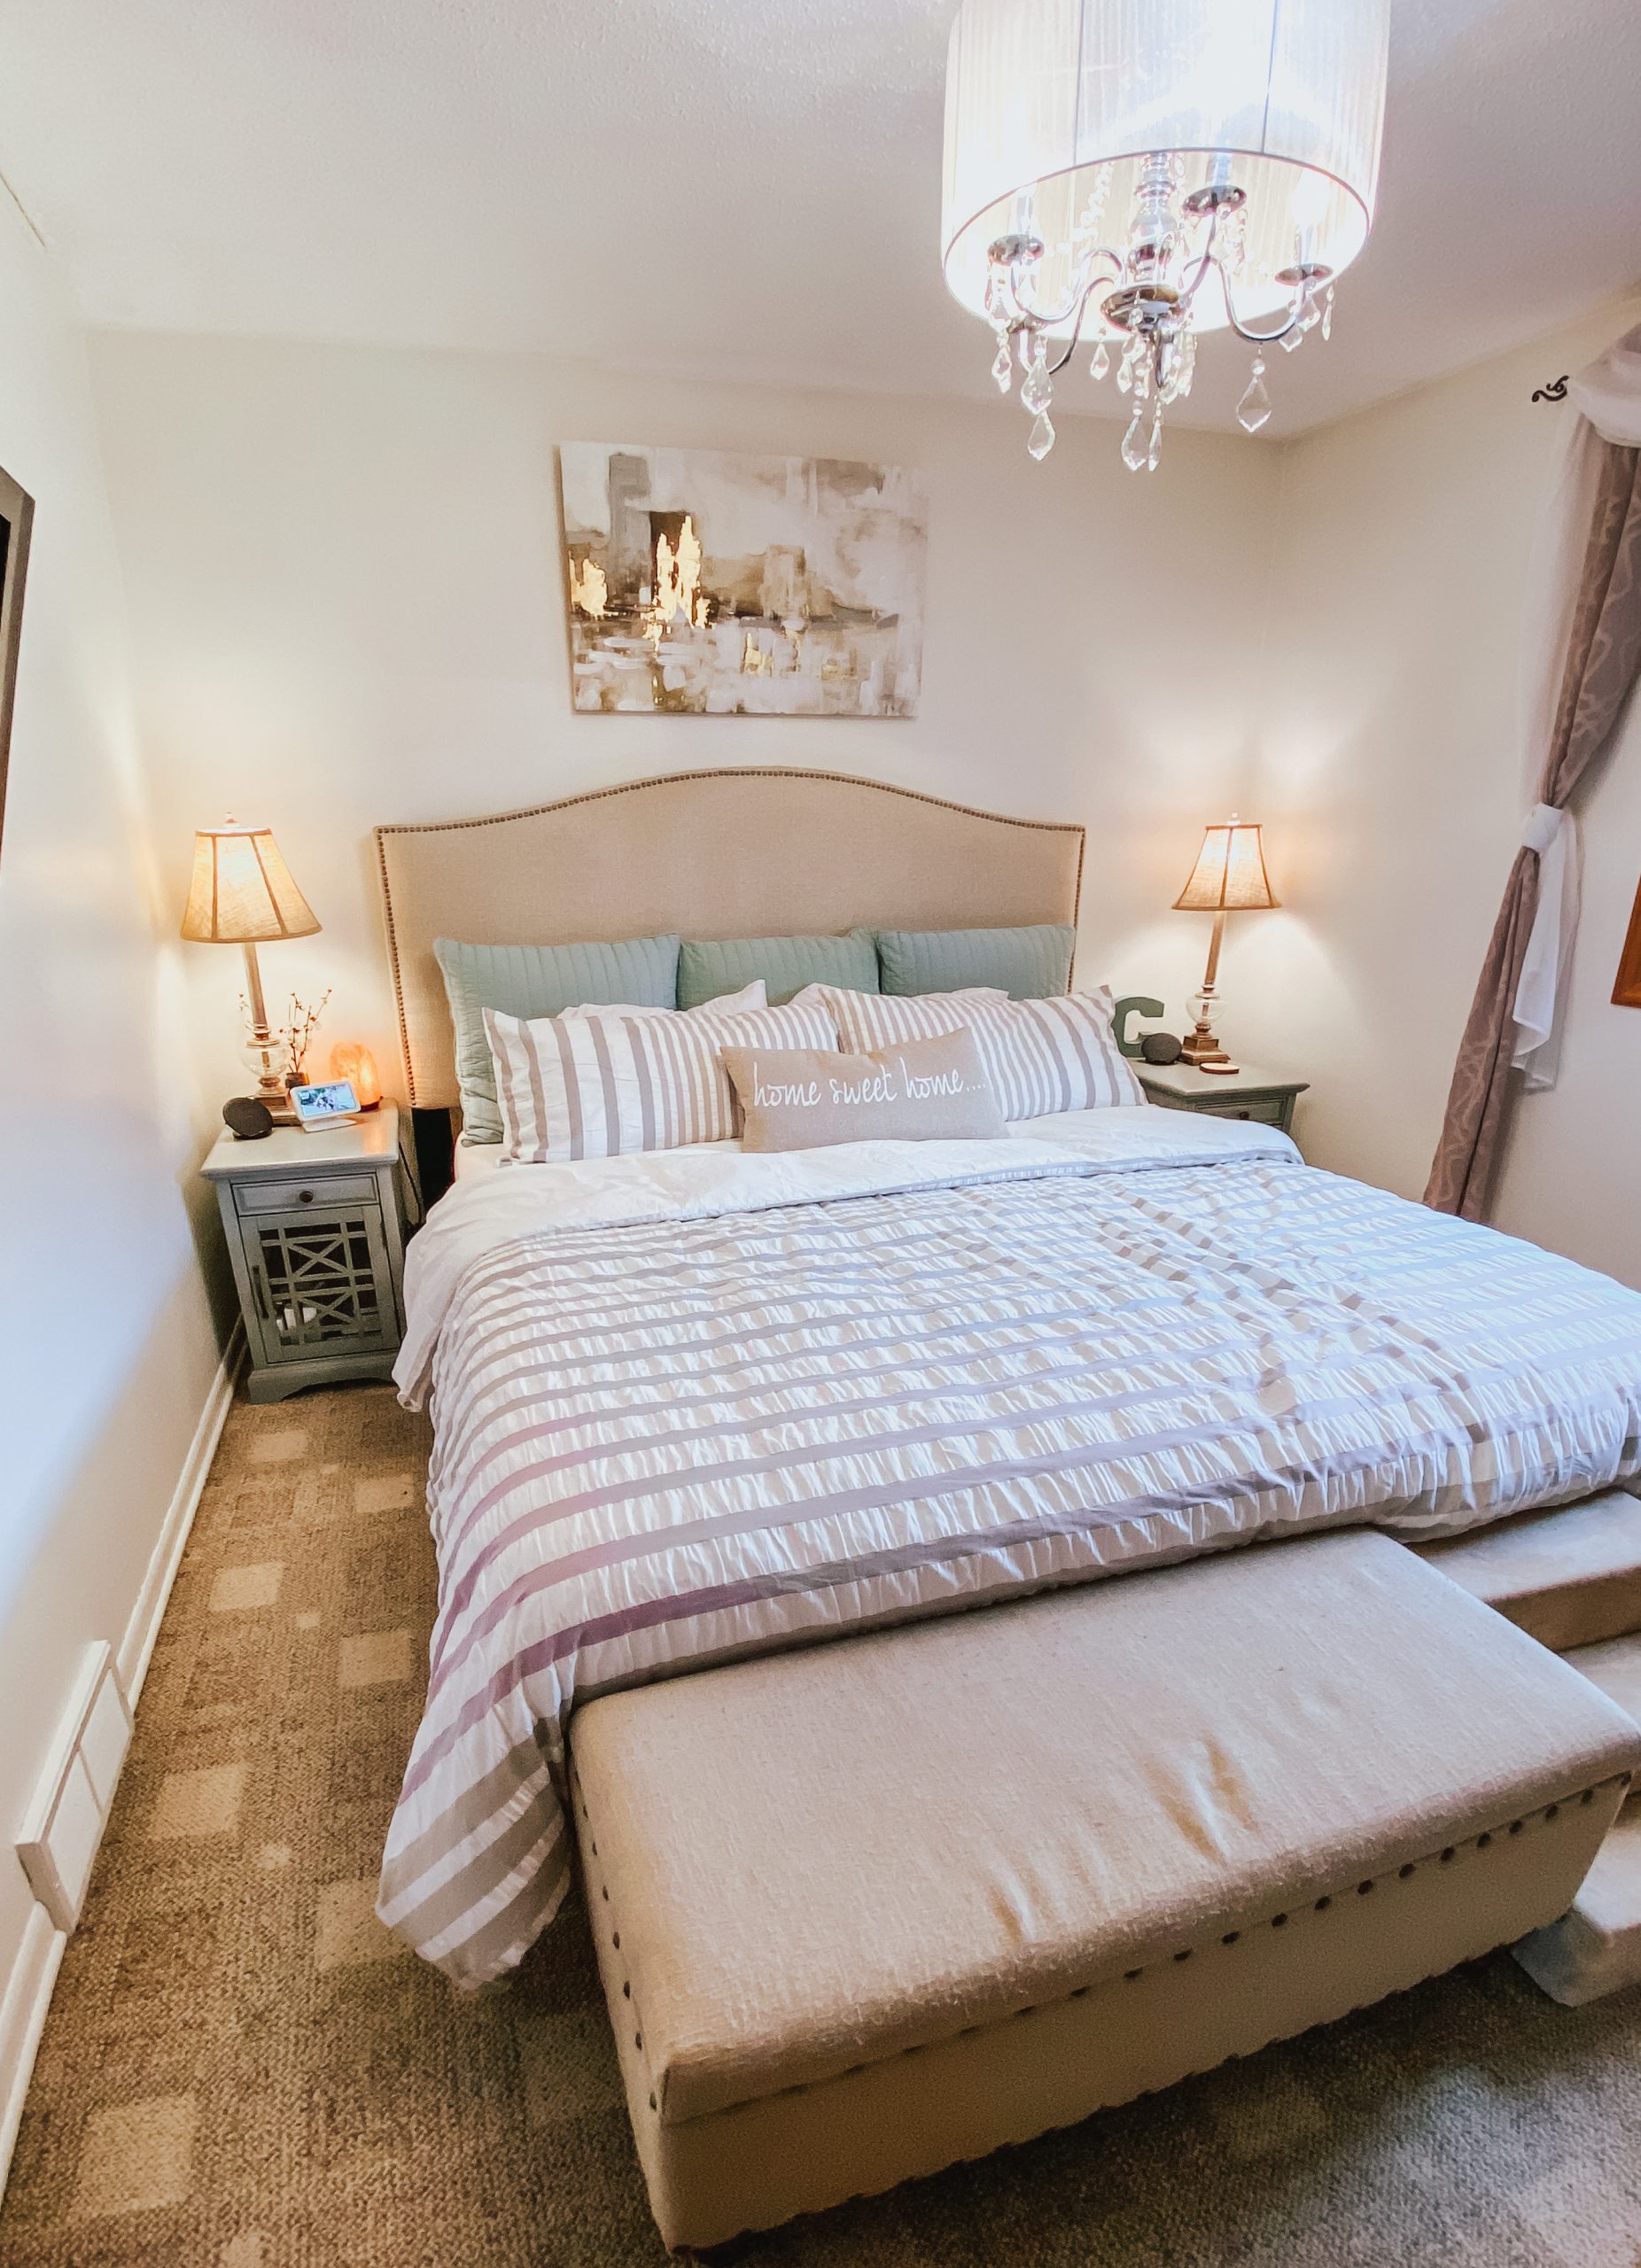
For a while, we had a GIANT chest dresser in the bedroom, along with our queen sized bed, another tall dresser, 2 night stands, and a storage ottoman. It was a LOT in a tiny bedroom. Over time we changed out the furniture and also upgraded to a California king bed. With the dogs sleeping with us, it added so much more space. A regular king bed is wider than a cali-king, so we opted for the California king so that we could still have 2 night stands on each side of the bed. By night stands, I mean end tables because we had to search for slimmer looking side tables to fit with the bed. We had some cheap ones for a while, but then about 2 years ago found our current side tables that fit perfectly with little room to spare. 😉
When we upgraded the bed, the giant chest of drawers no longer fit in the space, so we got rid of it. We also updated the other dresser last year to one that fit better in the room.
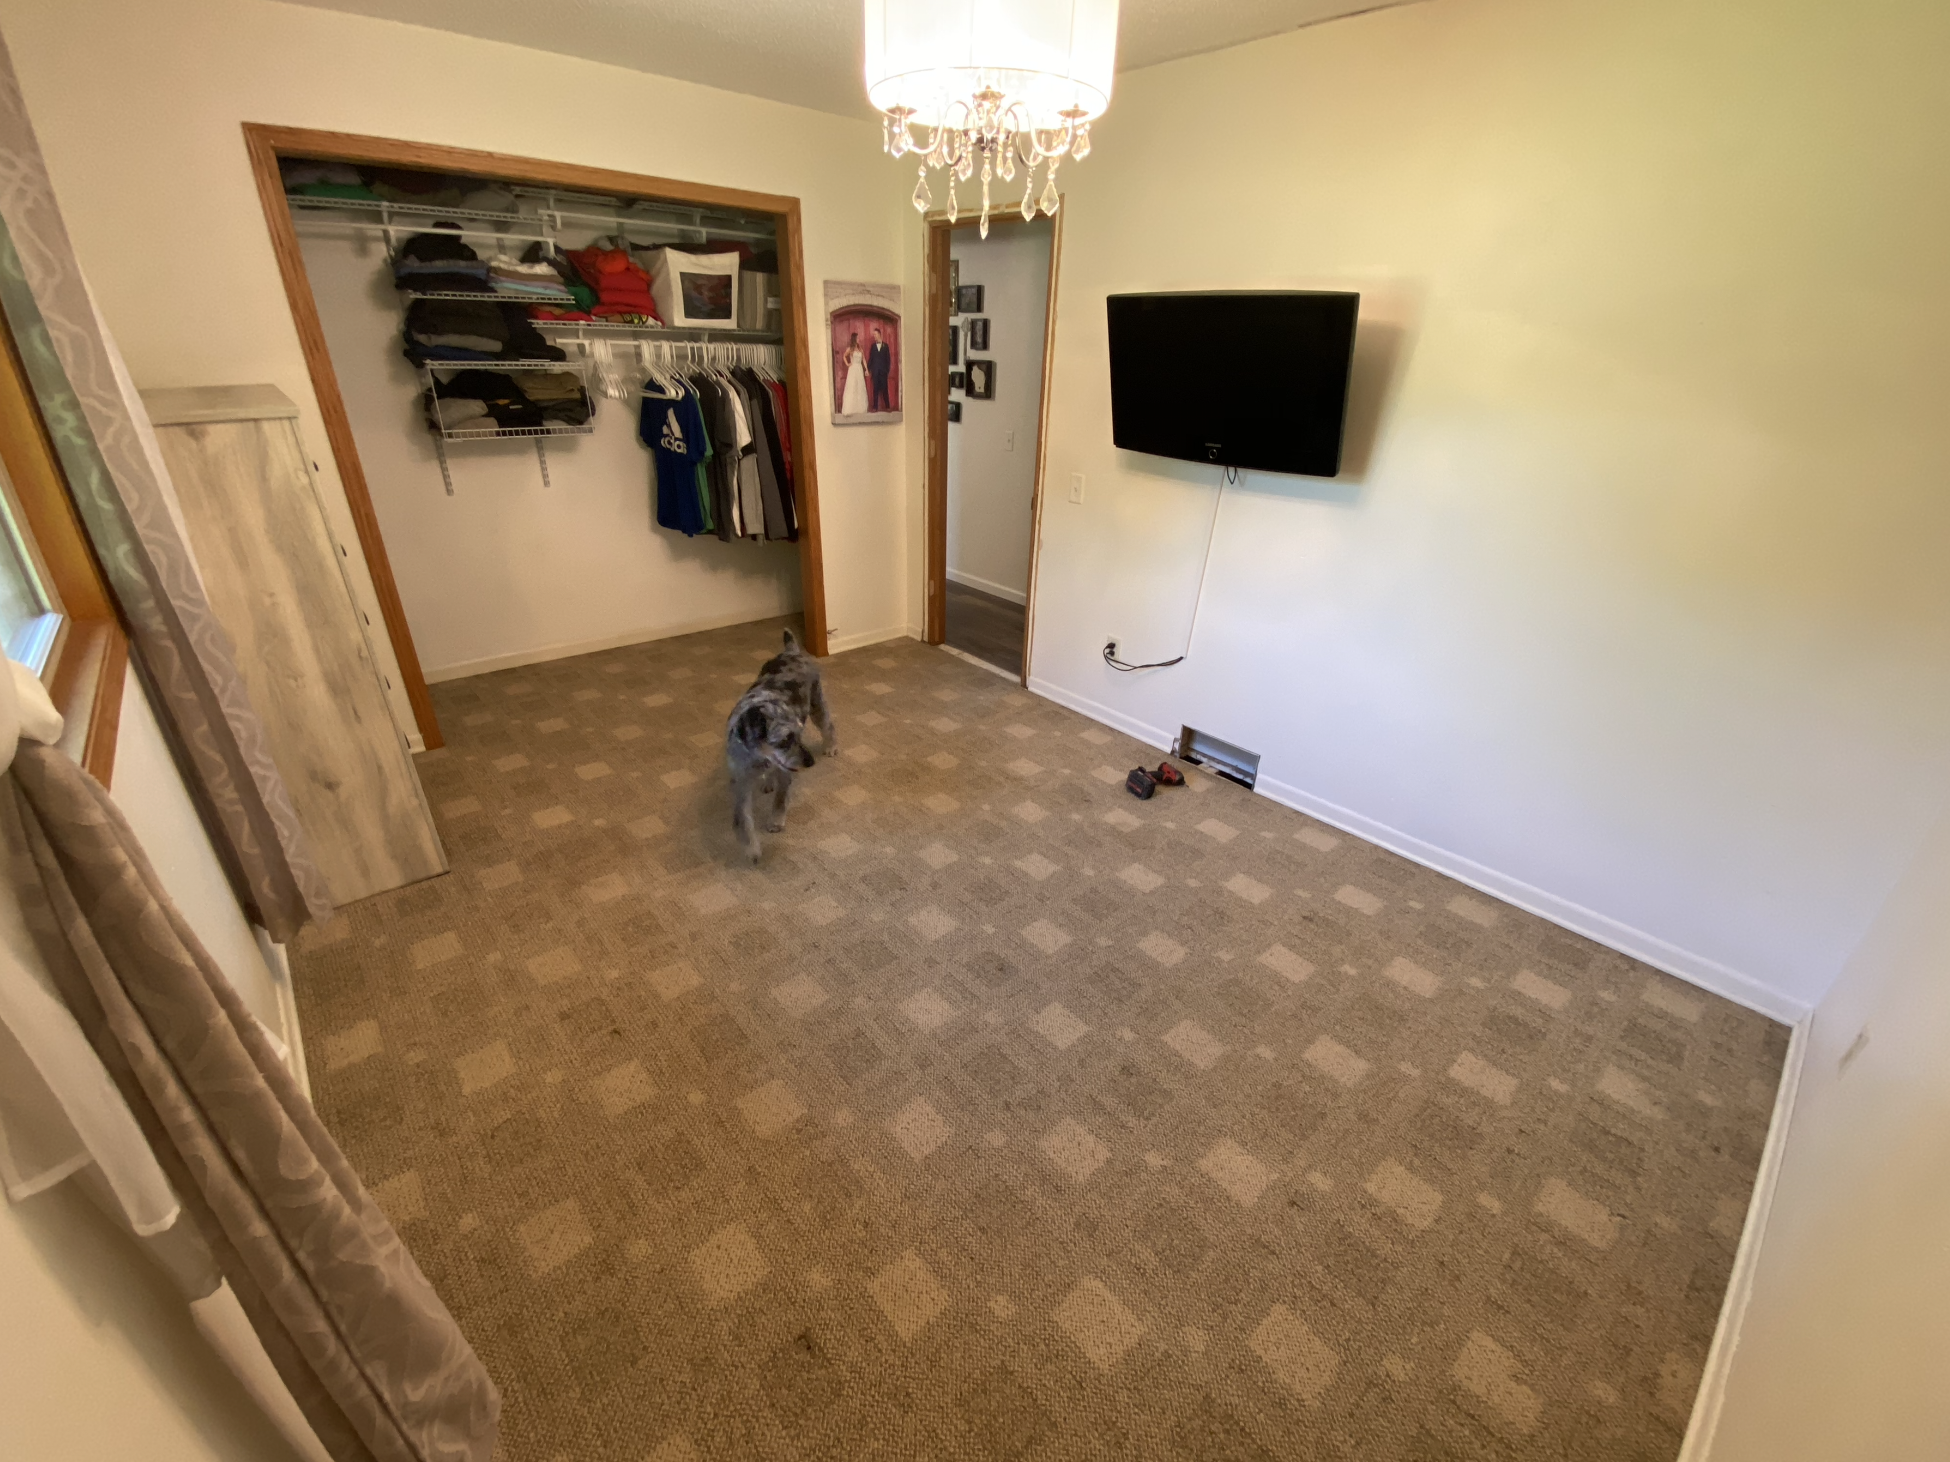
- Flooring Before
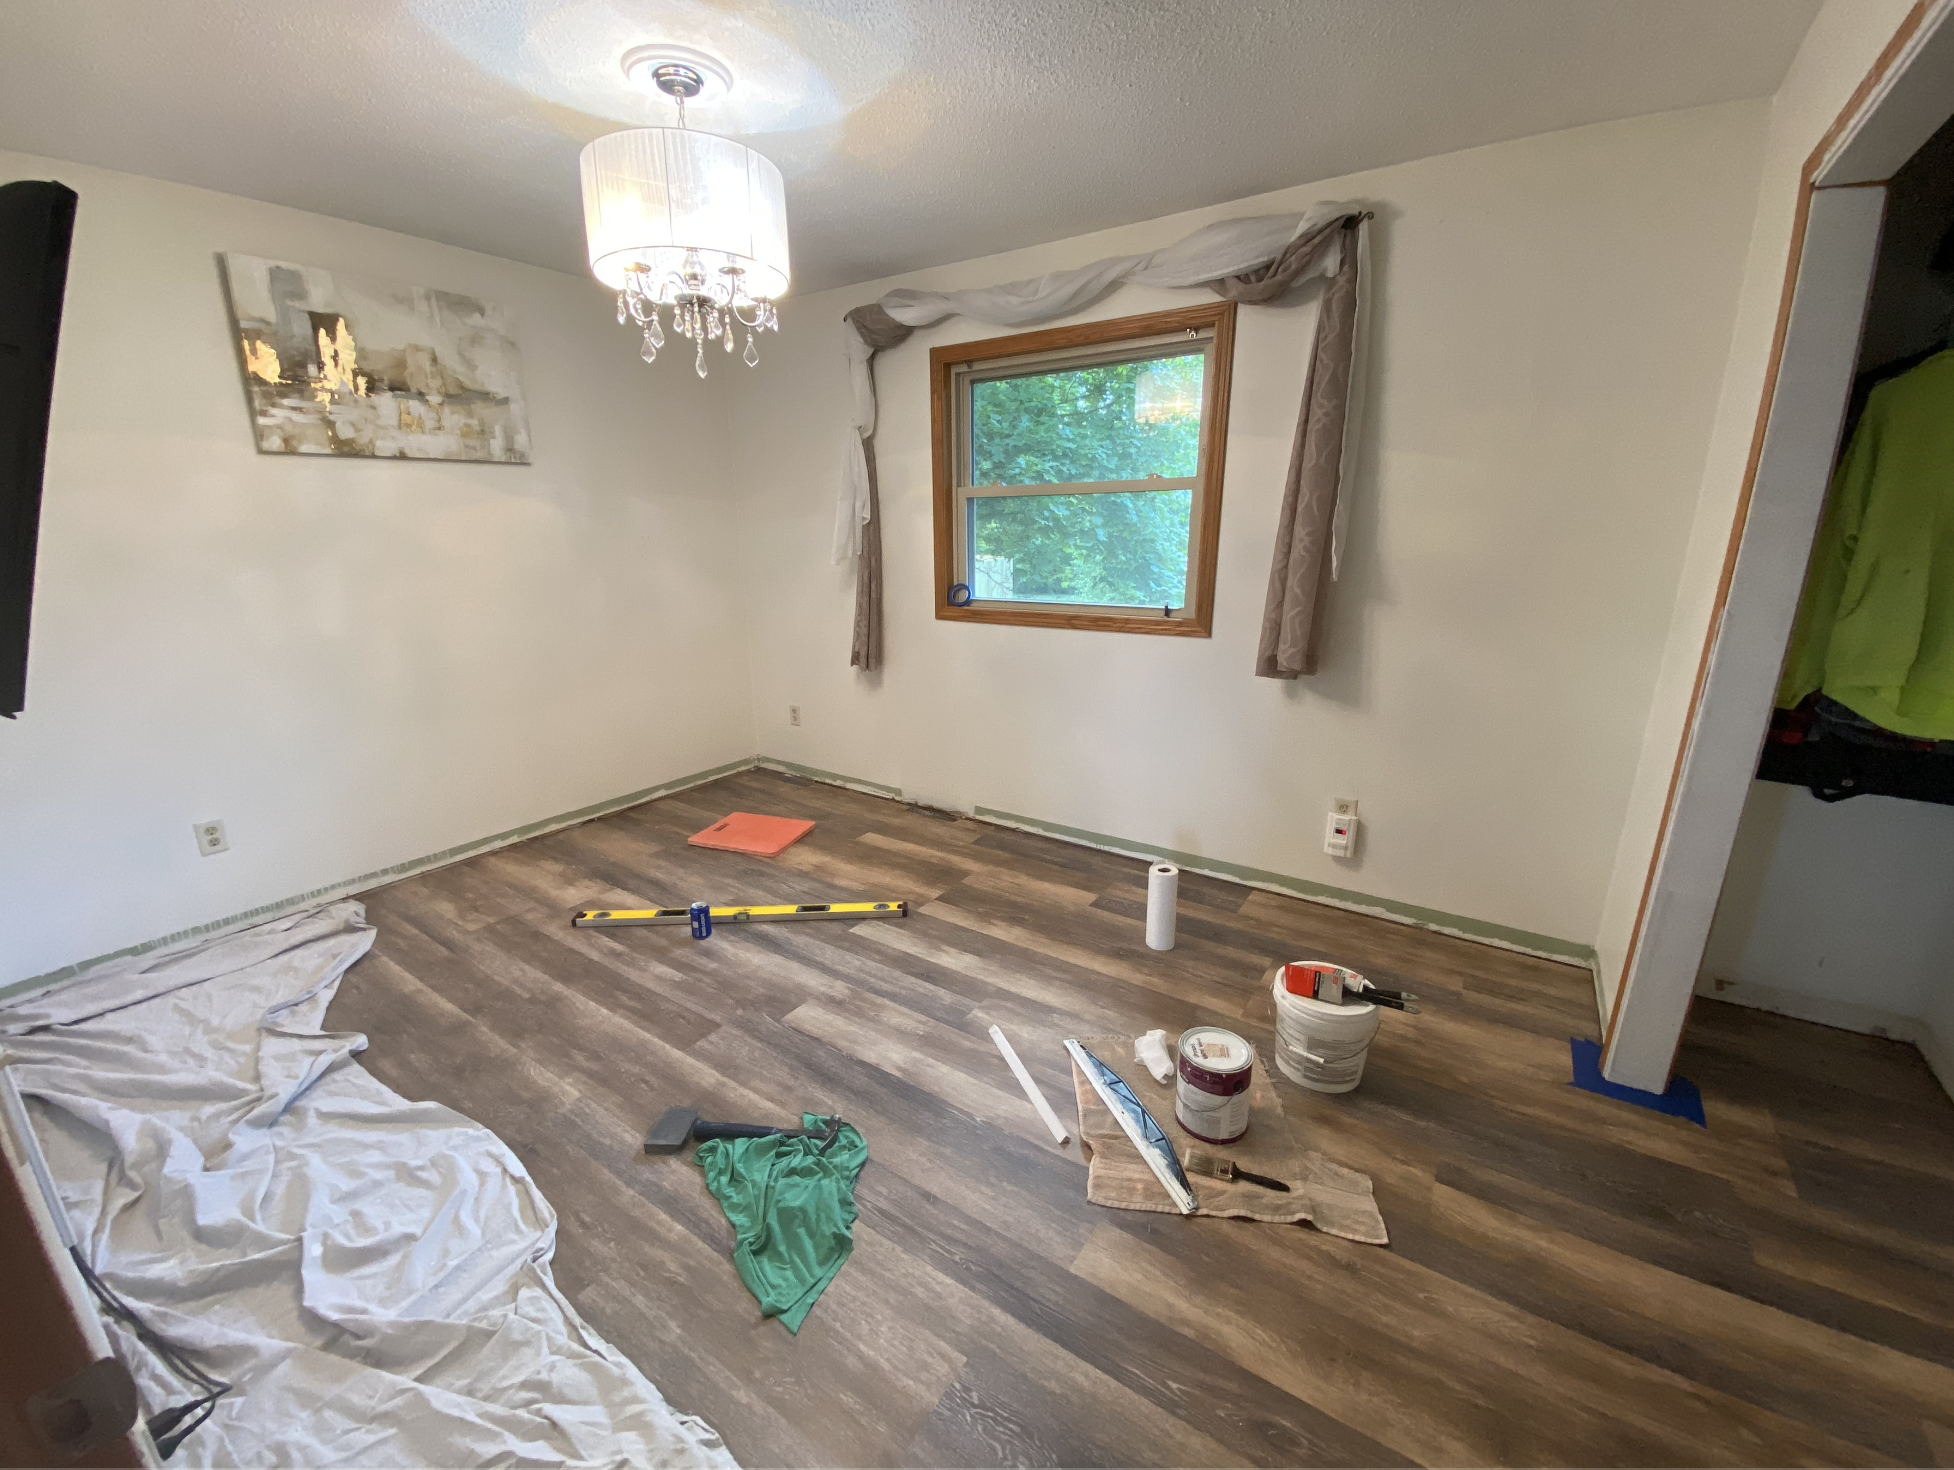
- Flooring After
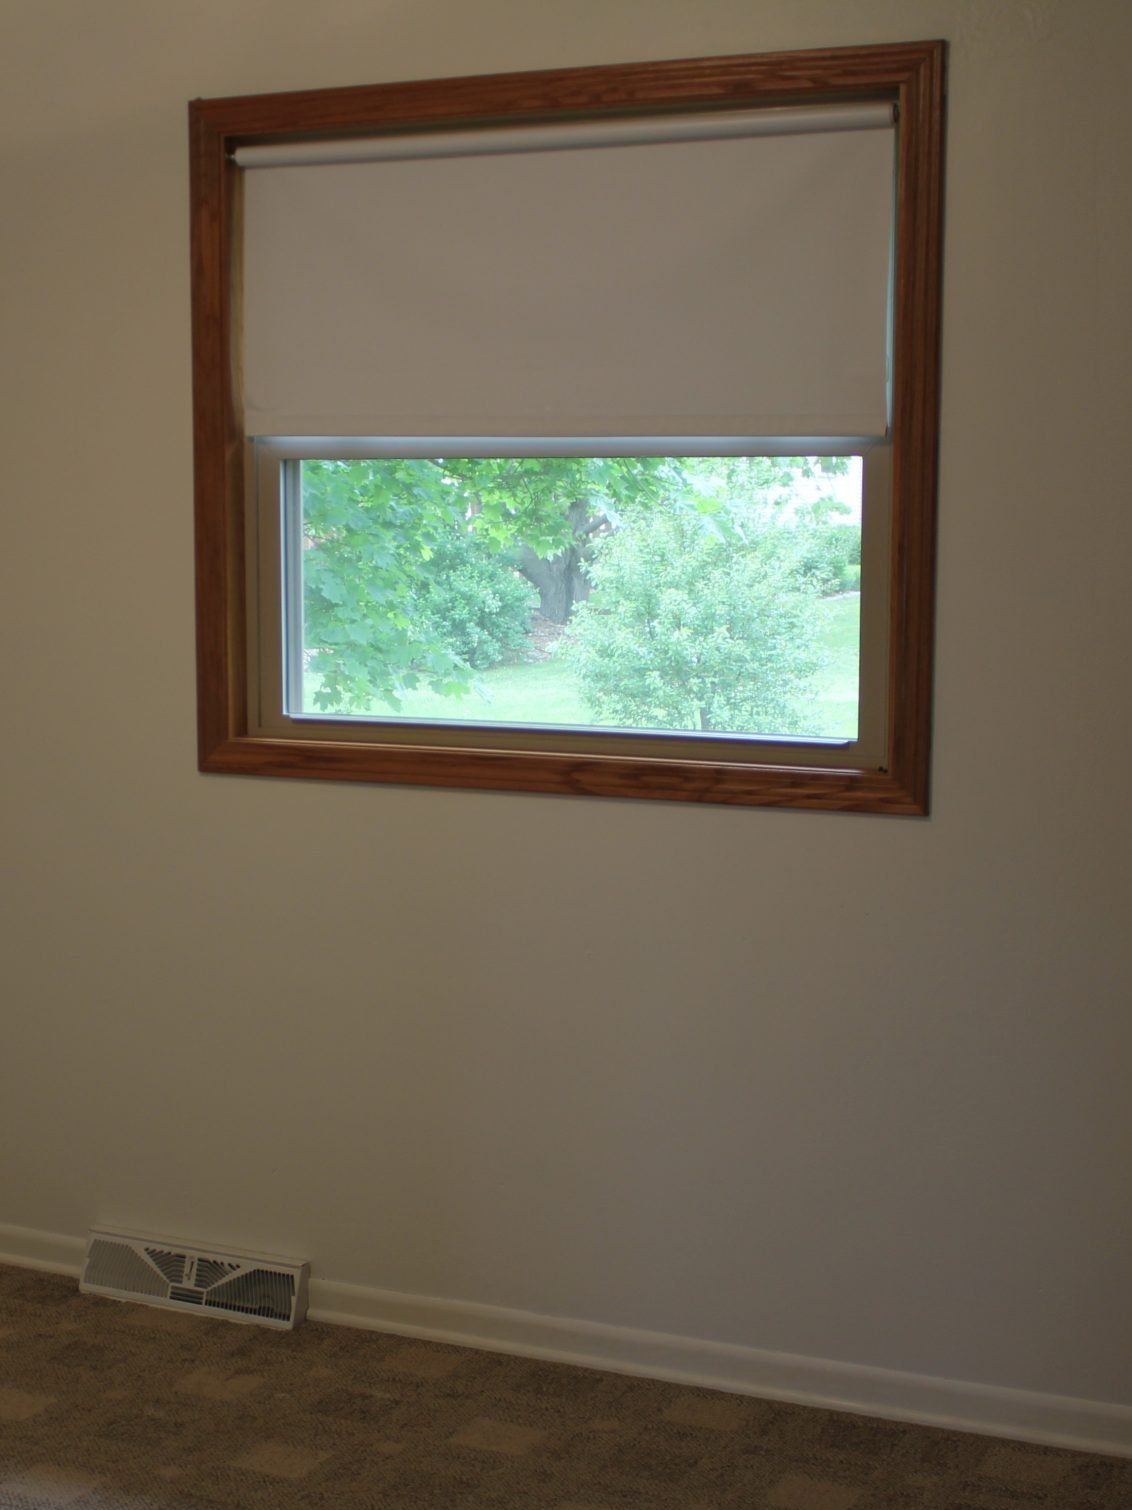
Last year we started on the floors and continued the same LVP from the rest of the house into this room. We tore out all of the old baseboard trim and painted the window trim. We changed up the blinds from the roller blinds to a cellular shade. I personally love the light filtering shades, so we went with THESE from Home Depot. We have the same ones in our living room and love them!
- BEFORE trim
- AFTER painting trim
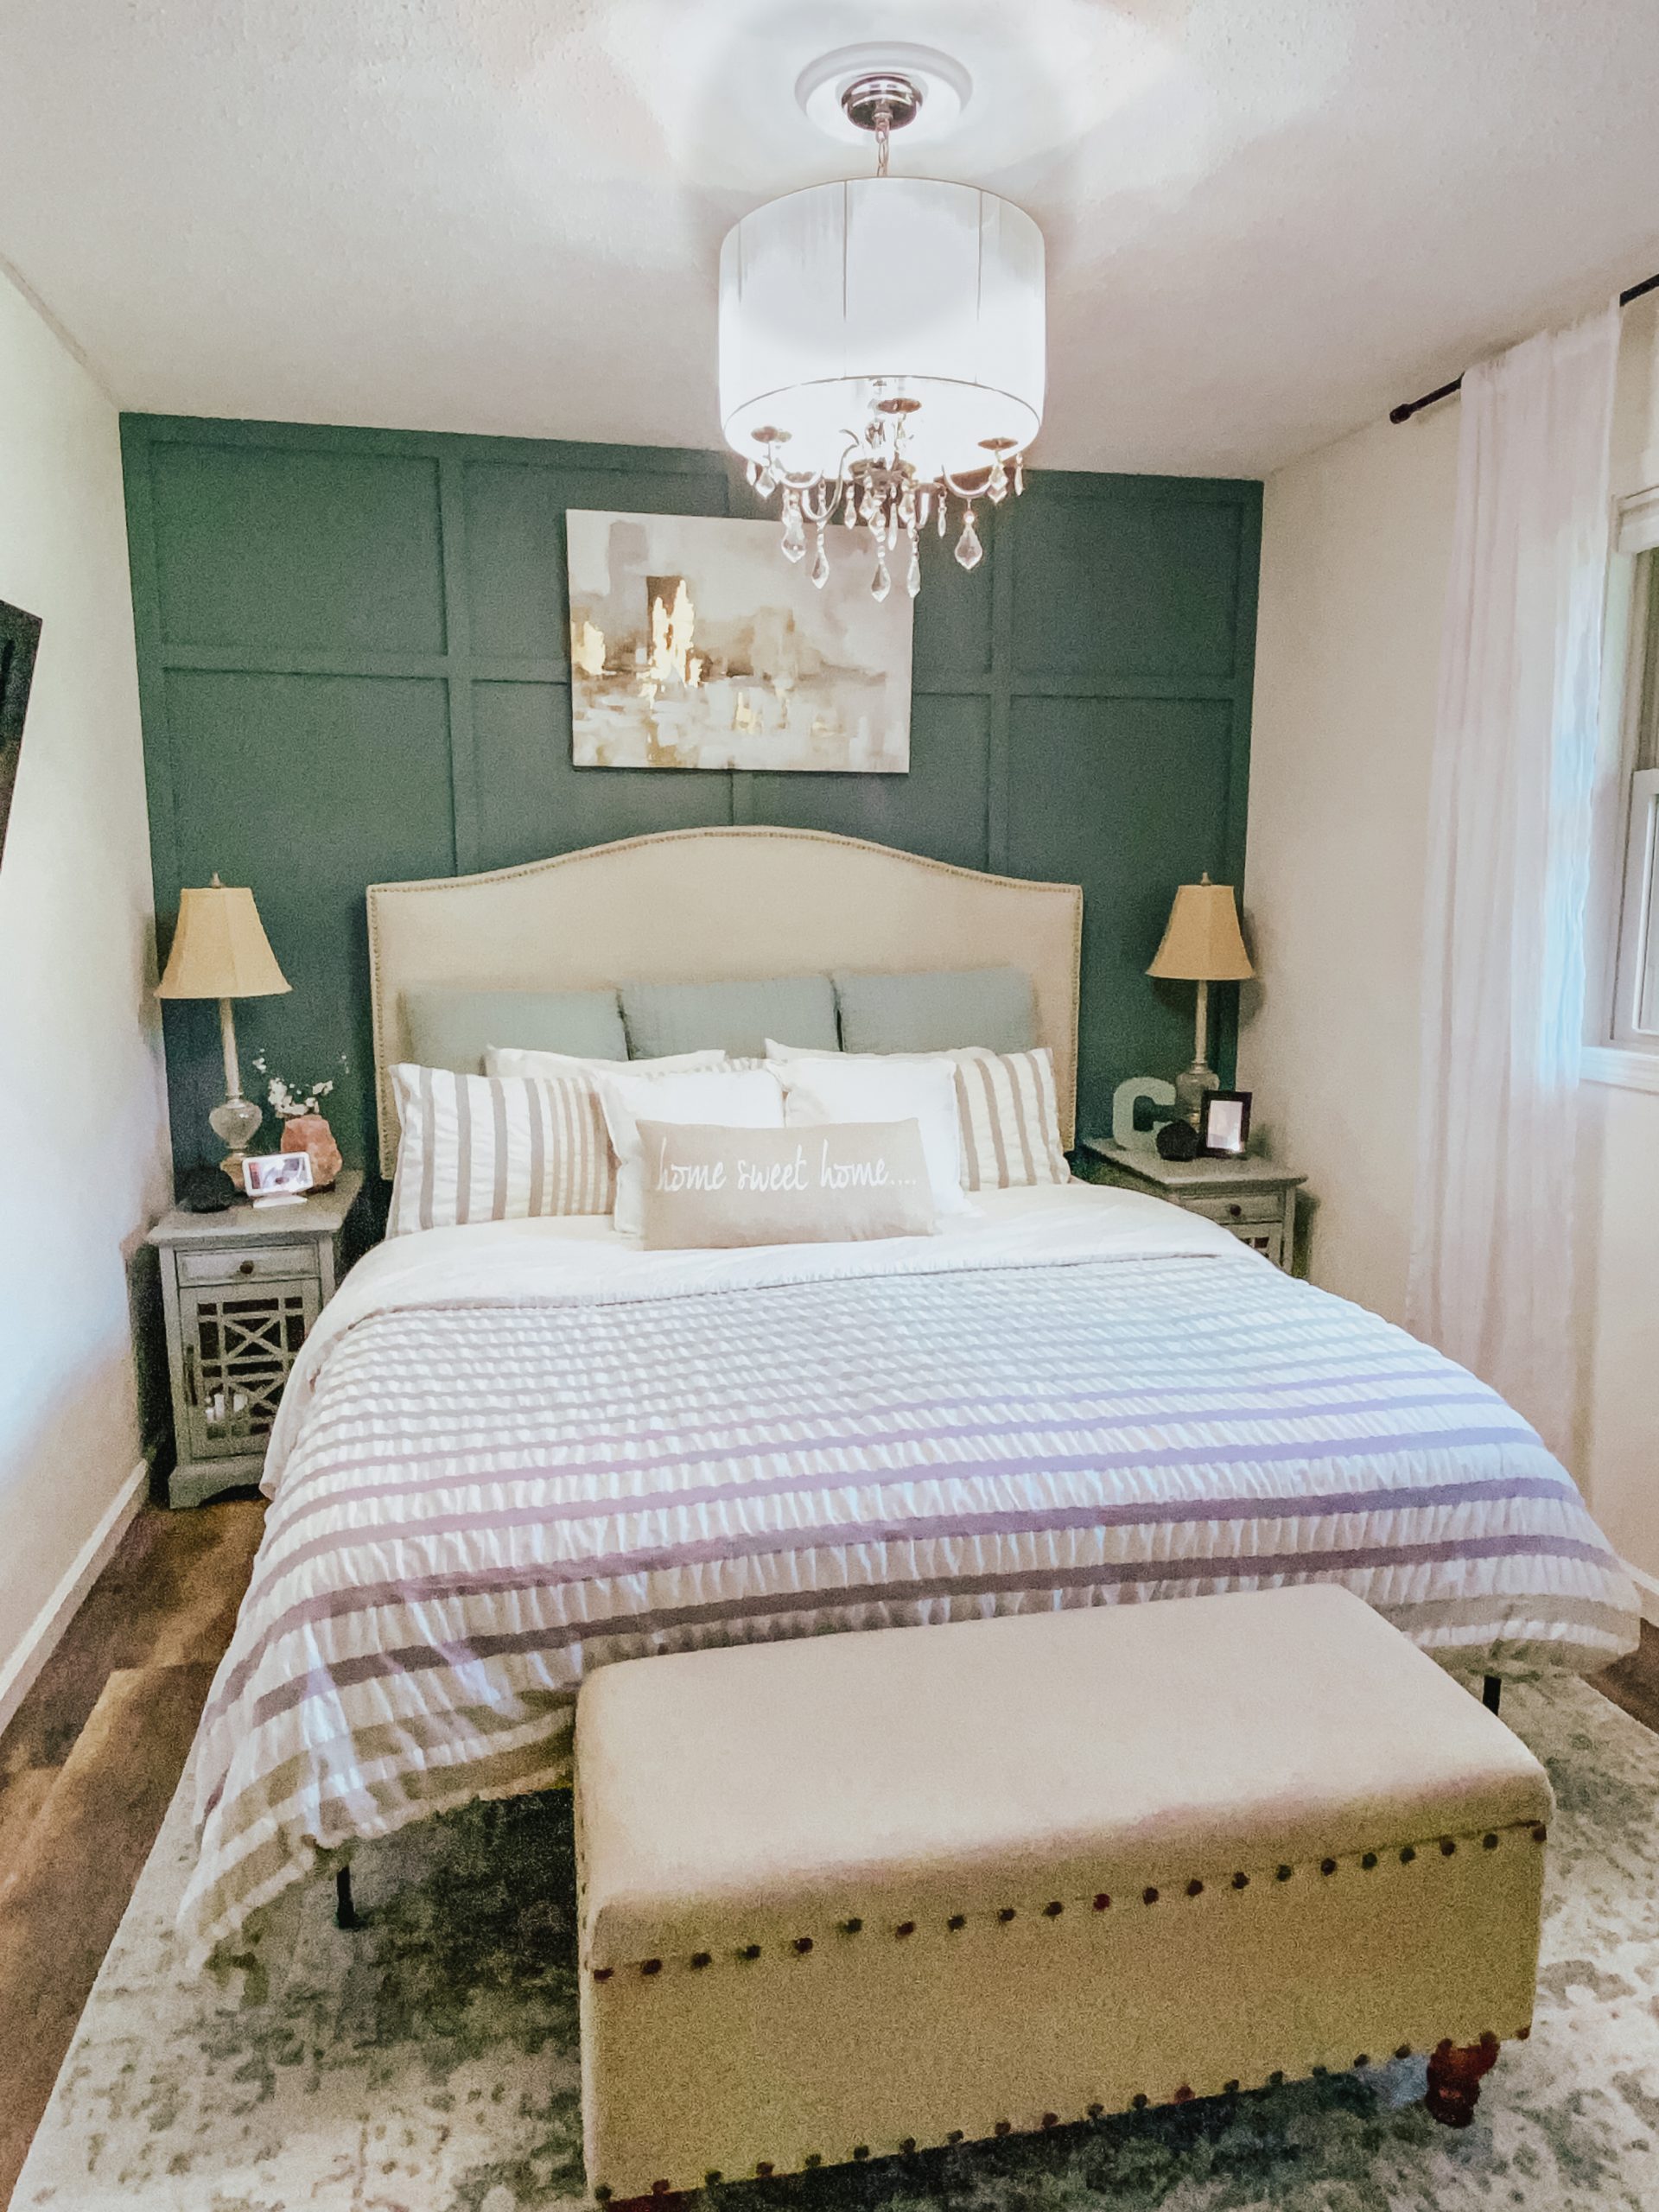
Board & Batten Wall
Once the flooring was done, I had the fun idea of doing a statement wall in the bedroom. We had always wanted to paint the wall behind the bed a fun statement color, but the board & batten walls were trending when we ripped out the floors so I figured why not give it a try. I will admit, Conor was not thrilled about doing this, but once we were done he loved it just as much as I did, which makes it all worth it! That seems to be the ongoing trend with him. 😉 I just tell him to trust the process! haha
I’ll share a quick how-to of the wall below, but it also shows a better look of it in the video.
What You’ll NEED:
Paint of your choice (paint colors listed further down)
MDF Casing – we chose to get the primed MDF so that it saved us a step on painting
Wood Putty
Nail gun or liquid nails – we used a nail gun
Level
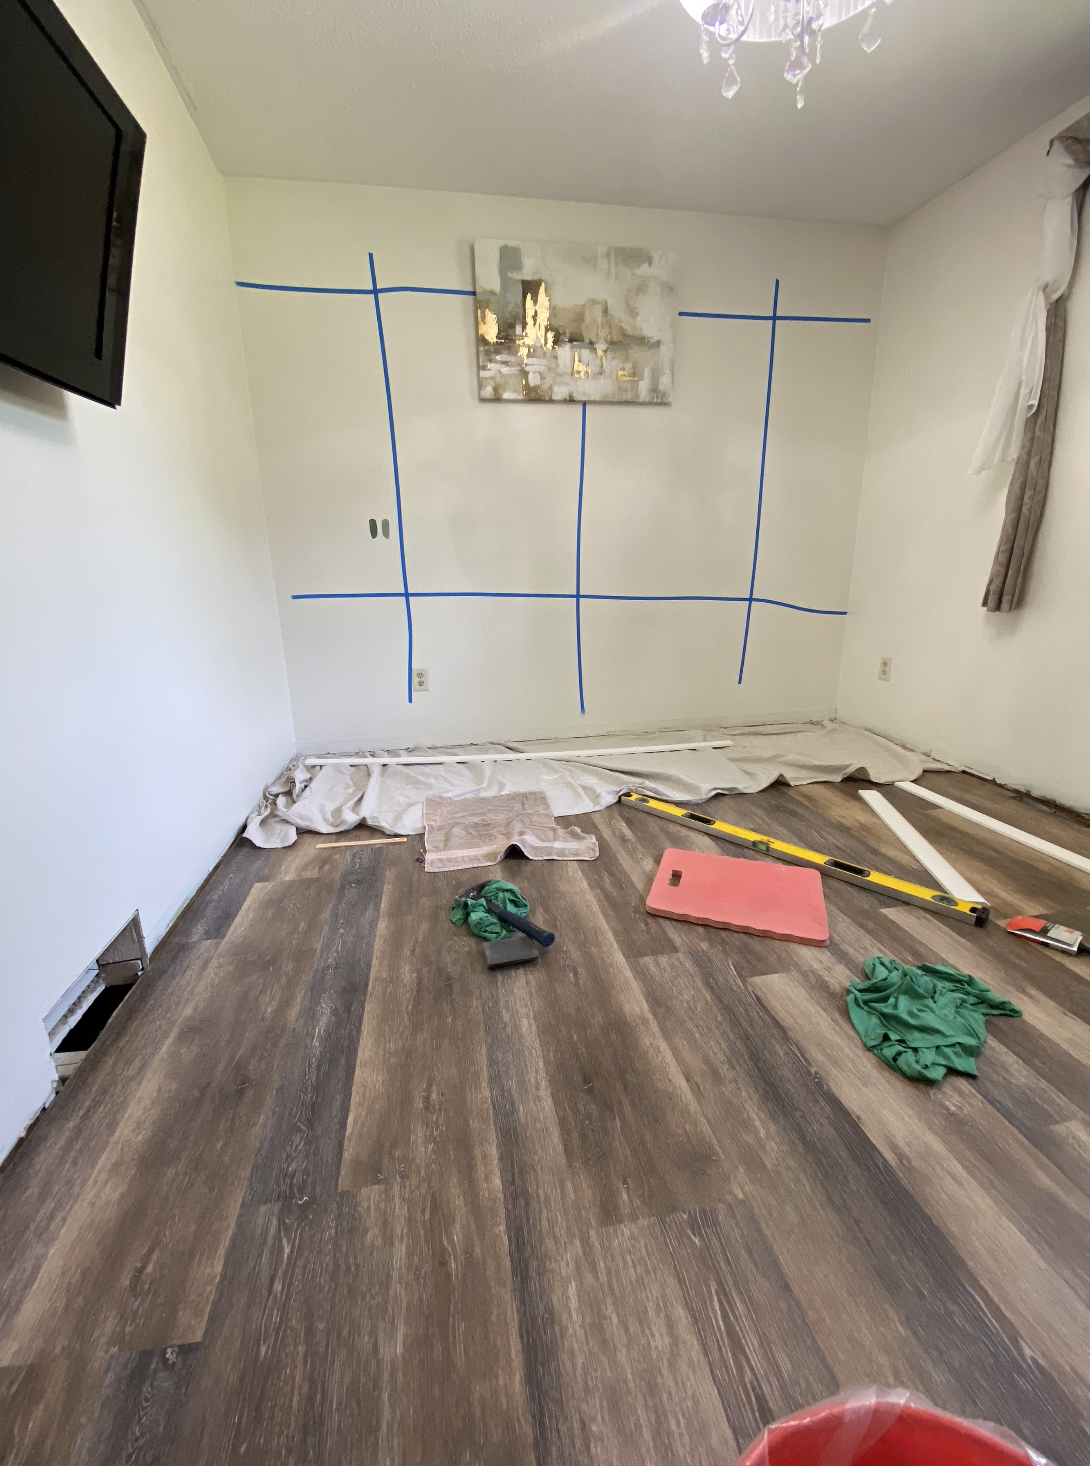 HOW TO:
We first planned out the design by using blue tape. This way we could figure out how many boards we wanted and where we wanted them.
We then painted the entire wall first before using a paint sprayer to paint the MDF – it was faster this way, but keep in mind the spray texture will be different than a brush or roller texture, so when touching up, there may be a difference in textures.
If you do not have baseboard trim on, you will need to apply that before moving on to applying the MDF onto the walls.
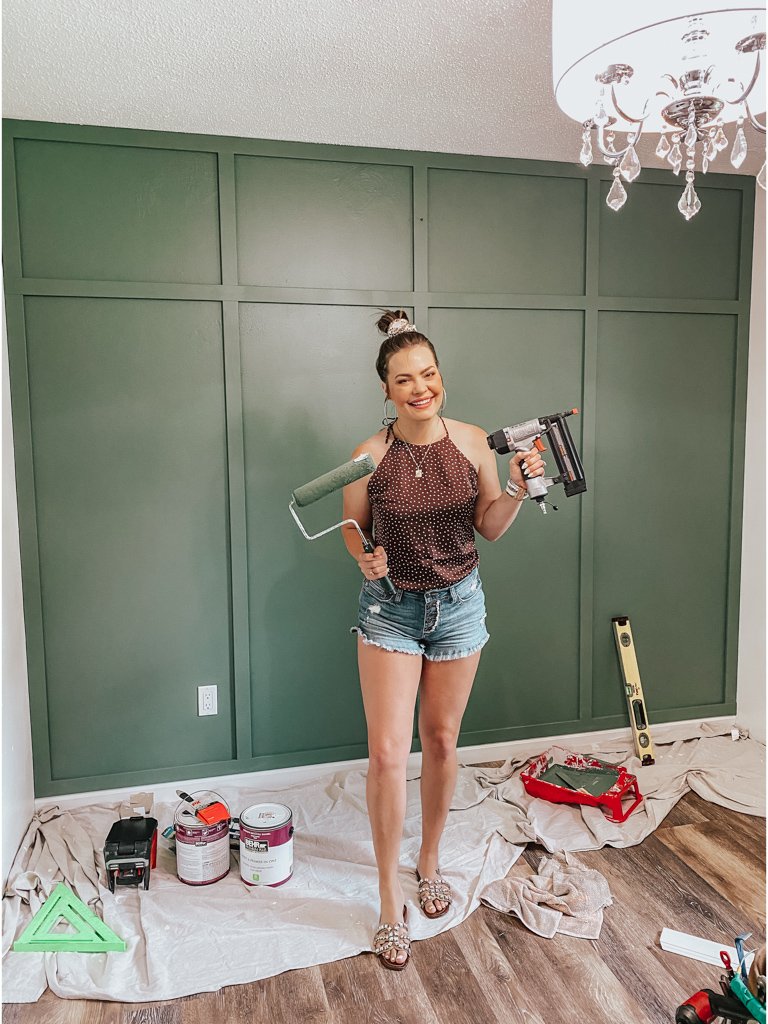
My husband used a brad nailer to apply the boards and first started with a full frame of the entire wall, then worked his way in. You can see in the video how he did it. He used a level throughout the project to keep the boards in line.
After the boards are applied, then you’ll want to go in and wood putty ay joints and nail holes. Let that dry, sand it a little and then touch up paint as needed.
Voila! All done!
- BEFORE wall + floor
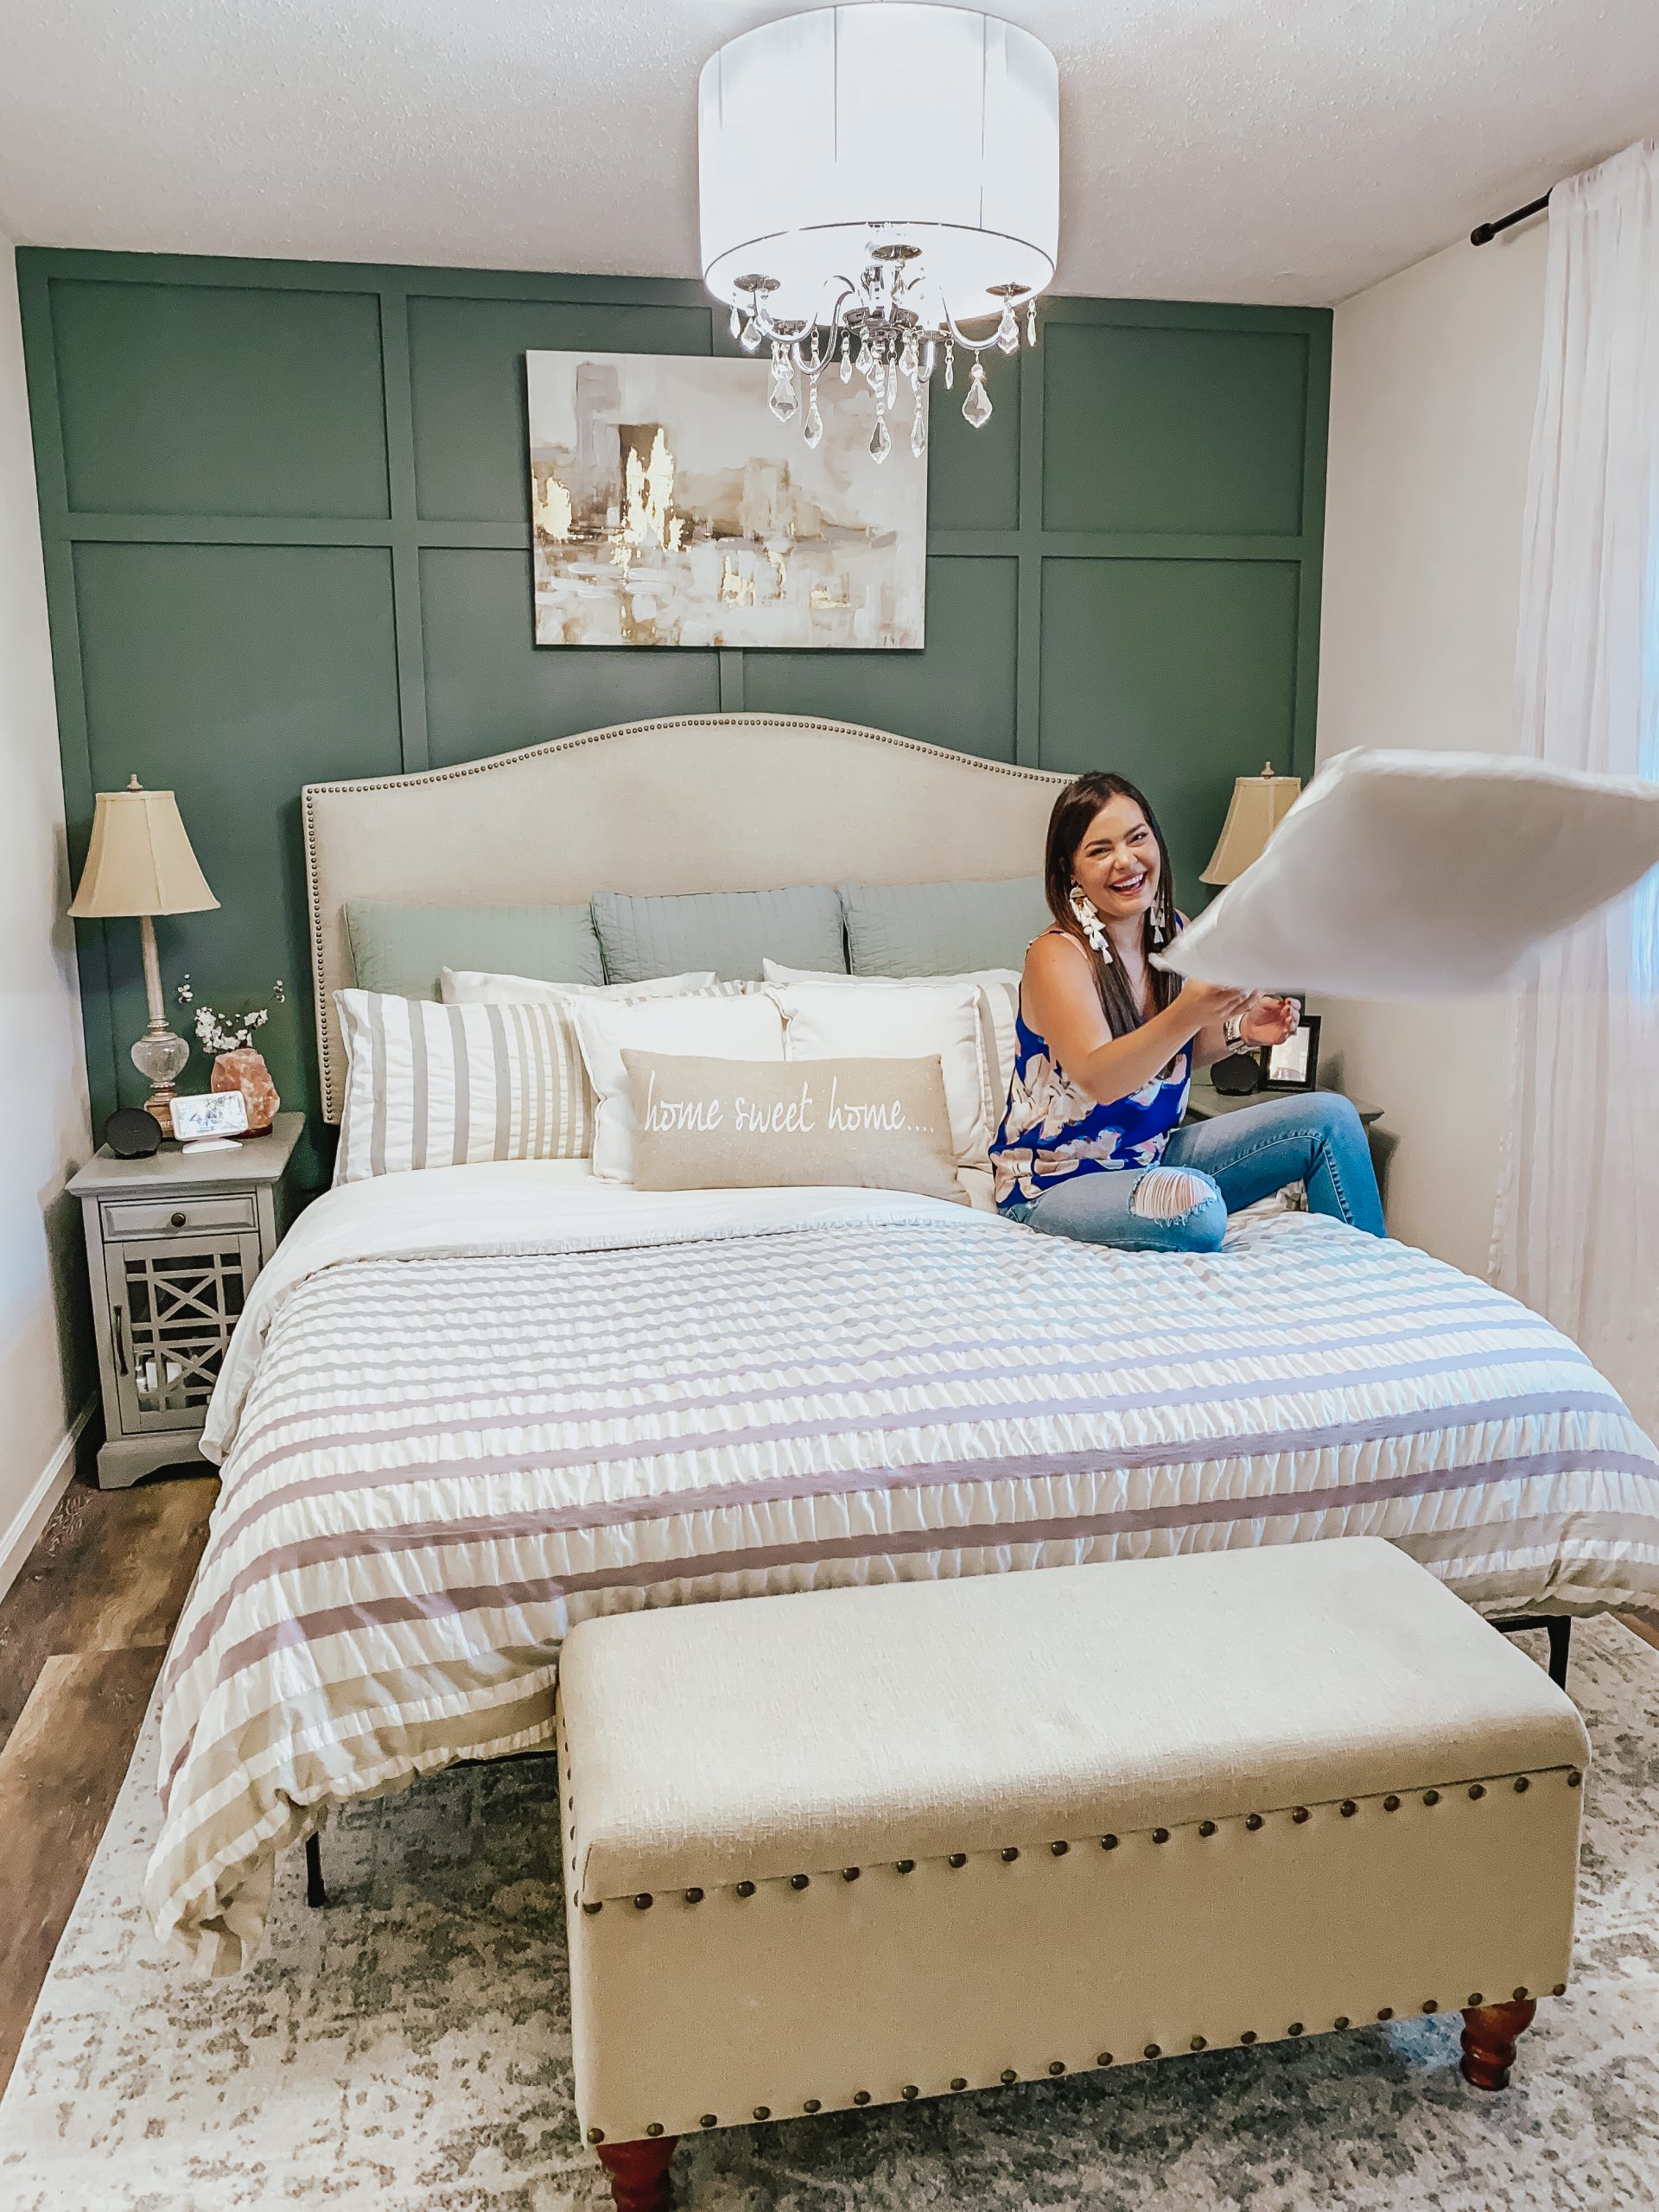
- AFTER wall + floor
We love the way the wall pops. It seriously feels like we are in a hotel with the rich color of the wall and the board and batten look! It’s probably my favorite thing of all of the renovations/projects we’ve done so far.
Sliding Barn Closet Doors
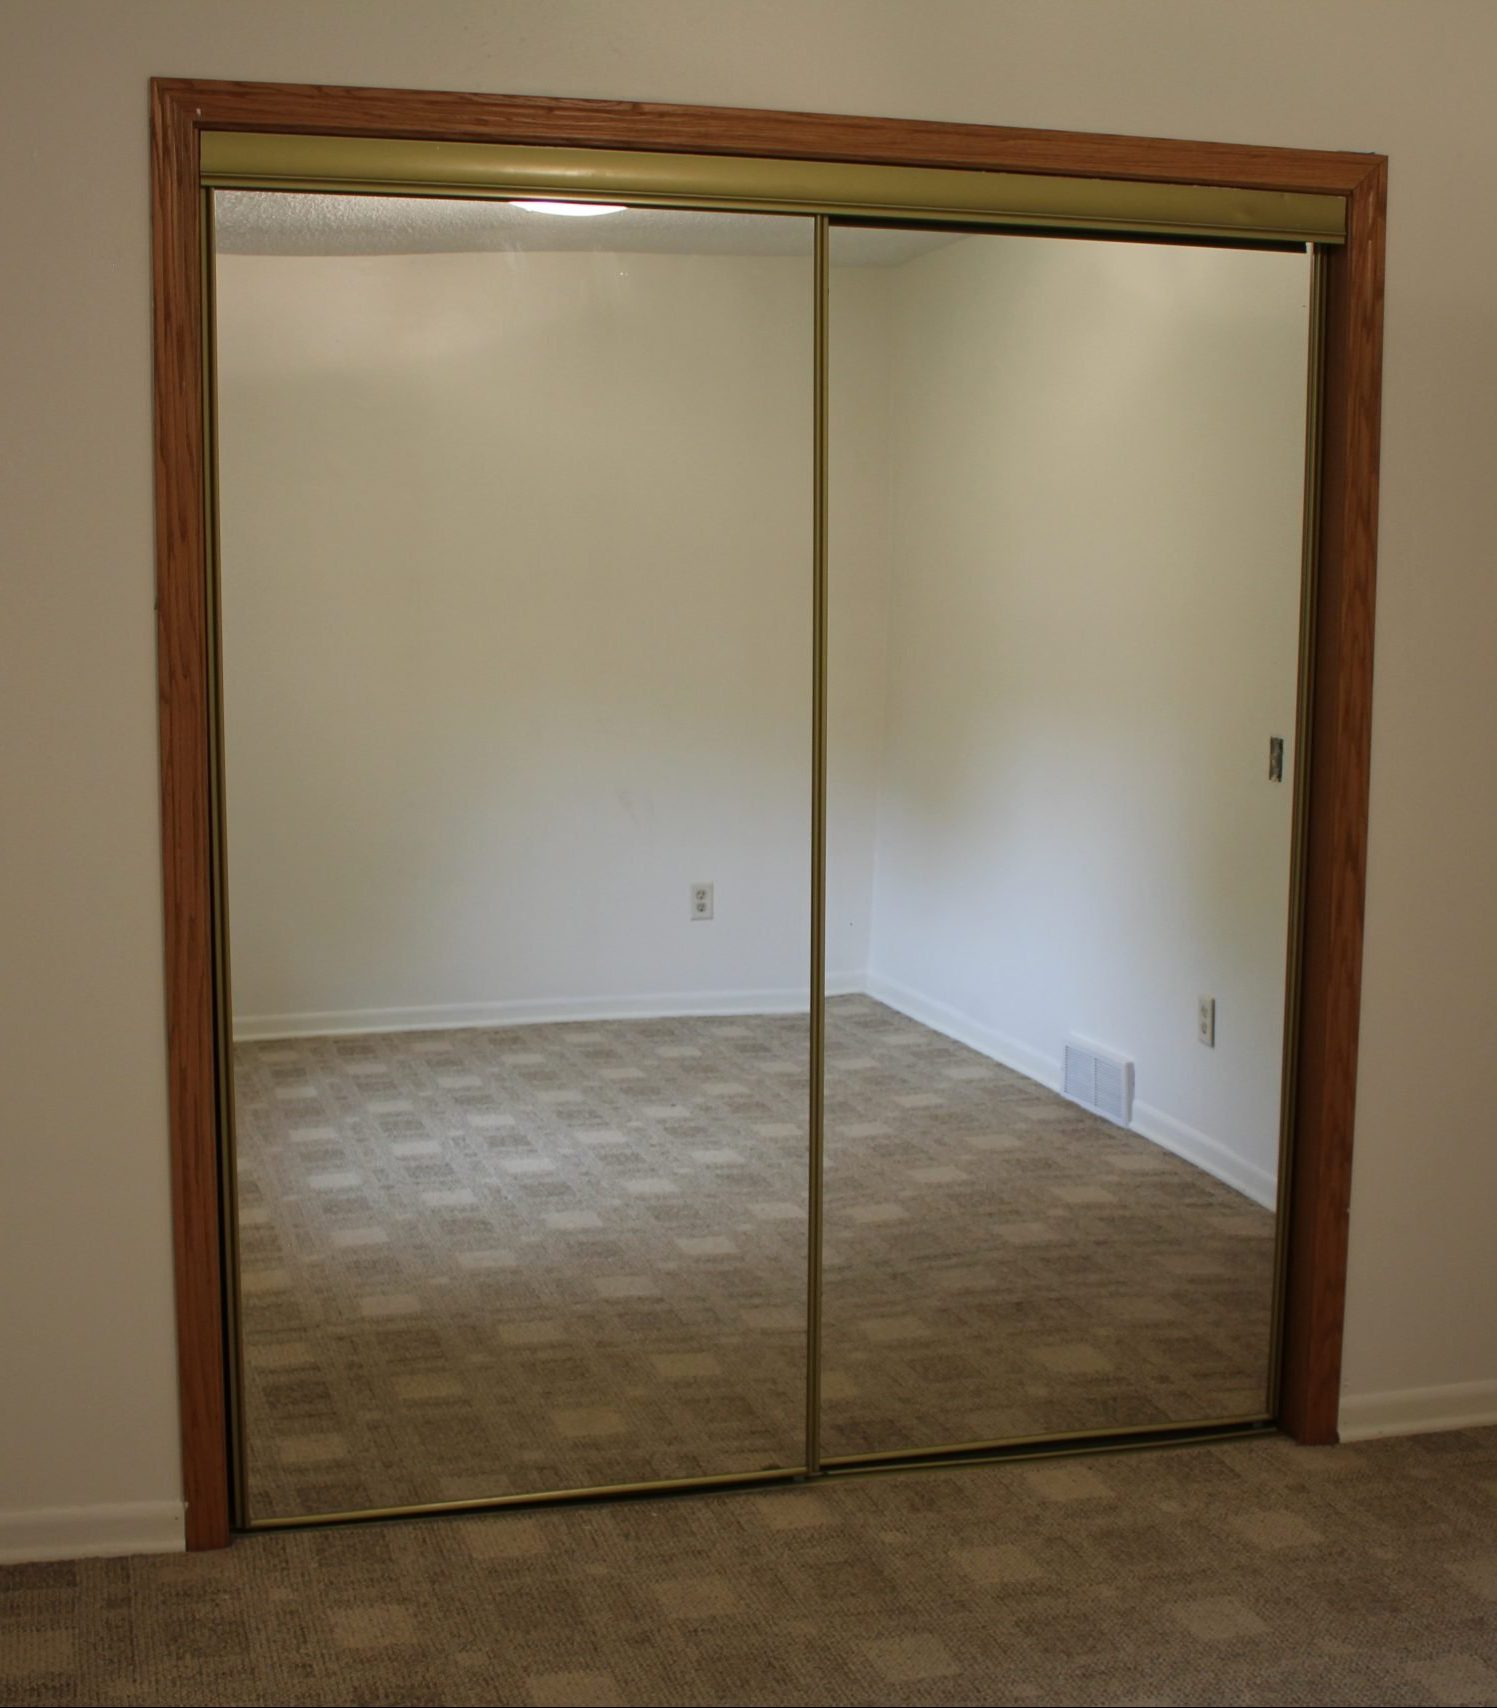
Before we ripped out the flooring, we removed the old closet doors that were a brass trim mirror sliding door. They always got stuck and one was broken, so we tore it all out and also redid the interior of the closet with a closet system. We wanted to do sliding barn doors to replace the mirrors, but had to wait until the flooring was done to determine where they would fall at the floor.
- BEFORE
- AFTER
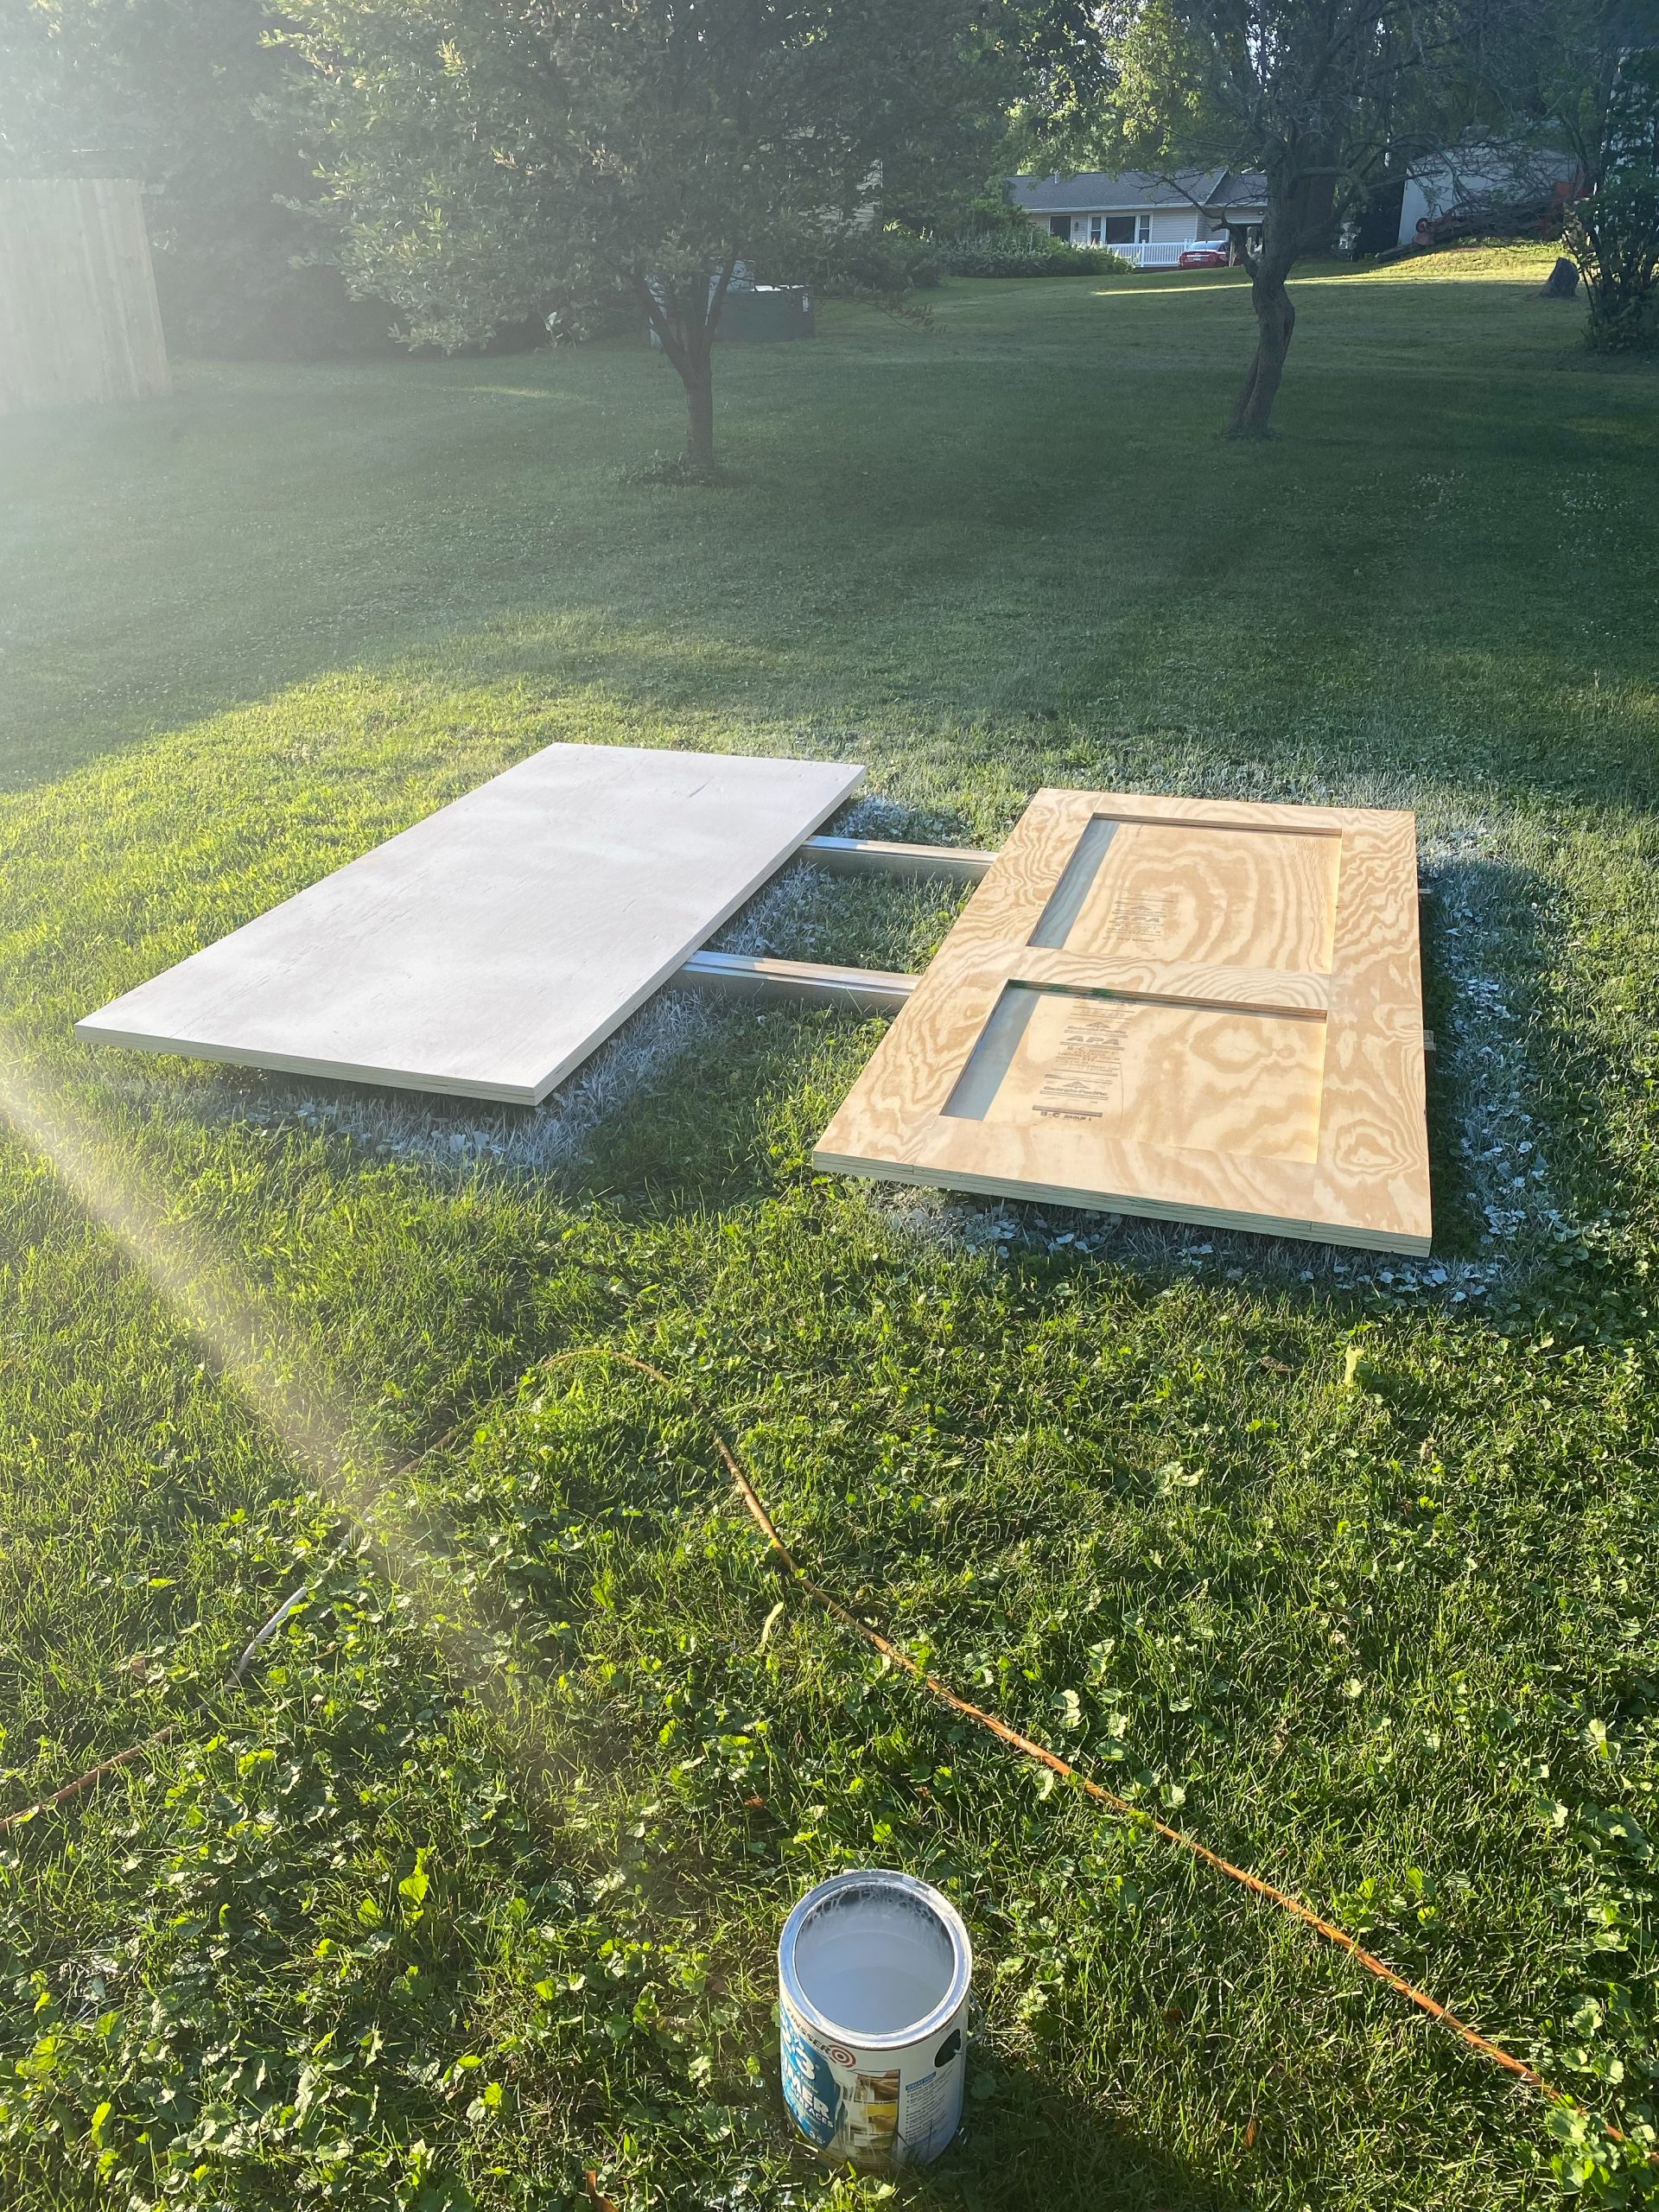
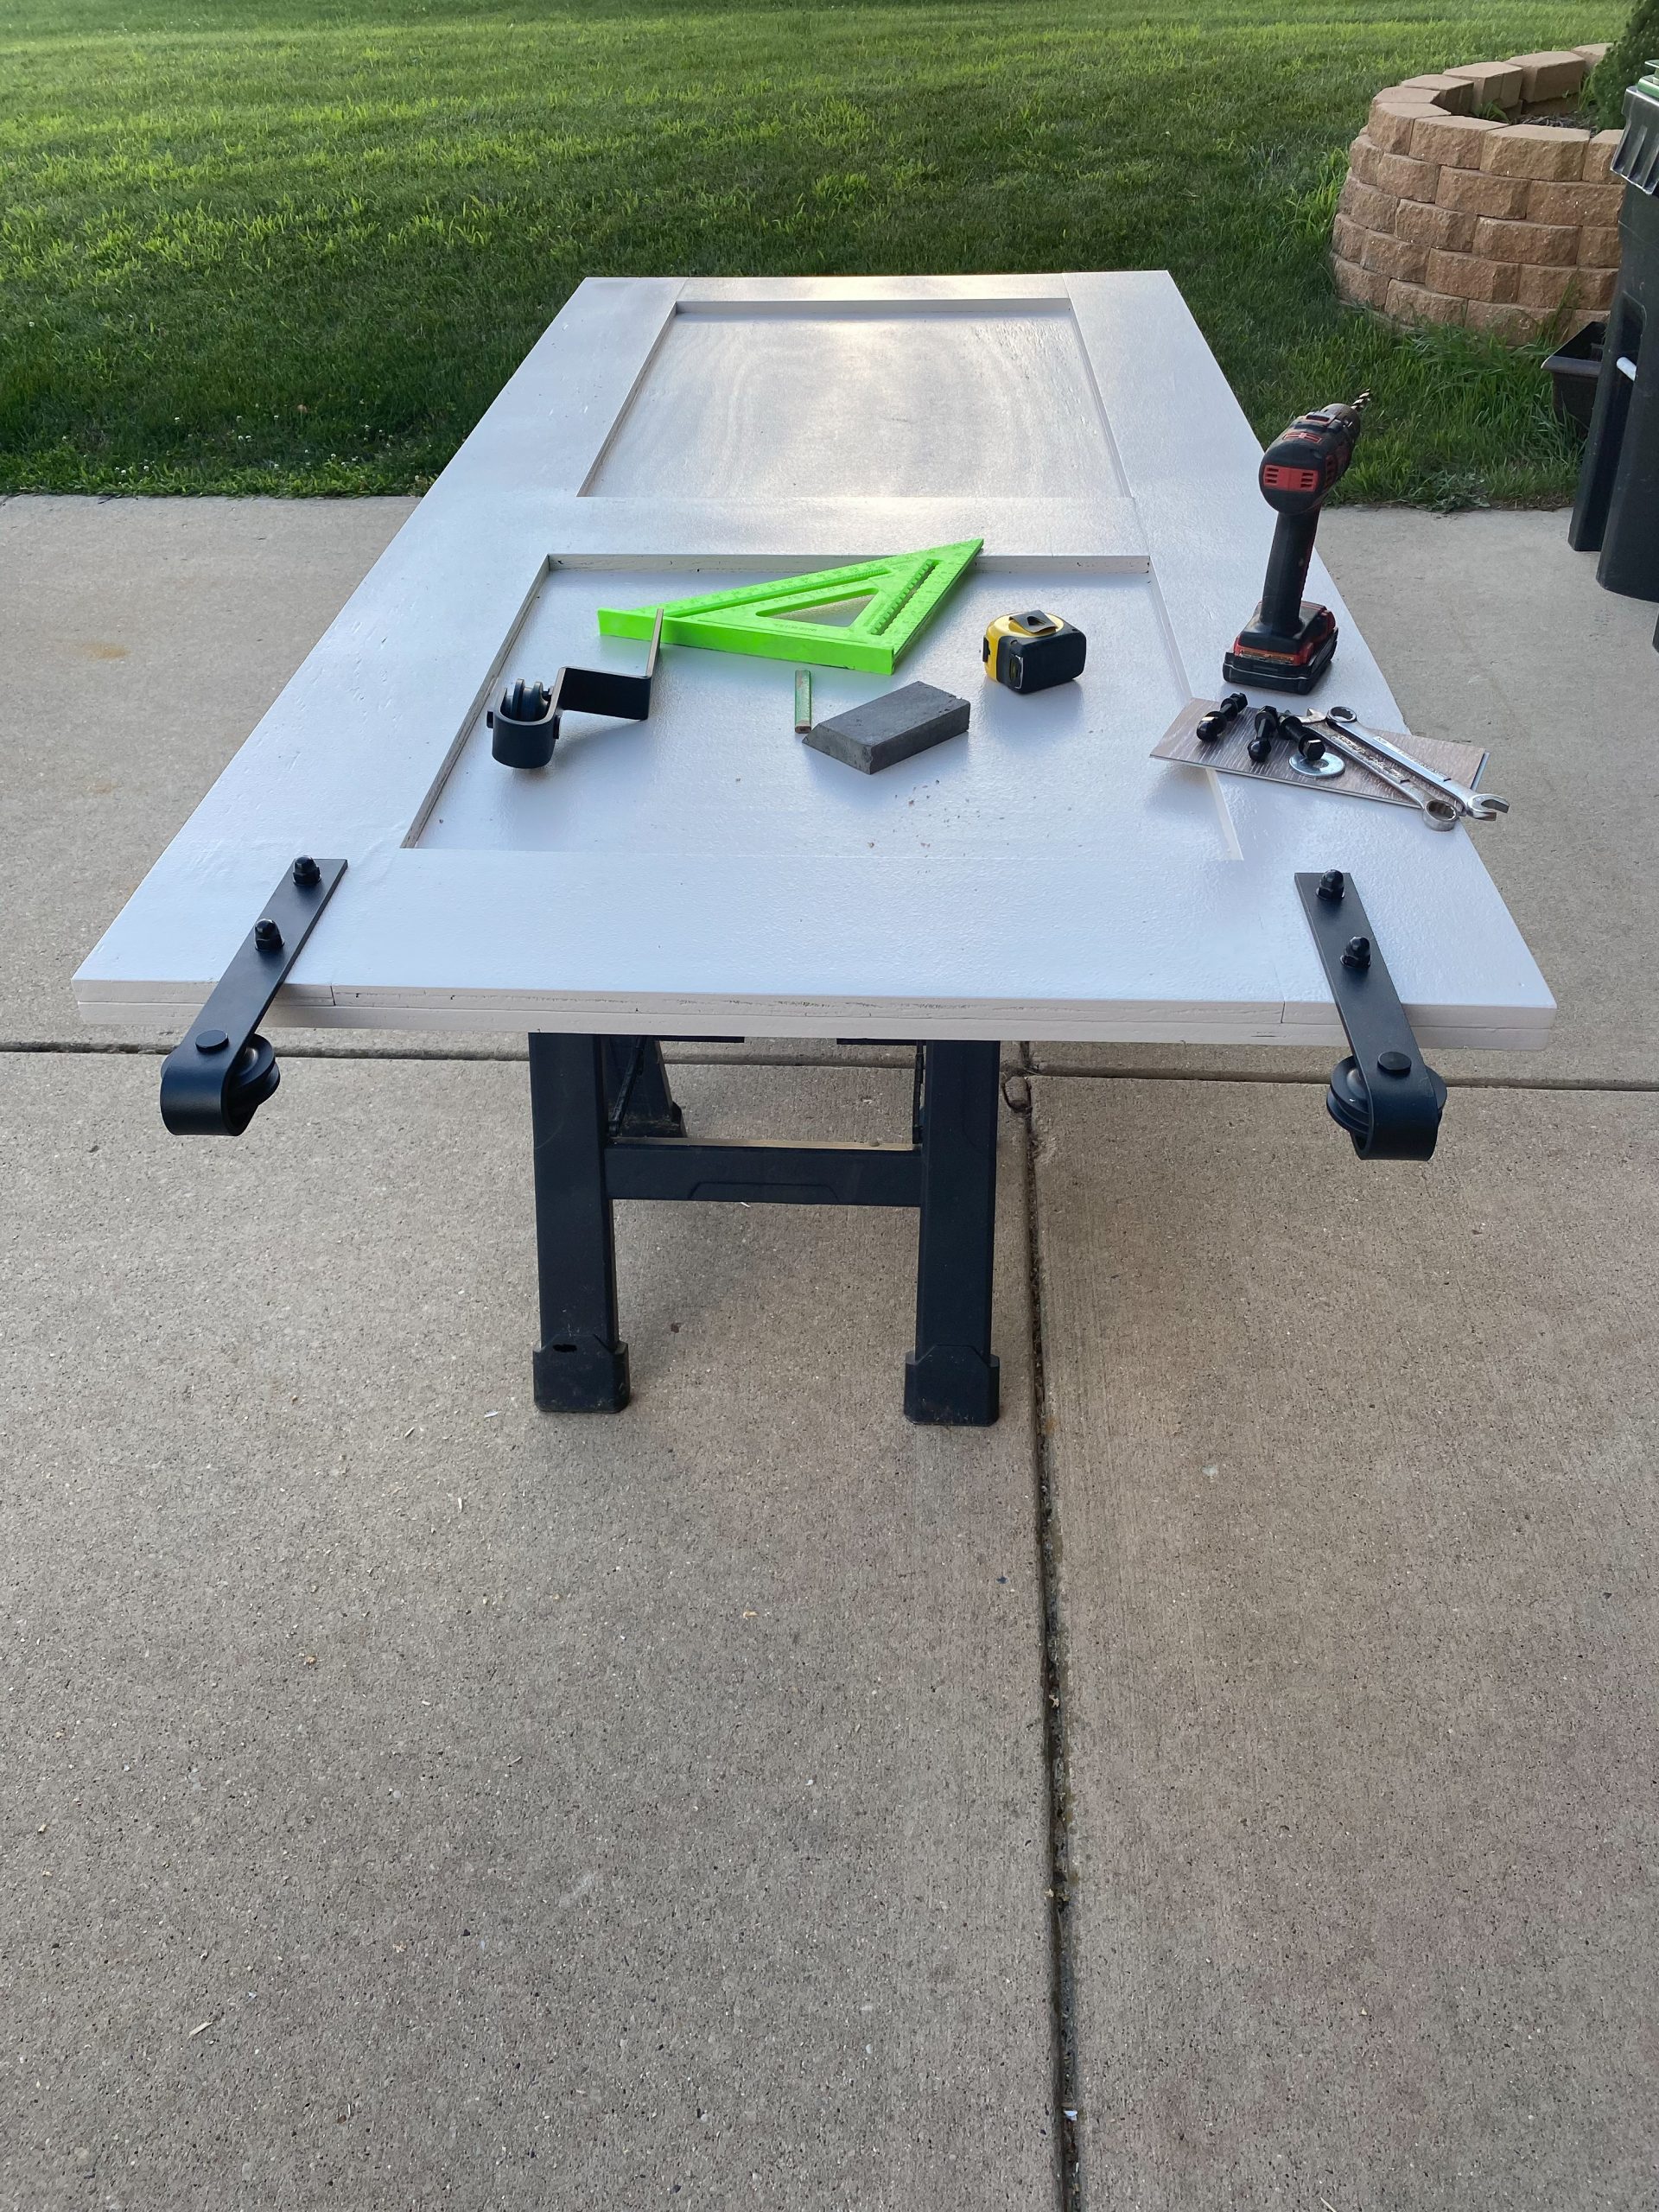
Conor actually built these sliding barn doors himself out of plywood. There’s a first time for everything so we both learned a lot while he made these. I will be sharing a SEPARATE post on how to build these since I had him take photos during the process.
We needed bypass sliding door hardware, and found ours on Amazon. We also got the handles from Amazon.
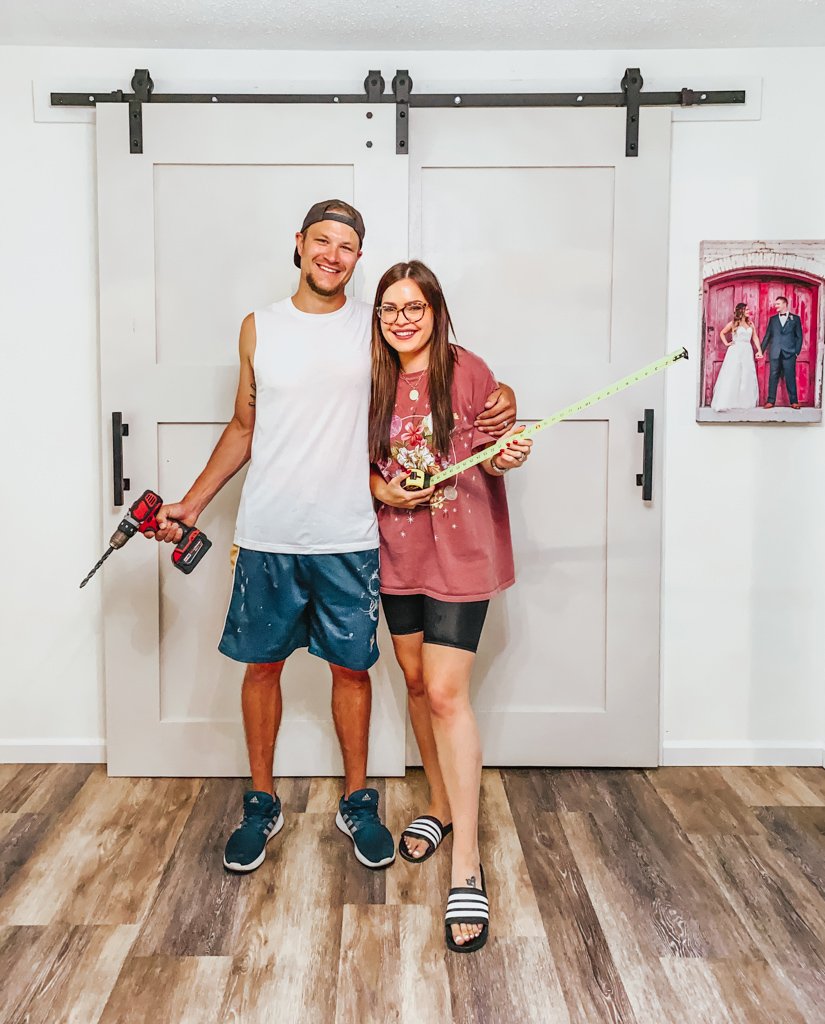
Overall we love the way the barn doors turned out. They are a bit heavier than necessary, but make the space feel much larger with how tall they are!
PAINT COLORS
This was my paint color palette when planning out this room!
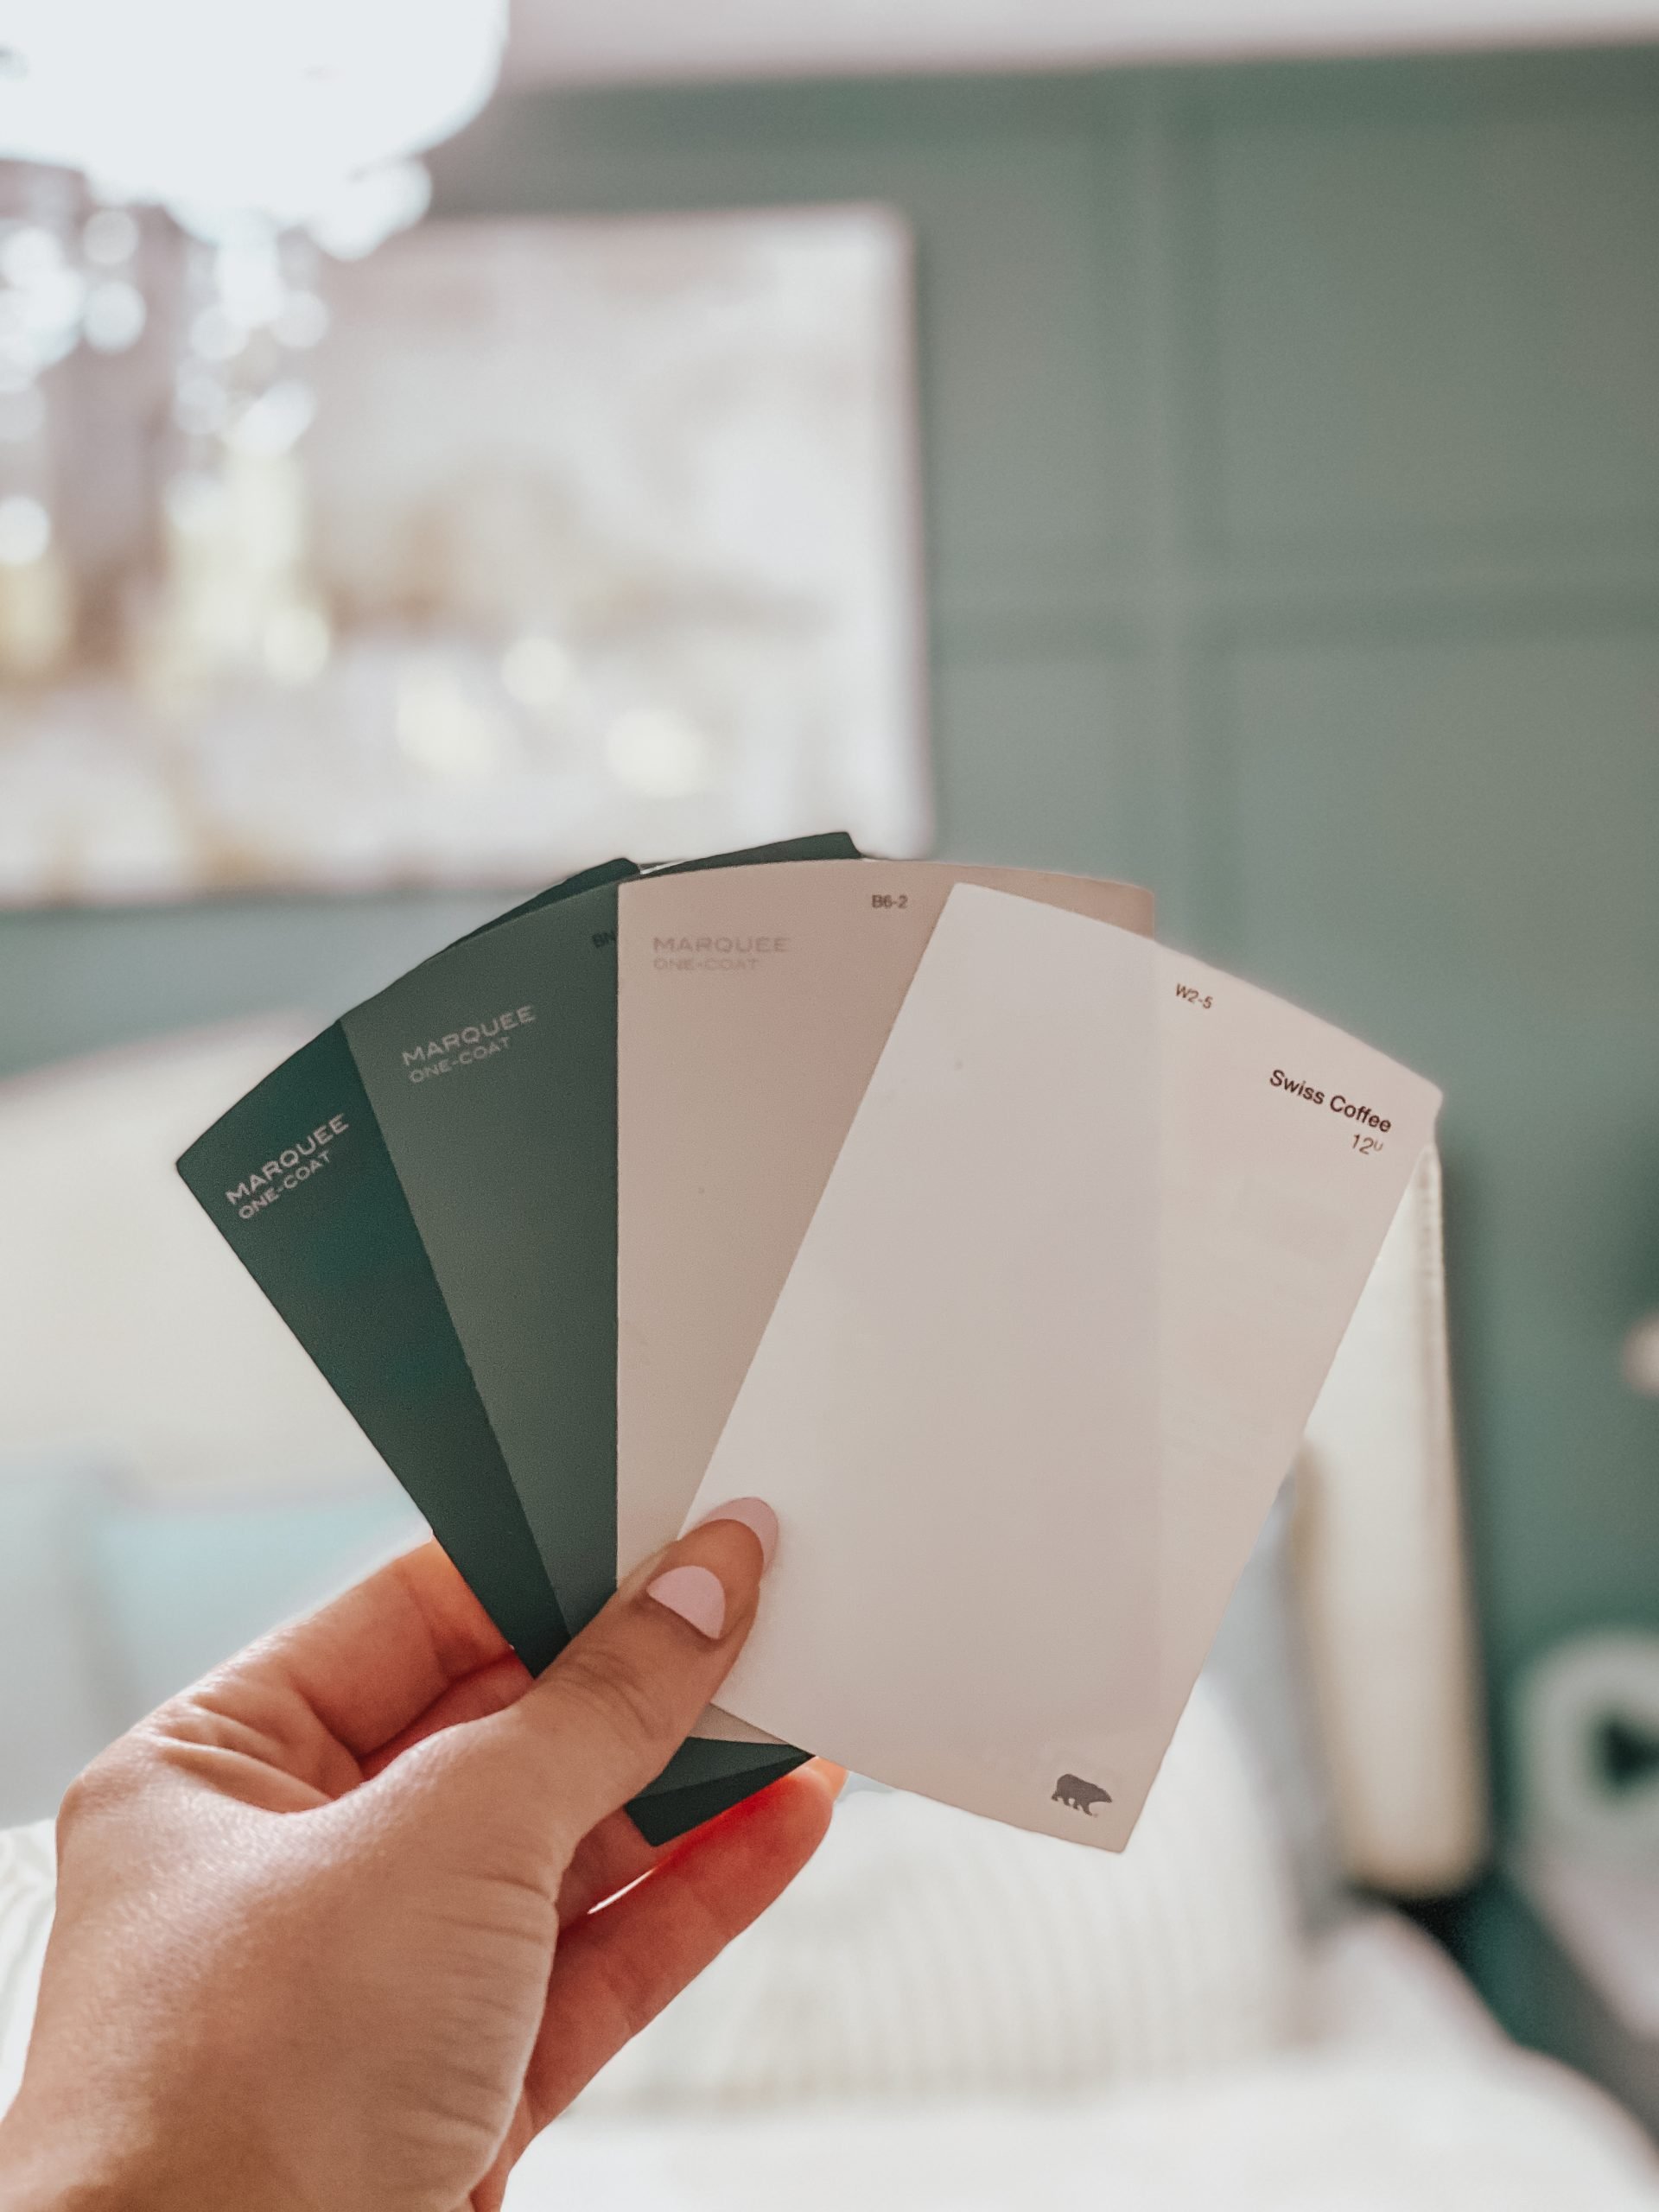
The majority of our home is painted in Behr SWISS COFFEE with accents of Behr WHEAT BREAD. The sliding closet doors are painted in Wheat Bread. For the accent wall we went back and forth on the darker or lighter tone of this blue/green shade. We ultimately went with the shade BOREAL from Behr and it was the perfect tone!
HOME RENOVATION SERIES: Ep 4: COZY MASTER BEDROOM with Board & Batten Wall
Below is a video with most of the process from start to finish in this room!
As I said in the video, we still have some things we want to upgrade in the room, but for now, this is what it is! We love how cozy and homey we made the small space. It can be stressful not having enough space in a master bedroom, but I believe if you make it the way that works for you and make it aesthetically pleasing, you can find a way to enjoy it and feel happy!
I hope you enjoyed this post! Be sure to share it with friends or save it on Pinterest for later inspo if needed!
If you missed any other Home Renovation Series posts, find them all HERE.
Thanks so much for reading/watching!






Leave a Reply